
ps五种方法快速制作大气的放射背景
P大点S
放射背景在设计中是比较常用的,作者在这里总结了5种方法。有的方法快捷,不过会有一点瑕疵;有的效果最好,不过操作稍微慢一点。
最终效果

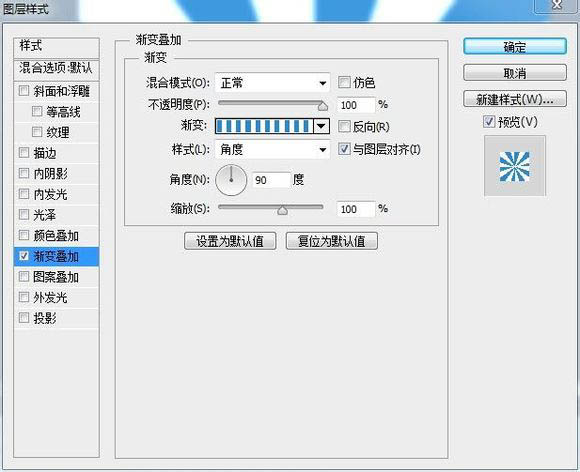
1、先说说第一种做法,用渐变完成。 新建个文件,填充白色背景,直接进入图层样式,添加渐变叠加。
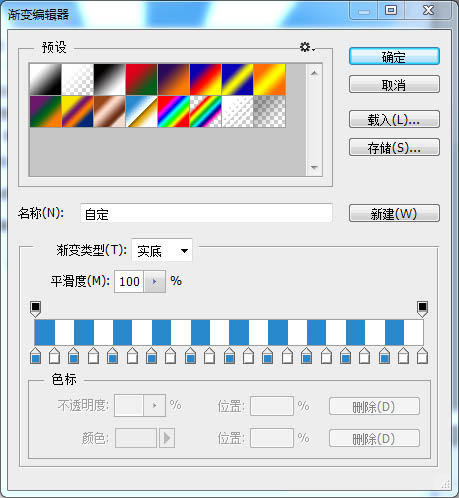
只用了一个渐变撸出来的效果如下图,效果好像并不是太理想,有点锯齿。

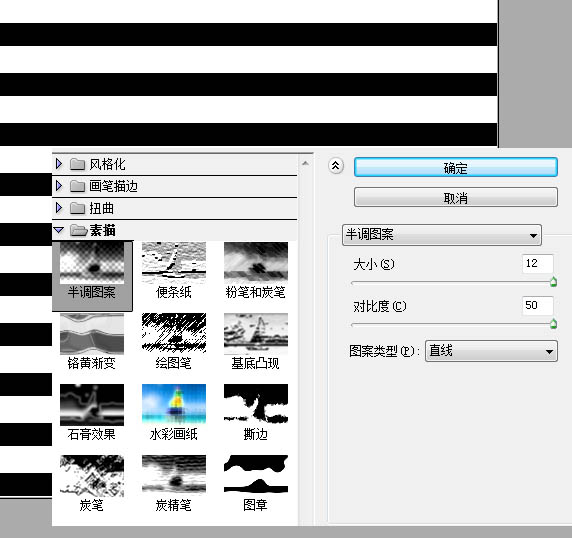
2、第二种做法。 新建个文件,填充白色背景,恢复前景背景颜色,执行滤镜–半调图案,设置如下。
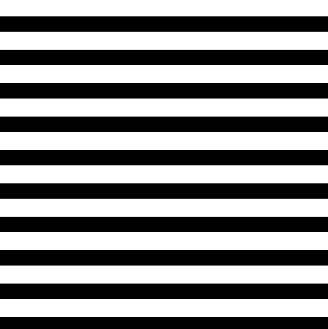
得到的效果如下:
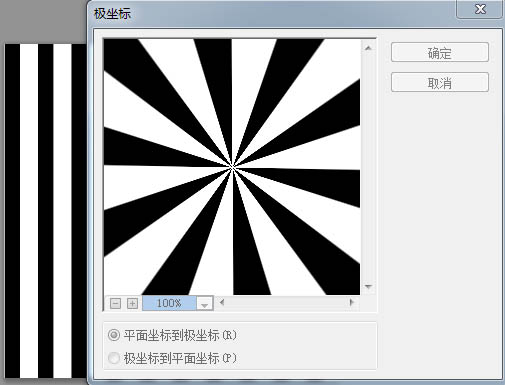
将条纹状的图层翻转90度。

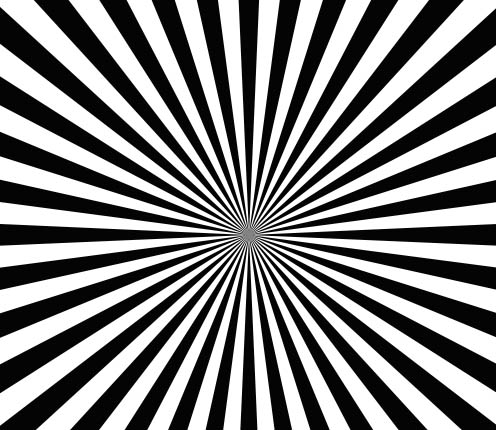
执行滤镜–扭曲–极坐标。
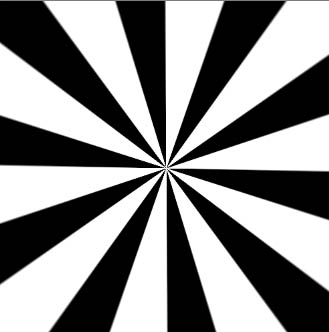
最后效果在此:
3、第三种方法,钢笔工具,此方法来自熊哥。 先用钢笔画好形状 Ctrl+J复制图层,Ctrl+T旋转角度 Ctrl+alt+shift+t重复旋转复制。
然后Ctrl+e合并所有形状图层,最后Ctrl+t放大搞定!
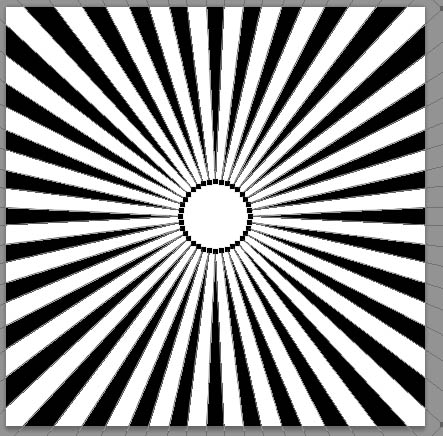
4、第四种登场 新建文件,用自带形状,见下图!
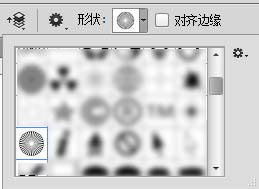
在画布上撸出来。
新建个参考线,找到中心位置,用直接选择工具,修改形状的锚点。
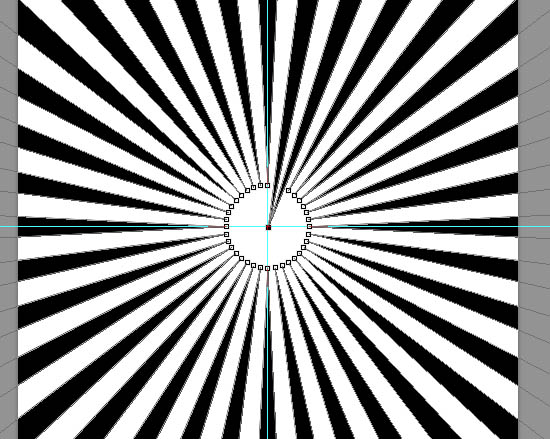
最终效果如下,此法缺点就是中间不够尖锐。
5、继续分享下一种方法,直接用选区折腾,此法由可乐妹子提供。
最终效果

1、先说说第一种做法,用渐变完成。 新建个文件,填充白色背景,直接进入图层样式,添加渐变叠加。


只用了一个渐变撸出来的效果如下图,效果好像并不是太理想,有点锯齿。

2、第二种做法。 新建个文件,填充白色背景,恢复前景背景颜色,执行滤镜–半调图案,设置如下。

得到的效果如下:

将条纹状的图层翻转90度。

执行滤镜–扭曲–极坐标。

最后效果在此:

3、第三种方法,钢笔工具,此方法来自熊哥。 先用钢笔画好形状 Ctrl+J复制图层,Ctrl+T旋转角度 Ctrl+alt+shift+t重复旋转复制。
然后Ctrl+e合并所有形状图层,最后Ctrl+t放大搞定!

4、第四种登场 新建文件,用自带形状,见下图!

在画布上撸出来。

新建个参考线,找到中心位置,用直接选择工具,修改形状的锚点。

最终效果如下,此法缺点就是中间不够尖锐。

5、继续分享下一种方法,直接用选区折腾,此法由可乐妹子提供。
