
OpenCV半小时掌握基本操作之图像处理
作者:我是小白呀
这篇文章主要介绍了OpenCV基本操作之图像处理,本文给大家介绍的非常详细,对大家的学习或工作具有一定的参考借鉴价值,需要的朋友可以参考下
【OpenCV】⚠️高手勿入! 半小时学会基本操作⚠️图像处理
概述
OpenCV 是一个跨平台的计算机视觉库, 支持多语言, 功能强大. 今天小白就带大家一起携手走进 OpenCV 的世界.

图像处理
图像处理是非常基础和关键的, 今天就带大家来一起了解一下图像处理.

转换图像
cv.cvtColor可以帮助我们转换图片通道.
格式:
cv2.cvtColor(src, code[, dst[, dstCn]])
参数:
- src: 需要转换的图片
- code: 颜色空间转换码
- dst: 输出图像大小深度相同, 可选参数
- desCn: 输出图像的颜色通道, 可选参数
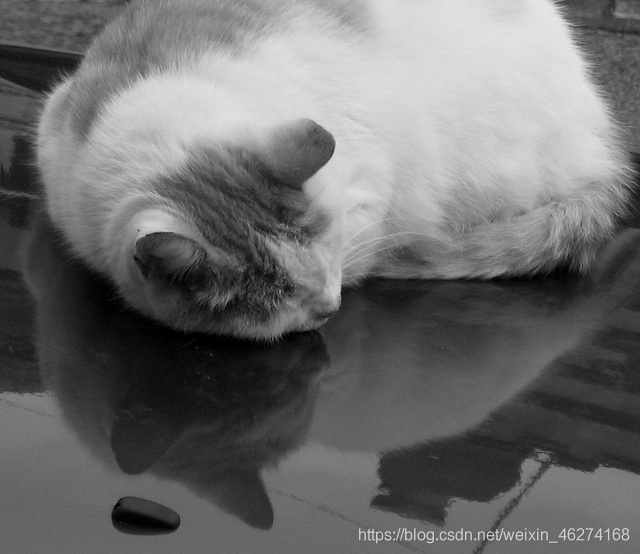
转换成灰度图
RGB 到灰度图转换公式:
Y' = 0.299 R + 0.587 G + 0.114 B
例子:
# 读取数据
img = cv2.imread("cat.jpg")
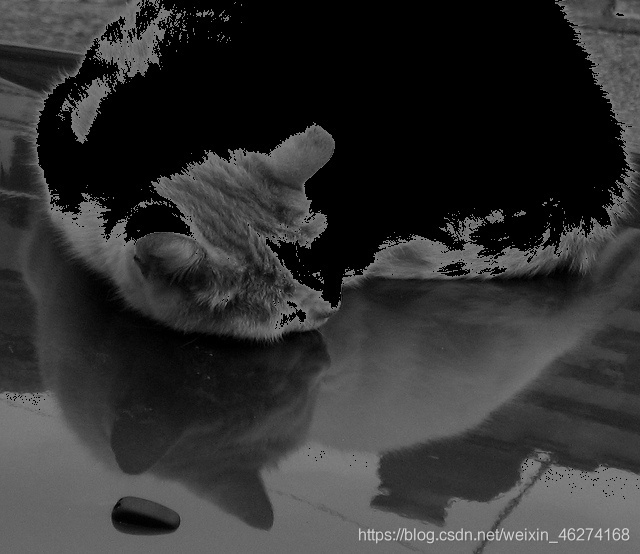
# 转换成灰度图
img_gray = cv2.cvtColor(img, cv2.COLOR_BGR2GRAY)
# 输出维度
print(img_gray.shape) # (554, 640)
# 展示图像
cv2.imshow("img_gray", img_gray)
cv2.waitKey(0)
cv2.destroyAllWindows()
输出结果:

HSV
HSV (Hue, Saturation, Value) 是根据颜色的直观特性由 A.R. Smith 在 1978 年创建的一种颜色空间.
例子:
# 转换成hsv
img_hsv = cv2.cvtColor(img, cv2.COLOR_BGR2HSV)

# 输出维度
print(img_hsv.shape)  # (554, 640, 3)

# 展示图像
cv2.imshow("img_hsv", img_hsv)
cv2.waitKey(0)
cv2.destroyAllWindows()
输出结果:

YUV
YUV 是一种颜色编码的方法, 主要用在视频, 图形处理流水线中.
例子:
# 读取数据
img = cv2.imread("cat.jpg")

# 转换成hsv
img_yuv = cv2.cvtColor(img, cv2.COLOR_BGR2YUV)

# 输出维度
print(img_yuv.shape)  # (554, 640, 3)

# 展示图像
cv2.imshow("img_yuv", img_yuv)
cv2.waitKey(0)
cv2.destroyAllWindows()
输出结果:

二值化操作
格式:
ret, dst = cv2.threshold(src, thresh, maxval, type)
参数:
- src: 需要转换的图
- thresh: 阈值
- maxval: 超过阈值所赋的值
- type: 二值化操作类型
返回值:
- ret: 输入的阈值
- dst: 处理好的图片
原图
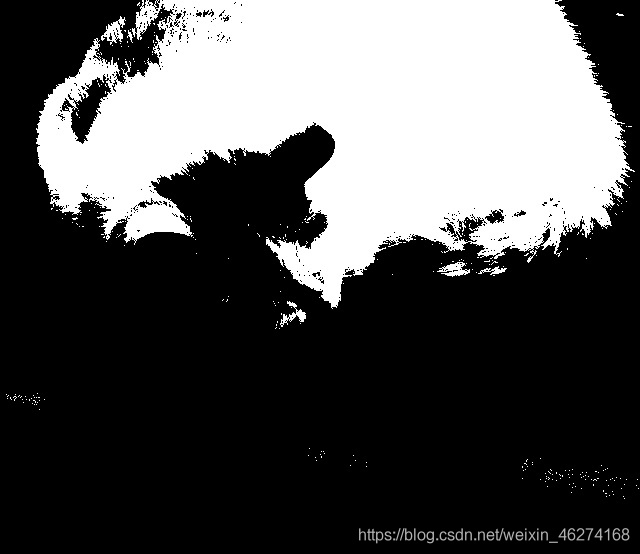
Binary
大于阈值的设为 255, 低于或等于阈值的为 0.
例子:
# 读取数据
img_gray = cv2.imread("cat_gray.jpg")

# 二值化
ret, thresh1 = cv2.threshold(img_gray, 127, 255, cv2.THRESH_BINARY)

# 图片展示
cv2.imshow("thresh1", thresh1)
cv2.waitKey(0)
cv2.destroyAllWindows()
输出结果:
Binary Inverse
与 Binary 相反.
例子:
# 读取数据
img_gray = cv2.imread("cat_gray.jpg")

# 二值化
ret, thresh2 = cv2.threshold(img_gray, 127, 255, cv2.THRESH_BINARY_INV)

# 图片展示
cv2.imshow("thresh2", thresh2)
cv2.waitKey(0)
cv2.destroyAllWindows()
输出结果:

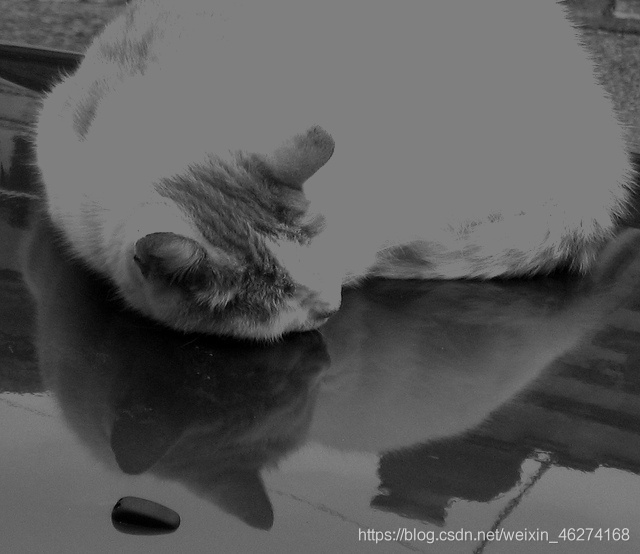
Trunc
大于阈值的设为 255, 低于或等于阈值的不变.
例子:
# 读取数据
img_gray = cv2.imread("cat_gray.jpg")

# 截断
ret, thresh3 = cv2.threshold(img_gray, 127, 255, cv2.THRESH_TRUNC)

# 图片展示
cv2.imshow("thresh3", thresh3)
cv2.waitKey(0)
cv2.destroyAllWindows()
输出结果:
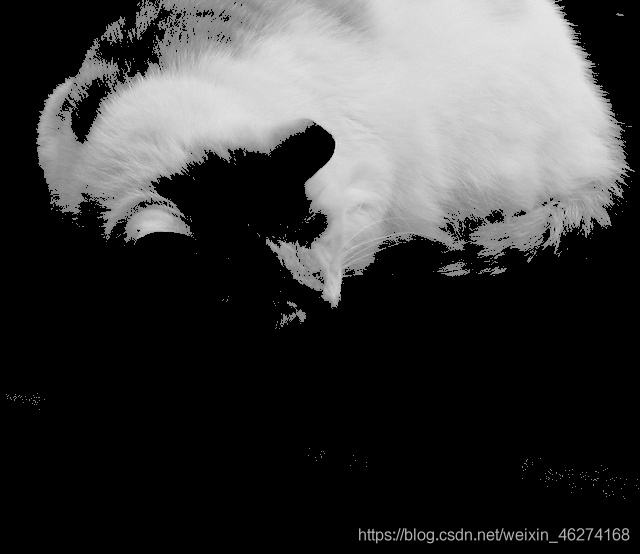
Tozero
大于阈值部分不变, 否则设为 0.
代码:
# 读取数据
img_gray = cv2.imread("cat_gray.jpg")

# Tozero
ret, thresh4 = cv2.threshold(img_gray, 127, 255, cv2.THRESH_TOZERO)

# 图片展示
cv2.imshow("thresh4", thresh4)
cv2.waitKey(0)
cv2.destroyAllWindows()
输出结果:
Tozero Inverse
与 Tozero 相反.
代码:
# 读取数据
img_gray = cv2.imread("cat_gray.jpg")

# Tozero
ret, thresh5 = cv2.threshold(img_gray, 127, 255, cv2.THRESH_TOZERO_INV)

# 图片展示
cv2.imshow("thresh5", thresh5)
cv2.waitKey(0)
cv2.destroyAllWindows()
输出结果:
到此这篇关于OpenCV半小时掌握基本操作之图像处理的文章就介绍到这了,更多相关OpenCV图像处理内容请搜索脚本之家以前的文章或继续浏览下面的相关文章希望大家以后多多支持脚本之家!