Android绘制跟随手指移动的小球
作者:池头树
这篇文章主要为大家详细介绍了Android绘制跟随手指移动的小球,文中示例代码介绍的非常详细,具有一定的参考价值,感兴趣的小伙伴们可以参考一下
为了实现一个跟随手指移动的小球,考虑到开发自定义的UI组件,这个UI组件将会在一个指定的位置绘制一个小球,这个位置可以动态改变。当用户手指在屏幕上拖动时,程序监听到这个手指的动作,并且传入UI组件,通知组件重绘即可。话不多说,上代码:
在java的DrawView中:
package com.example.test01;

import android.content.Context;
import android.graphics.Canvas;
import android.graphics.Color;
import android.graphics.Paint;
import android.util.AttributeSet;
import android.view.MotionEvent;
import android.view.View;

import androidx.annotation.Nullable;

public class DrawView extends View {
  private float currentX=40f;
  private float currentY=50f;
//  定义并创建画笔
  private Paint p=new Paint();

  public DrawView(Context context) {
    super(context);
  }

  public DrawView(Context context, @Nullable AttributeSet set) {
    super(context, set);
  }

  @Override
  protected void onDraw(Canvas canvas) {
    super.onDraw(canvas);
    // 设置画笔的颜色
    p.setColor(Color.RED);
//    设置一个小球
    canvas.drawCircle(currentX,currentY,15F,p);
  }
//  为该事件的触碰事件重写处理方法
  @Override
  public boolean onTouchEvent(MotionEvent event) {
//    修改成员变量
    currentX=event.getX();
    currentY=event.getY();
//    通知当前组件重绘自己
    invalidate();
//    返回true说明该处理方法已经处理自己
    return true;
  }
}
在java的MainActivity中:
package com.example.test01;

import android.app.Activity;
import android.os.Bundle;

public class MainActivity extends Activity {

  @Override
  protected void onCreate(Bundle savedInstanceState) {
    super.onCreate(savedInstanceState);
    setContentView(R.layout.activity_main2);

  }
}
在layout中:
<?xml version="1.0" encoding="utf-8"?>
<LinearLayout
  xmlns:android="http://schemas.android.com/apk/res/android"
  xmlns:app="http://schemas.android.com/apk/res-auto"
  xmlns:tools="http://schemas.android.com/tools"
  android:layout_width="match_parent"
  android:layout_height="match_parent"
  tools:context=".MainActivity"
  android:orientation="vertical">
  <com.example.test01.DrawView
    android:layout_width="match_parent"
    android:layout_height="match_parent"
   />
</LinearLayout>
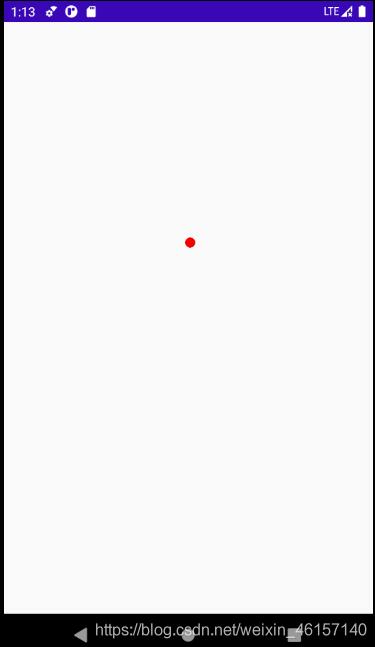
运行效果如下:

以上就是本文的全部内容,希望对大家的学习有所帮助,也希望大家多多支持脚本之家。
