Android Recyclerview实现水平分页GridView效果示例
作者:T9的第三个三角
本篇文章主要介绍了Android Recyclerview实现水平分页GridView效果示例,具有一定的参考价值,有兴趣的可以了解一下
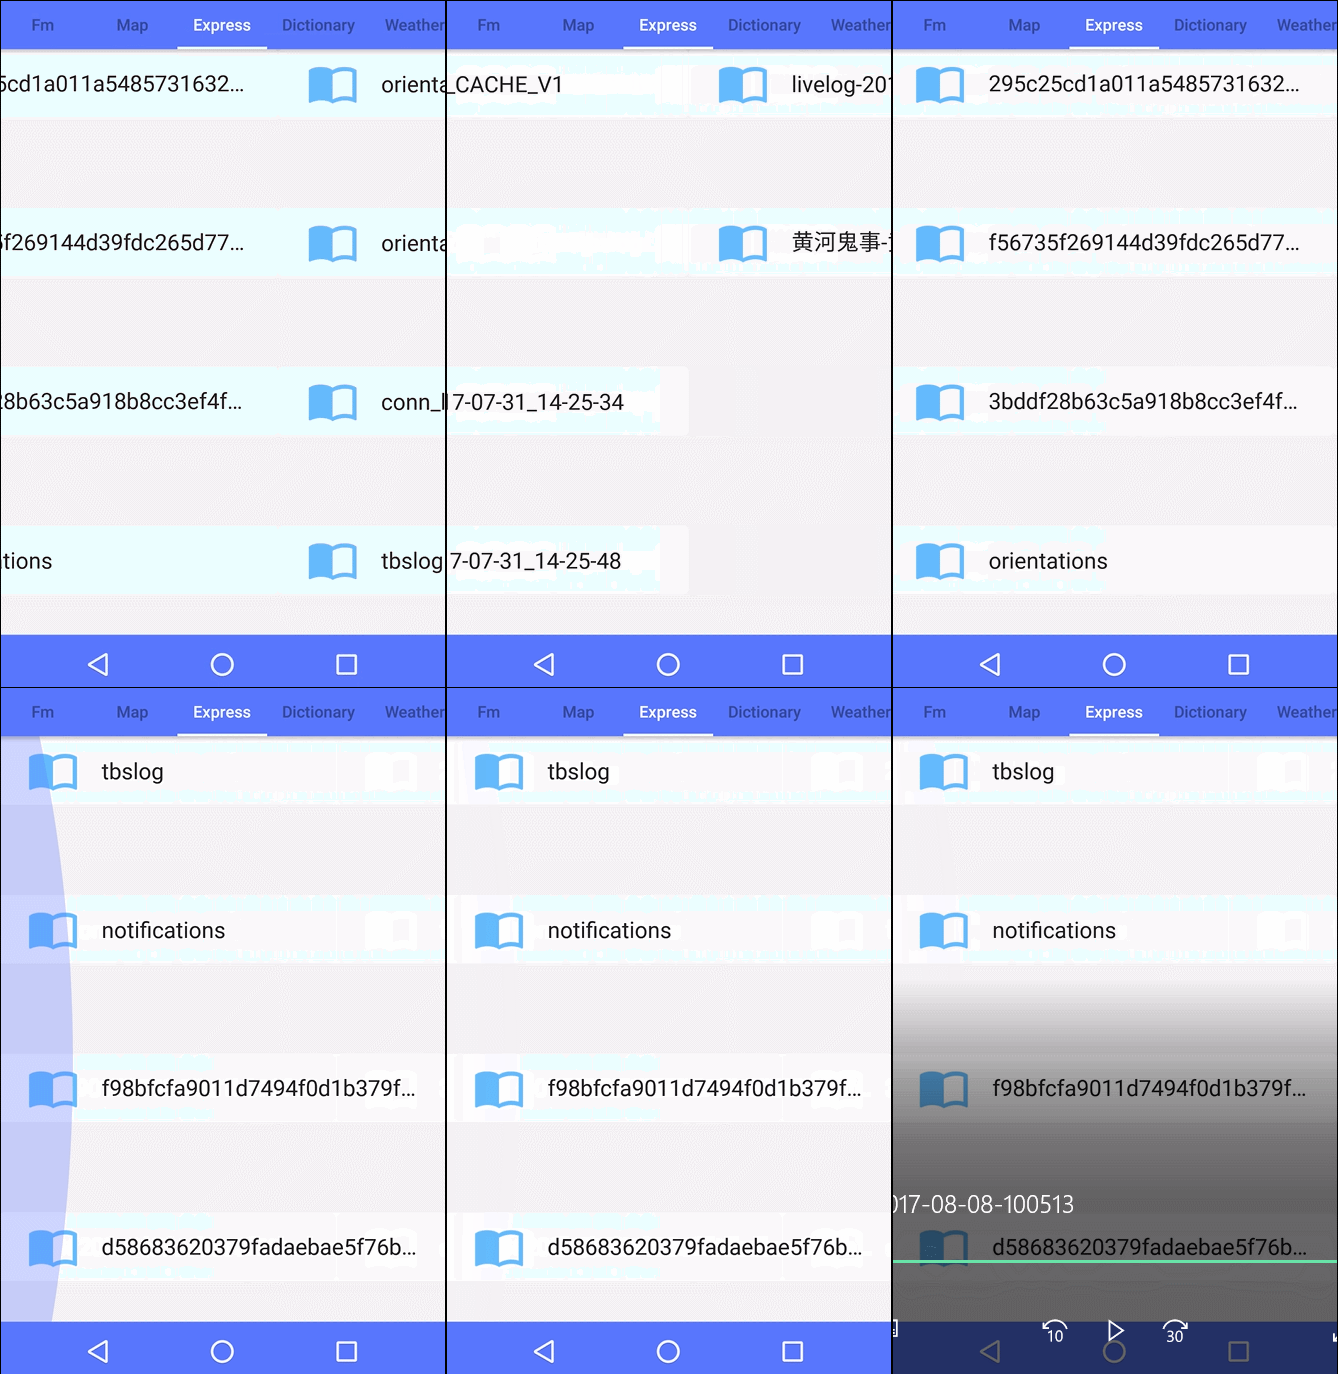
昨天UI妹子给了给需求,展示水平分页效果,而且第二页要默认显示一部分,提示用户水平可以滑动,先上效果图:

很明显横向滑动的分页,第一反应就是使用ViewPager,毕竟只要通过自定义ViewPager,实现这个效果还是很容易,但是实际中问题时,当前模块是Recyclerview中某一个Holder,为了性能,肯定尽量使用Recyclerview去复用View,而且ViewPager并不能复用,所以考虑之后,还是要用Recyclerview去实现。
解决思路
既然打算用Recyclerview实现,很明显这就可以用GridLayoutManager处理横向滑动的列表,初步实现横向列表的效果,列数为4的横向分页效果

横向列表效果是实现了,但是并没有达到设计稿的要求,第二页要默认显示一部分,那么就要从水平方向上去思考解决问题,既然第二页要显示一部分,假如显示16dp,那么将第一页列表宽度减少右边距16dp,第二页就可以在第一页显示了。
在Recyclerview的Adapter中,先上布局:
<?xml version="1.0" encoding="utf-8"?>
<RelativeLayout xmlns:android="http://schemas.android.com/apk/res/android"
  xmlns:app="http://schemas.android.com/apk/res-auto"
  xmlns:tools="http://schemas.android.com/tools"
  android:id="@+id/rl_parent"
  android:layout_width="match_parent"
  android:layout_height="55dp"
  android:background="@drawable/news_click_bg"
  android:clickable="true"
  android:gravity="center_vertical">

  <ImageView
    android:id="@+id/iv_img"
    android:layout_width="48dp"
    android:layout_height="48dp"
    android:layout_centerVertical="true"
     android:layout_marginLeft="16dp"
    android:padding="3dp"
    android:src="@drawable/icon_book_default"
    android:tint="@color/blue" />

  <com.ddz.lifestyle.baseview.customview.RobotoTextView
    android:id="@+id/tv_title"
    android:layout_width="match_parent"
    android:layout_height="wrap_content"
    android:layout_centerVertical="true"
    android:layout_marginLeft="15dp"
    android:layout_marginRight="20dp"
    android:layout_toRightOf="@+id/iv_img"
    android:ellipsize="end"
    android:lines="1"
    android:textSize="18sp"
    app:typeface="roboto_regular"
    tools:text="name" />

  <ImageView
    android:id="@+id/iv_menu"
    android:layout_width="34dp"
    android:layout_height="34dp"
    android:layout_alignParentRight="true"
    android:layout_centerVertical="true"
    android:layout_marginRight="10dp"
    android:padding="10dp"
    android:src="@drawable/menu_right"
    android:visibility="invisible" />
</RelativeLayout>```
在onBindViewHolder方法中,去修改边距
@Override
public void onBindViewHolder(ItemHolder holder, int position) {
  if (null == bean) {
    return;
  }
  RelativeLayout.LayoutParams params = new RelativeLayout.LayoutParams(ViewGroup.LayoutParams.MATCH_PARENT, DensityUtil.dip2px(86));   //DensityUtil是px转dp的工具类
  int screenWidth = TCommonUtils.getScreenWidth(context);
  if (position <= 3) { //因为每列数量为4个,那么只需要将前4个item的宽度减少32dp
    screenWidth -= DensityUtil.dip2px(32); //宽度减少32dp,即左右各16dp
    params.width = screenWidth;
  } else {
    params.width = screenWidth;
  }
  holder.rlParent.setLayoutParams(params);
  holder.tvTitle.setText(bean.get(position).getTitle());
}```
来看看效果

可以看到默认第二页可以显示一部分,而且后面每一页都正常显示,没有像第二页一样侵入上一页中
总结
实现这种分页效果的方法有很多,但是选择最容易并且效率最高的方式,才是开发中需要的。
以上就是本文的全部内容,希望对大家的学习有所帮助,也希望大家多多支持脚本之家。
