
Illustrator(AI)模仿设计出一个逼真的色彩斑澜的U盘实例教程
脚本之家
Step 27
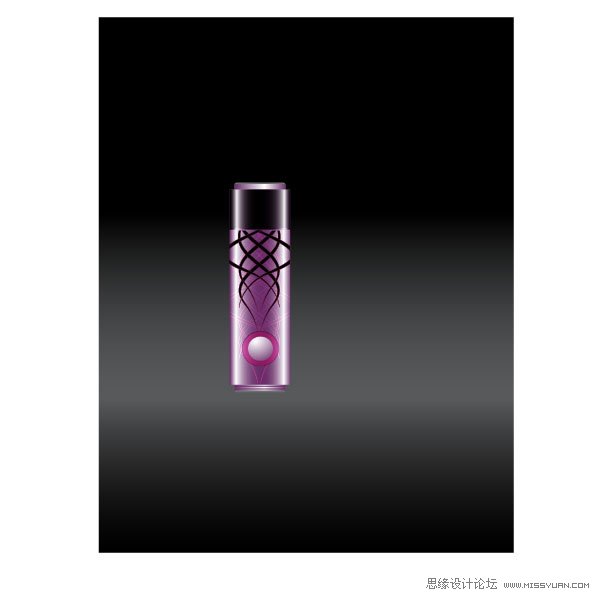
Select your colored flash stick and place it above the background.
27. 选择彩色的U盘,把它放在背景层的上面。
Step 28
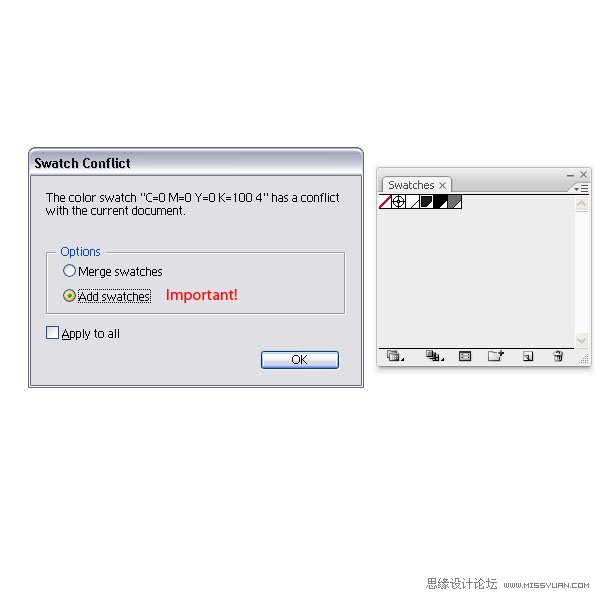
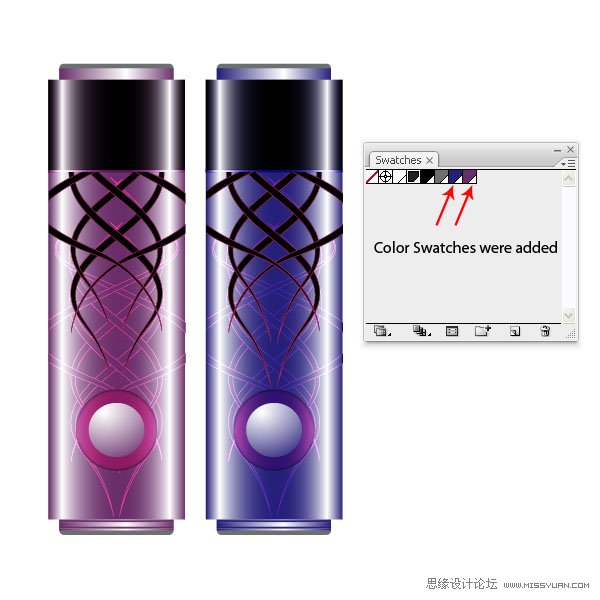
Now, assuming that you created more colored flash sticks and you copy them onto the artboard, a pop up window might appear, which says that there is a Swatch Conflict. Choose in the Options Add swatches, if not you will loose your colors since they think that they share a color swatch. The new color swatches will be added to your Swatch Palette.
28. 现在,假如你绘制了很多的彩色U盘,然后复制在了画板上,这个时候,就会显示弹出窗口,告诉你你遇到了色板冲突的问题,选择“添加色板”选项。如果你不这么做的话,你就会丢失掉一些颜色,因为系统会认为它们共享的是同一个色板。新的色板会添加进色板调板中。
Step 29
Place your second flash stick next to the other.
29. 将第2个U盘放到第1个的旁边。

Step 30
Copy the third onto the artboard and place all of them side by side.
30. 复制第3个U盘到画板上,然后把它们排在一起。

Step 31
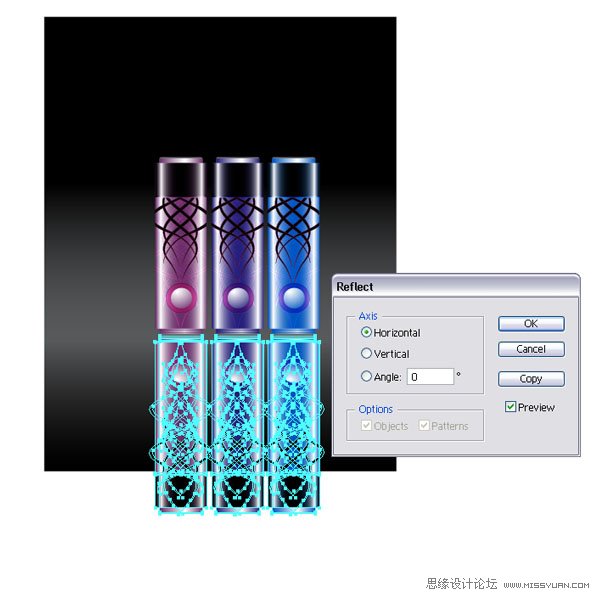
Select all three flash sticks, duplicate them, and reflect them on the horizontal axis (Object > Arrange > Reflect).
31. 选择这3个U盘,然后复制它们,然后水平镜像对称(对象菜单>变换>对称)。
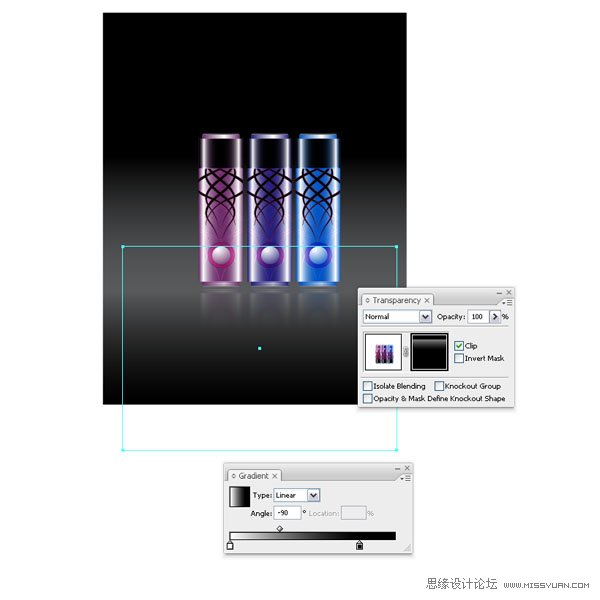
Step 32
Select them and apply an Opacity Mask.
32. 在U盘副本的上面,绘制一个矩形,然后选中矩形和U盘副本,建立不透明剪切蒙版。
Conclusion
Here is my final image. I place the gray flash stick with the open cap in front of the others and applied an Opacity Mask again. I hope this tutorial gave a little insight into Global Colors. If you ever have a bigger project and you set it up with Global Colors, you can easily change the look of your design on the fly.
尾声
下图就是成品图了。我把打开盖子的灰色U盘放在其它形状的前面,然后也是建立不透明剪切蒙版。我希望这篇教程能让你对全局色有一个深入的了解。如果你要做一个更大的工程的话,你就要设置全局色了,这样你就可以很容易而且很快地更改你的设计了。
