Illustrator(AI)模仿设计出一个逼真的色彩斑澜的U盘实例教程
脚本之家
Step 17
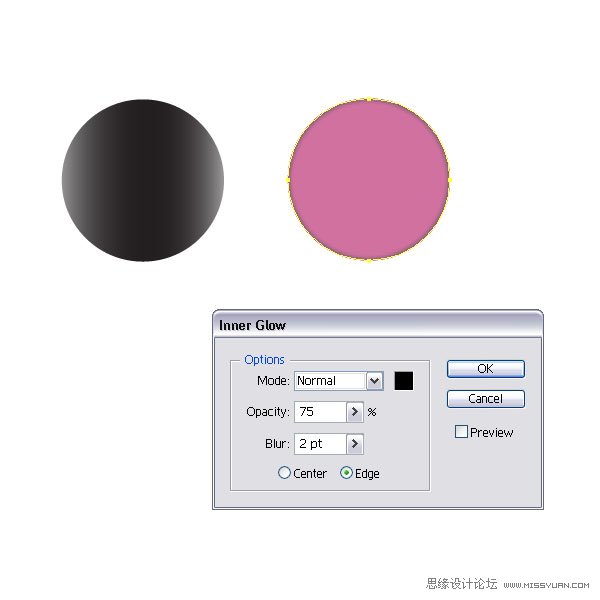
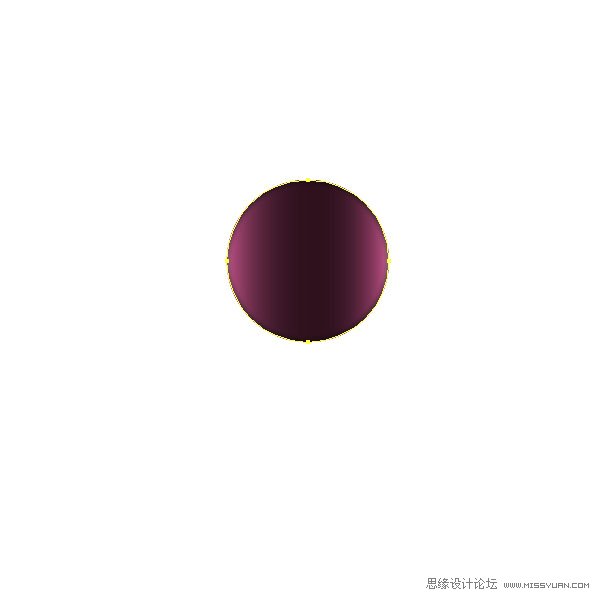
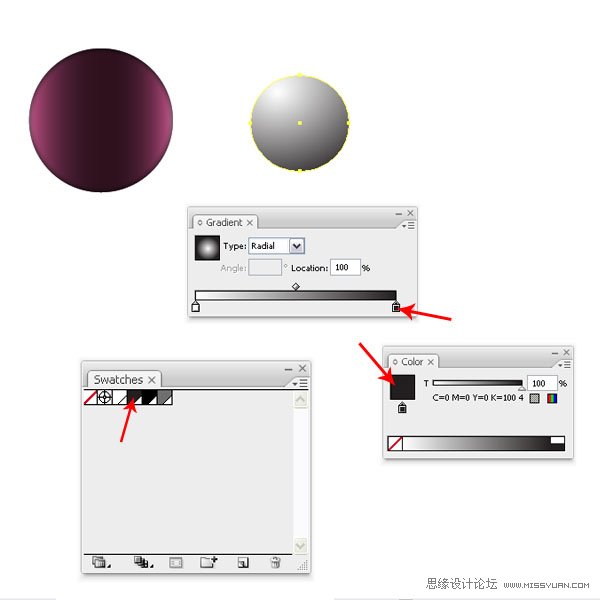
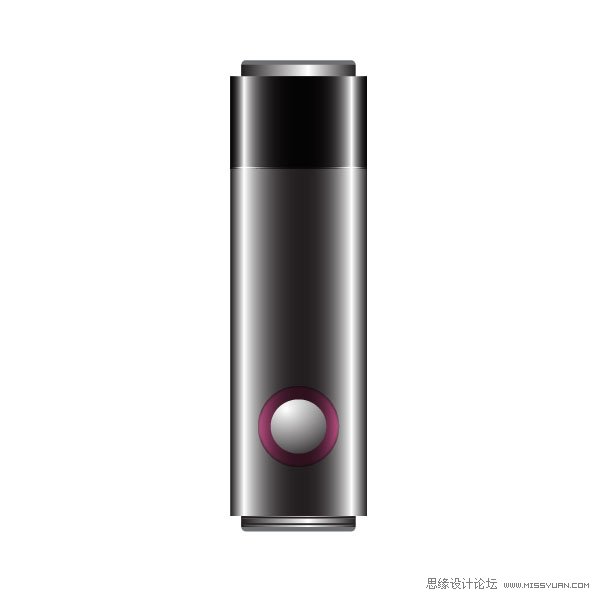
Create another smaller circle and fill it with a radial gray gradient. Don’t forget to use Global Colors. Center all three circles and place them on top of the flash stick.
17. 再制作一个小圆,填充灰色径向渐变。不要忘了使用全局色。将3个圆居中对齐,然后把它们移到U盘的上面。
Step 18
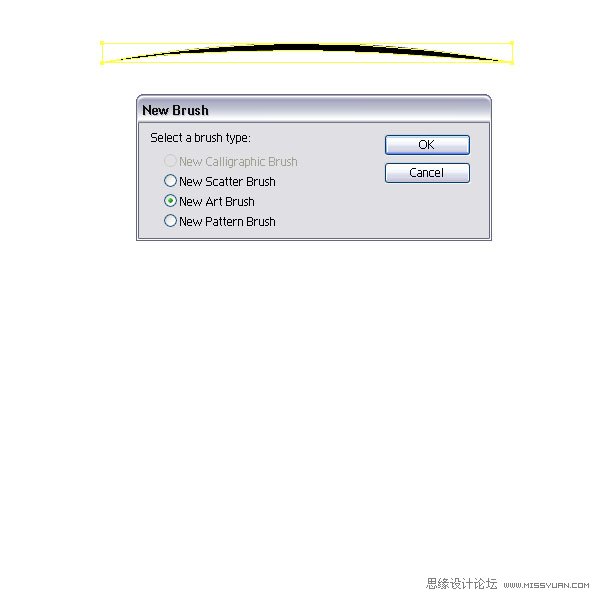
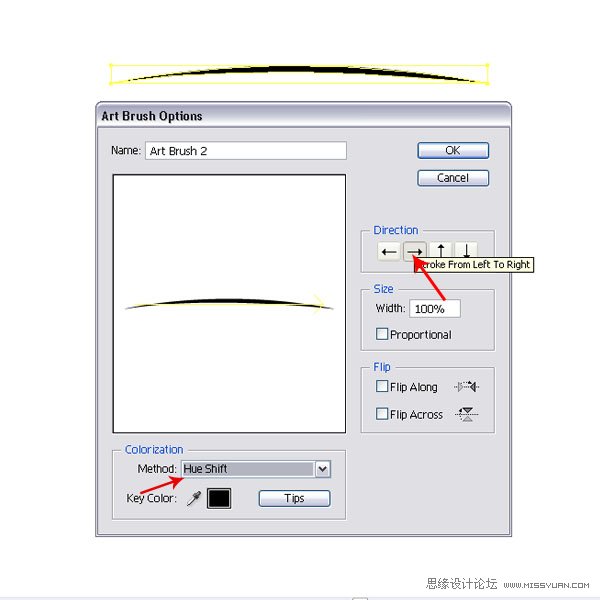
Let’s have some fun and create a custom brush. Draw a path with the Pen Tool (P) and fill it with black. No need for Global Colors here. Then drag it into the Brush Palette and choose New Art Brush from the New Brush Window. Select the Direction: Stroke From Left To Right and set the Colorization Method to Hue Shift.
18. 为了给U盘增添一些亮点,我们DIY了一个自定义的笔刷。使用钢笔工具(P),绘制一个路径,然后填充黑色。这里不需要使用全局色。然后把它拖移到画笔调板里,在新建画笔窗口中,选择新建艺术画笔。选择方向:从左到右描边,着色方法设置为“色相转换”。
Step 19
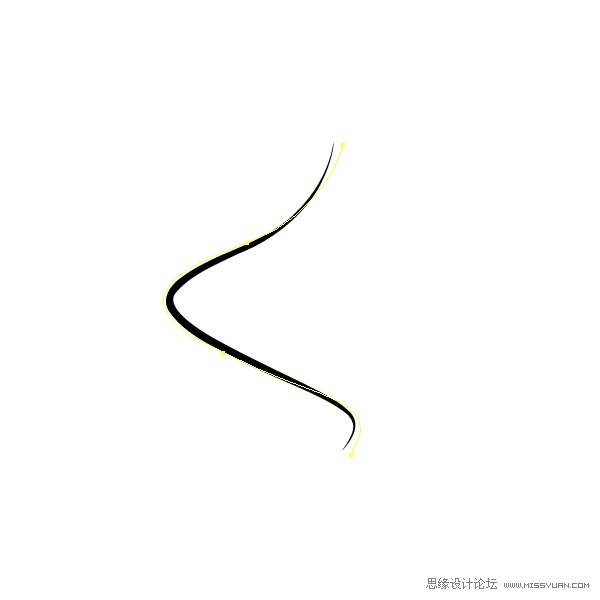
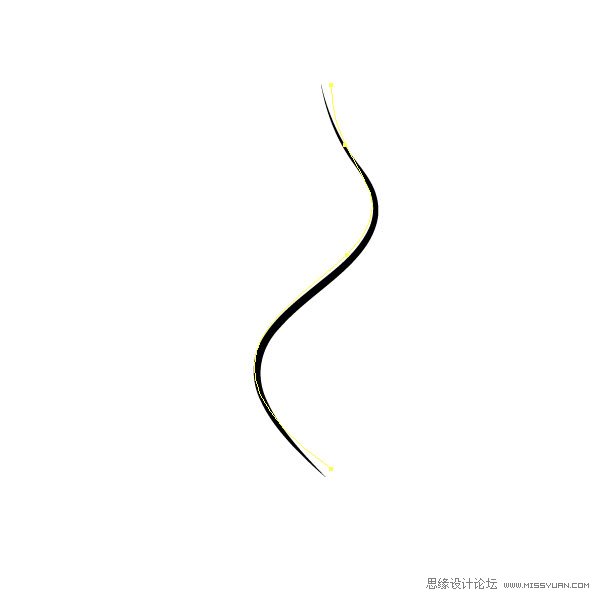
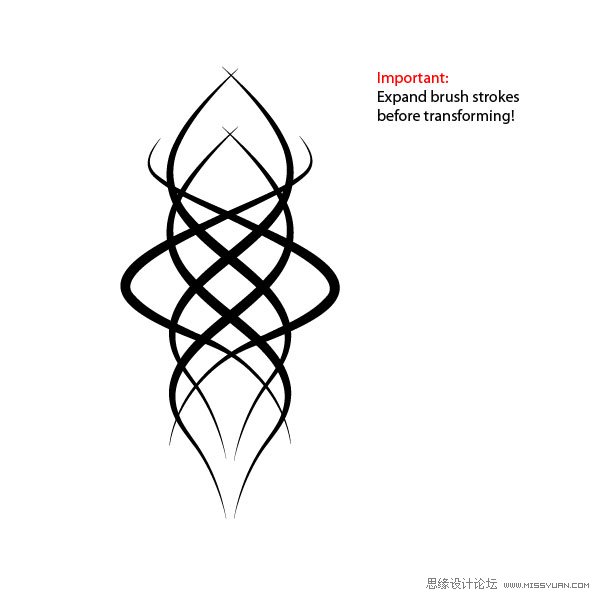
Now create a path with the Pen Tool (P) as you see in the image below, then apply the custom brush. Create another path and do the same. I aligned some of the paths and then mirrored them to built up the tattoo style design. It is important that you expand the brush appearance and click Add to Shape Area in the Pathfinder Palette before rotating or mirroring.
19. 现在使用钢笔工具(P)绘制一条路径,如下图所示,然后应用自定义笔刷。再绘制另一条路径,使用同样的方法应用笔刷。把这些路径组合一下,然后使用镜像,这样就创建出了印花的设计图案。这里有一点很重要,就是在你旋转或者镜像对象前,你要先扩展笔刷外观,然后在路径查找器调板中点“合并”按钮。
Step 20
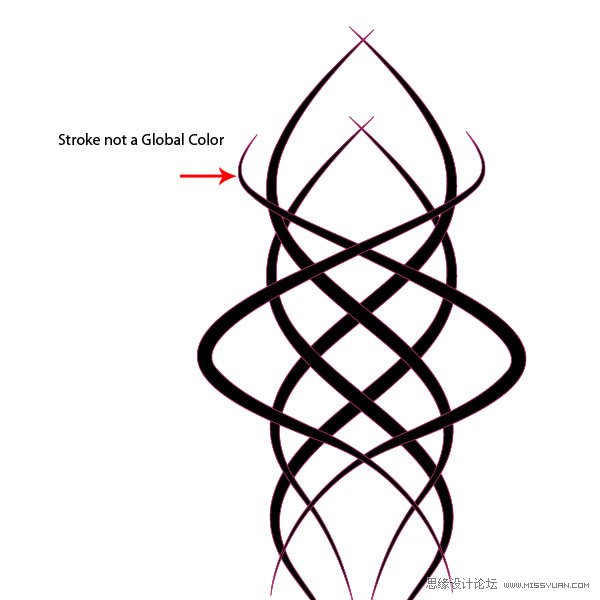
I filled the tattoo shapes with a black (no Global Color) and a pink color (no Global Color) and a Stroke of 0.25pt. You can choose any colors you like.
20. 印花图案填充黑色(黑色不是全局色),并且描边颜色为粉红色(粉红色不是全局色),描边宽度为0.25pt。你也可以选择你喜欢的其它颜色。
Step 21
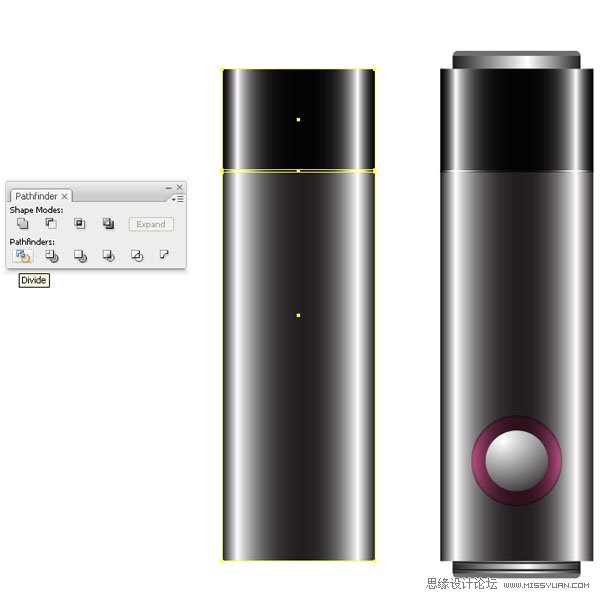
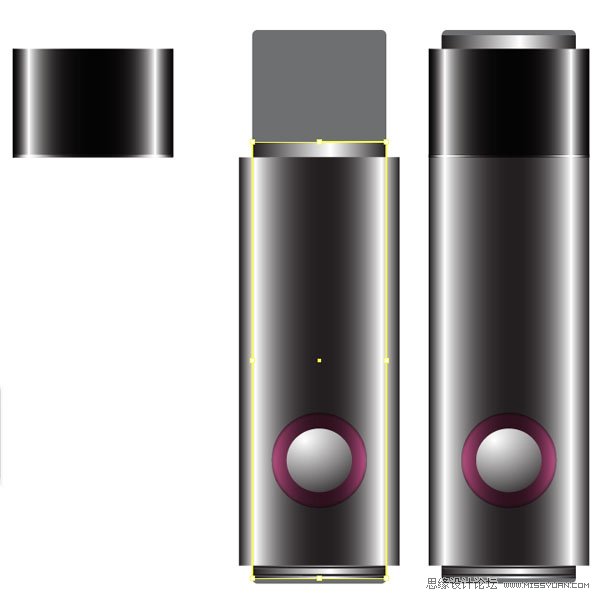
Let’s create the opened flash stick. Duplicate the cap shape, the small band shape and the main shape, then choose Divide in the Pathfinder Palette. Ungroup them and move the cap to the other side. Scale the smaller gradient filled shape with the Scale Tool (E). Also, scale the gray shape with the round corners in height until it is behind the main body shape.
21. 绘制打开盖子的U盘。复制盖子形状,小的条状形状和主体形状,然后在路径查找器调板中点“分割”按钮。把它们全部解散群组,把盖子(包括那个小的条状)移到另一边。使用自由变换工具(E)缩放渐变上的颜色比较少的形状。然后,灰色的圆角矩形缩放到同主体形状旁边(左边)的水平高度一样的高度。
Step 22
Now create a rectangle with the same width as the previously scaled shape, then fill it with a linear gradient. This will be our flash stick tip.
