
SpringBoot整合Nacos注册中心的实现示例
作者:Cloud_.
在微服务架构中,配置管理和动态路由是核心需求。Nacos 作为阿里巴巴开源的动态服务发现、配置管理和服务管理平台,能够帮助开发者实现配置热更新、多环境共享配置以及动态路由管理。本文将结合 Spring Boot 和 Spring Cloud Gateway,手把手教你实现以下功能:包含版本选择、核心配置、心跳机制及常见问题
- 配置热部署:不重启服务实时更新配置(如Redis参数)。
- 共享配置:多服务复用同一份公共配置(如公共Redis、数据库连接)。
- 动态路由:通过Nacos动态调整网关路由规则
一、环境准备
1.1 组件版本要求
| 组件 | 推荐版本 | 说明 |
|---|---|---|
| Spring Boot | 2.6.x | 长期支持版本 |
| Spring Cloud Alibaba | 2021.0.5.0 | 与Spring Boot 2.6.x兼容 |
| Nacos Server | 2.0.3 | 稳定生产版本 |
版本匹配至关重要! 参考官方版本关系
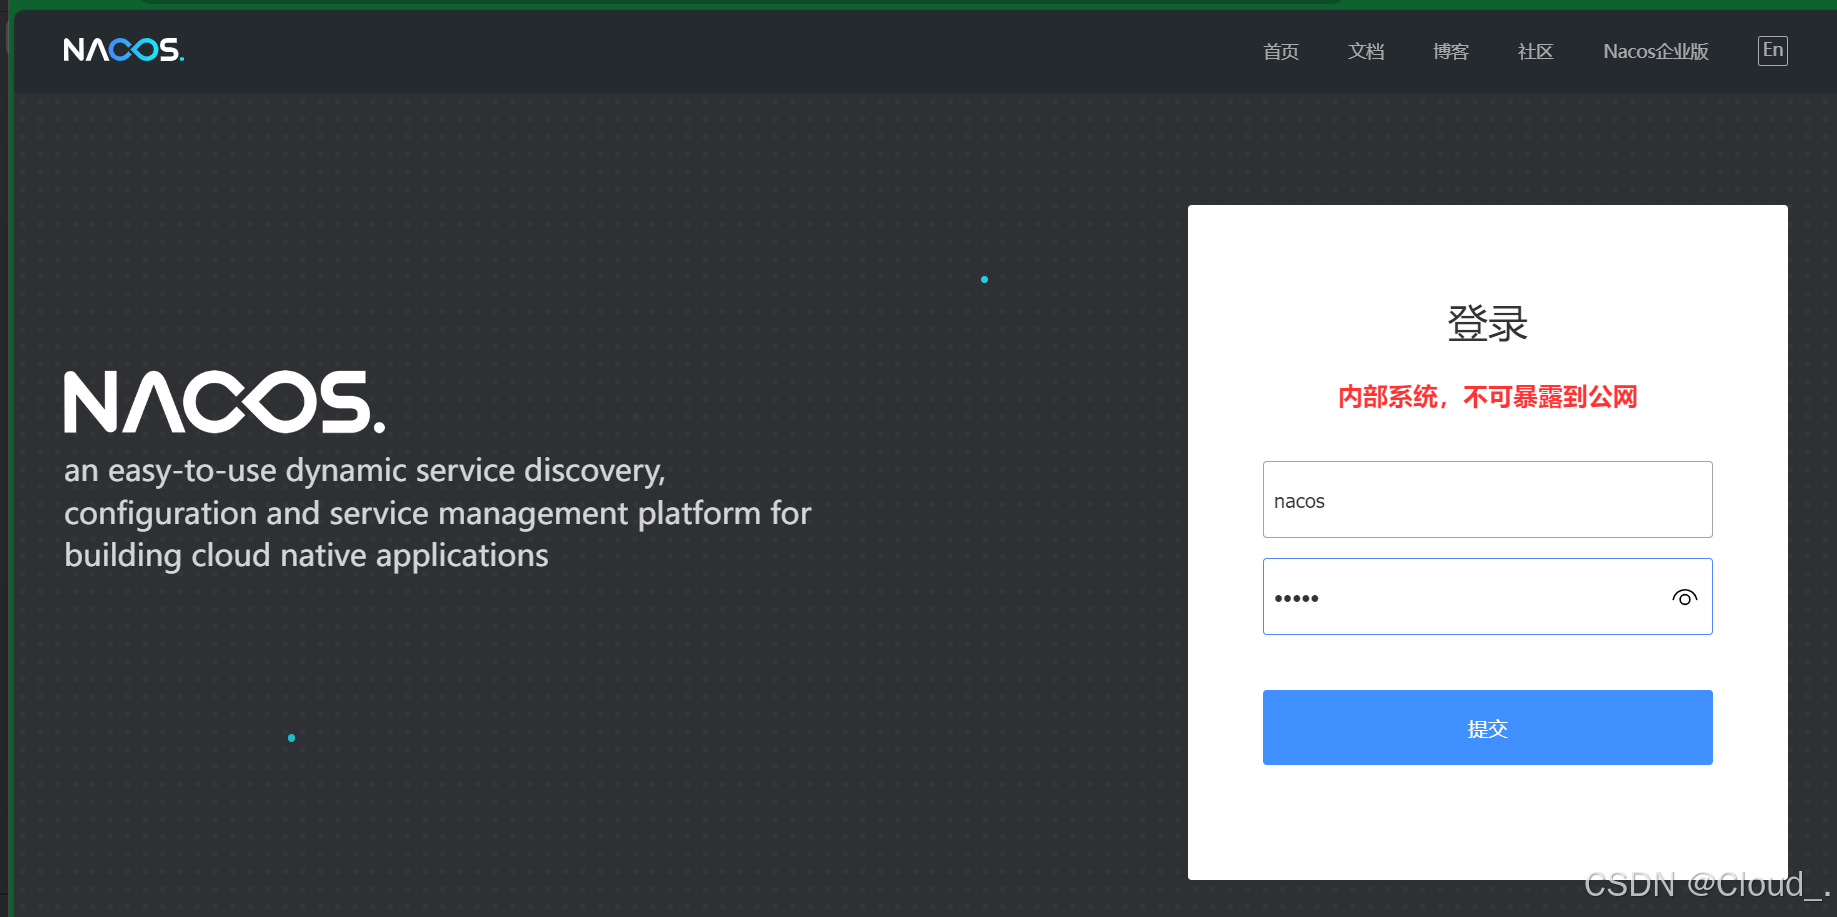
1.2 启动Nacos Server
# 单机模式启动(默认端口8848)
sh nacos/bin/startup.sh -m standalone

# 访问控制台
http://localhost:8848/nacos
默认账号:nacos/nacos
二、Spring Boot 整合步骤
2.1 手动添加依赖(可选)
若未通过Initializr创建,需添加:
<dependency>
    <groupId>com.alibaba.cloud</groupId>
    <artifactId>spring-cloud-starter-alibaba-nacos-discovery</artifactId>
    <version>2021.0.5.0</version>
</dependency>

<!-- Spring Cloud 版本管理 -->
<dependencyManagement>
    <dependencies>
        <dependency>
            <groupId>com.alibaba.cloud</groupId>
            <artifactId>spring-cloud-alibaba-dependencies</artifactId>
            <version>2021.0.5.0</version>
            <type>pom</type>
            <scope>import</scope>
        </dependency>
    </dependencies>
</dependencyManagement>
2.2核心配置
application.yml 配置示例:
spring:
  application:
    name: order-service  # 服务名称(Nacos按此名称分组)
  cloud:
    nacos:
      discovery:
        server-addr: 127.0.0.1:8848  # Nacos地址
        namespace: dev  # 命名空间ID(非名称)
        group: PROD_GROUP  # 自定义分组
        ephemeral: false  # 是否临时实例(默认为true)
        # 高级配置
        metadata:
          version: v1.0
          region: hangzhou
2.3 启用服务发现
在启动类添加注解:
@SpringBootApplication
@EnableDiscoveryClient  // 关键注解
public class OrderServiceApplication {
    public static void main(String[] args) {
        SpringApplication.run(OrderServiceApplication.class, args);
    }
}
三、高级配置技巧
3.1 心跳与健康检查
spring:
  cloud:
    nacos:
      discovery:
        # 心跳间隔(单位ms,默认5000)
        heart-beat-interval: 3000
        # 心跳超时(单位ms,默认15000)
        heart-beat-timeout: 10000
        # 实例过期时间(单位秒,默认90)
        instance-expire-seconds: 30
3.2 权重与保护阈值
spring:
  cloud:
    nacos:
      discovery:
        # 实例权重(0-1,默认1)
        weight: 0.8
        # 集群保护阈值(0-1,默认0)
        protection-threshold: 0.5
3.3 多网卡IP指定
spring:
  cloud:
    nacos:
      discovery:
        # 指定注册IP(Docker环境常用)
        ip: 192.168.1.100
        # 指定IP类型
        ip-type: IPv4
四、验证服务注册
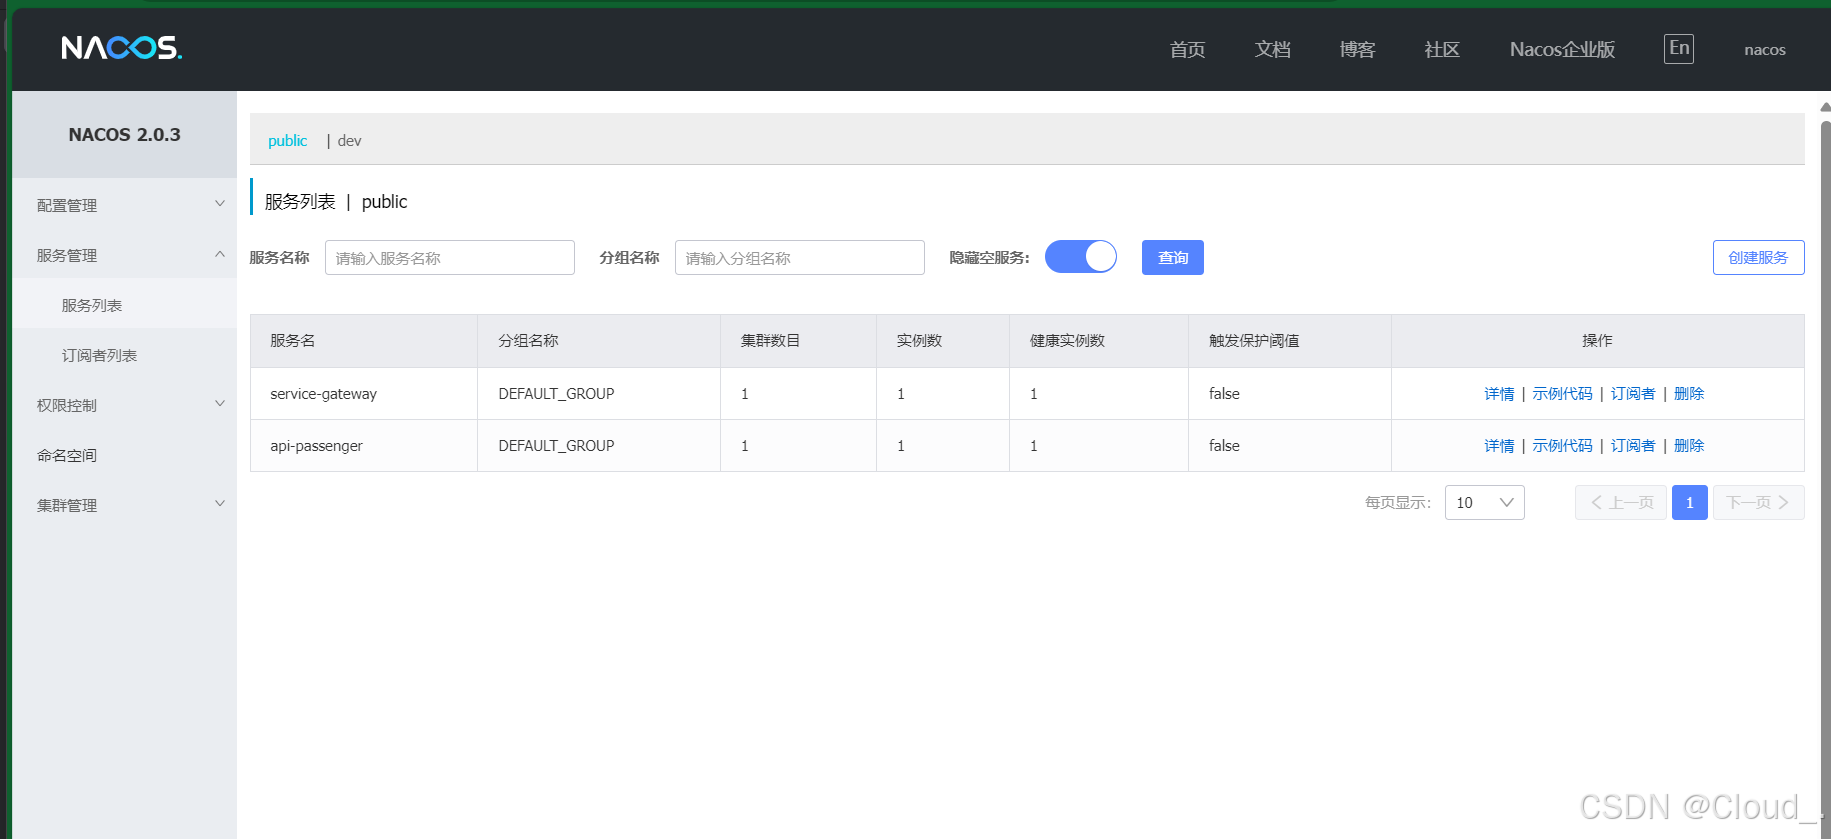
4.1 检查控制台
登录Nacos控制台 → 服务列表 → 查看服务状态
4.2 查看注册日志
在应用启动日志中搜索:
2023-10-01 12:00:00 INFO o.s.c.a.n.registry.NacosServiceRegistry : nacos registry, order-service 192.168.1.100:8080 register finished
五、常见问题解决方案
5.1 服务未注册排查流程
- 检查Nacos Server是否正常运行
- 确认
spring.cloud.nacos.discovery.server-addr配置正确 - 查看客户端日志是否有注册异常
- 验证网络连通性(telnet 8848)
- 检查版本兼容性
5.2 典型错误处理
错误现象:Connection refused (Connection refused)
解决方案:
spring:
  cloud:
    nacos:
      discovery:
        # 使用完整URL格式
        server-addr: http://nacos.example.com:8848
错误现象:no server available
解决方案:
// 添加JVM参数指定Nacos地址
-Dspring.cloud.nacos.discovery.server-addr=127.0.0.1:8848
以上我们就做好了Nacos的配置接下来实现热部署、共享配置与动态路由
Spring Boot整合Nacos实现热部署、共享配置与动态路由
一.项目依赖
在pom.xml中添加依赖:
<!-- Spring Cloud Alibaba Nacos Config -->
<dependency>
    <groupId>com.alibaba.cloud</groupId>
    <artifactId>spring-cloud-starter-alibaba-nacos-config</artifactId>
    <version>2022.0.0.0</version>
</dependency>

<!-- Spring Cloud Gateway -->
<dependency>
    <groupId>org.springframework.cloud</groupId>
    <artifactId>spring-cloud-starter-gateway</artifactId>
</dependency>
二、配置热部署与共享配置
1.配置热更新
目标:修改Nacos中的配置后,应用实时生效(无需重启)。
步骤:
创建配置文件
在Nacos控制台新建配置,Data ID为service-order.yaml(格式为${spring.application.name}.yaml),内容如下:
redis:
  host: 127.0.0.1
  port: 6379
Spring Boot配置
在bootstrap.yml中指定Nacos配置源:
spring:
  application:
    name: service-order
  cloud:
    nacos:
      config:
        server-addr: localhost:8848
        file-extension: yaml
        namespace: dev  # 可选,指定命名空间
动态刷新配置
在需要热更新的Bean上添加@RefreshScope:
@RestController
@RefreshScope
public class ConfigController {
    @Value("${redis.host}")
    private String redisHost;

    @GetMapping("/redis-host")
    public String getRedisHost() {
        return redisHost;
    }
}
验证:
- 修改Nacos中redis.host的值,访问/redis-host接口,观察返回值是否实时更新。
2.共享公共配置
目标:多个服务复用同一份配置(如公共Redis、MySQL连接)。
步骤:
创建共享配置
在Nacos中新建common-redis.yaml,内容如下:
redis:
  host: 192.168.1.100
  port: 6379
  password: 123456
服务引用共享配置
修改服务的bootstrap.yml,添加共享配置:
spring:
  cloud:
    nacos:
      config:
        shared-configs:
          - data-id: common-redis.yaml
            refresh: true  # 开启动态刷新
优先级:
- 服务私有配置 > 共享配置 > 默认配置。
三、Nacos整合Gateway实现动态路由
目标:通过Nacos动态管理网关路由规则,无需重启网关服务。
1.配置动态路由
创建路由配置
在Nacos中新建gateway-routes.yaml,内容如下(JSON格式):
routes:
  - id: user-service
    uri: lb://service-user  # 负载均衡到用户服务
    predicates:
      - Path=/user/**
    filters:
      - StripPrefix=1
Gateway监听Nacos配置
添加NacosRouteDefinitionRepository类实现动态路由加载:
@Component
public class NacosRouteDefinitionRepository implements RouteDefinitionRepository {
    @Autowired
    private NacosConfigManager nacosConfigManager;

    @Override
    public Flux<RouteDefinition> getRouteDefinitions() {
        String config = nacosConfigManager.getConfigService()
                .getConfig("gateway-routes.yaml", "DEFAULT_GROUP", 5000);
        List<RouteDefinition> routes = JSON.parseArray(config, RouteDefinition.class);
        return Flux.fromIterable(routes);
    }

    // 监听配置变化
    @PostConstruct
    public void init() {
        nacosConfigManager.getConfigService().addListener(
                "gateway-routes.yaml", "DEFAULT_GROUP",
                new AbstractListener() {
                    @Override
                    public void receiveConfigInfo(String configInfo) {
                        // 触发路由刷新
                        ApplicationEventPublisher.publishEvent(new RefreshRoutesEvent(this));
                    }
                });
    }
}
2.验证动态路由
- 初始路由生效:访问http://localhost:8080/user/1,请求应转发至service-user服务。
- 动态更新:在Nacos中修改gateway-routes.yaml,添加新的路由规则,观察网关是否自动生效。
四、总结与最佳实践
核心功能总结
| 功能 | 实现方案 | 优势 |
|---|---|---|
| 热部署 | @RefreshScope + Nacos配置监听 | 实时更新配置,避免服务重启 |
| 共享配置 | shared-configs引用公共Data ID | 统一管理,减少冗余配置 |
| 动态路由 | 监听Nacos配置 + RefreshRoutesEvent | 灵活调整流量,支持灰度发布 |
注意事项
- 配置格式:Nacos中的动态路由需使用JSON或YAML格式。
- 性能优化:频繁配置更新可能影响网关性能,建议合理设置刷新间隔。
- 安全加固:Nacos配置需设置权限控制,避免敏感信息泄露。
到此这篇关于SpringBoot整合Nacos注册中心的实现示例的文章就介绍到这了,更多相关SpringBoot Nacos注册中心内容请搜索脚本之家以前的文章或继续浏览下面的相关文章希望大家以后多多支持脚本之家!