SpringMVC 概念引入与连接的操作方法
作者:爱吃烤鸡翅的酸菜鱼
1.前言
哈喽大家好,今天来给大家带来Spring相关的学习,主要内容有概念的讲解以及如何分别通过Java代码和工具Postman来建立连接,那么话不多说让我们开始吧。
2.正文
2.1SpringMVC是什么
Spring MVC 是 Spring 框架的一个模块,专门用于构建 Web 应用程序。它基于经典的 MVC 设计模式(Model-View-Controller),将应用程序分为三层:
- Model(模型):封装数据(如数据库查询结果)。
- View(视图):展示数据(如 HTML 页面)。
- Controller(控制器):处理用户请求,协调 Model 和 View。
官方文档:
Spring Web MVC :: Spring Framework
https://docs.spring.io/spring-framework/reference/web/webmvc.html
使用它有哪些优点呢:
- 简化开发:通过注解和配置减少代码量。
- 灵活扩展:支持多种视图技术(JSP、Thymeleaf 等)。
- 与 Spring 生态无缝集成:如 Spring Security、Spring Data 等。
那么SpringMVC是如何处理用户发送过来的Http请求呢:
DispatcherServlet(前端控制器)
- 所有请求的入口,相当于“调度中心”。
- 负责将请求分发给对应的 Controller。
HandlerMapping(处理器映射器)
- 根据请求的 URL,找到对应的 Controller 和方法。
Controller(控制器)
- 处理业务逻辑(如查询数据库),返回 Model 和视图名称。
ViewResolver(视图解析器)
- 将视图名称(如
"home")解析为具体的视图(如/WEB-INF/home.jsp)。
View(视图)
- 渲染页面,将 Model 数据展示给用户。
流程:
用户请求 → DispatcherServlet → HandlerMapping → Controller → 返回 ModelAndView → ViewResolver → View → 响应给用户
2.2详解@RequestMapping注解
@RequestMapping 是 Spring MVC 中最核心的注解之一,用于将 HTTP 请求映射到具体的控制器方法。它支持灵活的 URL 匹配、请求方法限制、参数过滤等功能。(学习这一部分时,建议搭配后文使用)
基本用法:在类或方法上使用 @RequestMapping,指定 URL 路径:
@Controller
@RequestMapping("/user")  // 类级别的公共路径,类路径
public class UserController {
    @RequestMapping("/info")  // 完整路径是 /user/info,方法路径
    public String getUserInfo() {
        return "user_info";
    }
}
那么该注解到底是GET请求还是POST请求呢?这个时候我们就要来借助以下抓包工具:
测试代码:
package com.example.demo;
import org.springframework.web.bind.annotation.RequestMapping;
import org.springframework.web.bind.annotation.RestController;
@RestController
public class test1 {
    @RequestMapping("/hello")
    public String hello(){
        return "hello";
    }
}
此时可以看出来是GET请求。那有没有可能是POST请求呢?让我们来测试下:
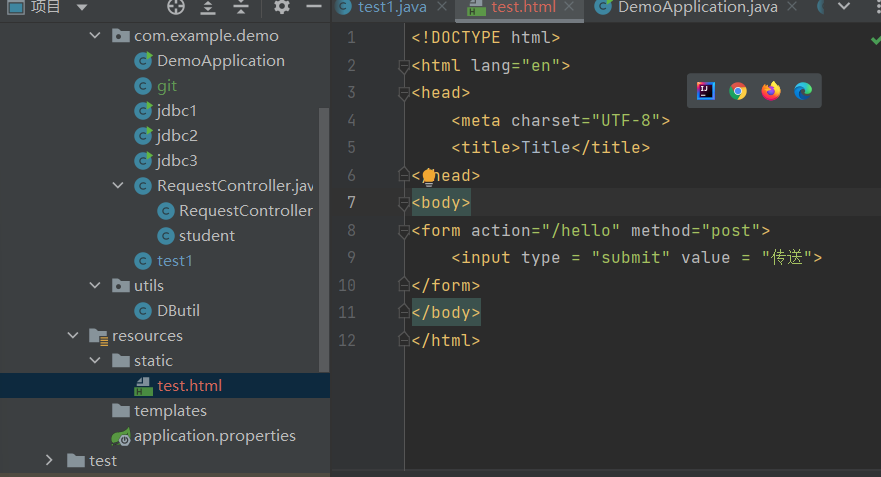
我们在static创建一个HTML文件:
<!DOCTYPE html>
<html lang="en">
<head>
    <meta charset="UTF-8">
    <title>Title</title>
</head>
<body>
<form action="/hello" method="post">
    <input type = "submit" value = "传送">
</form>
</body>
</html>

就会发现此时是POST请求 。
那么我们如何定义该注解是GET请求还是POST请求呢?
@RequestMapping(method=GET)
@RequestMapping(method=POST)
利用method设置一下即可。
总结下核心属性:
| 属性 | 作用 | 示例 |
|---|---|---|
value 或 path | 指定 URL 路径 | @RequestMapping("/user") |
method | 限制请求方法(GET、POST 等) | method = RequestMethod.POST |
params | 要求请求必须包含特定参数 | params = "id=100"(参数 id 必须为 100) |
headers | 要求请求头包含特定字段 | headers = "Content-Type=text/json" |
consumes | 限制请求的 Content-Type(如接收 JSON) | consumes = "application/json" |
produces | 指定响应的 Content-Type(如返回 JSON) | produces = "application/json" |
2.3创建Spring项目
既然我们学习了该注解,那么就要想办法应用出来,所以我们们需要先创建一个Spring项目
在idea社区版装上Spring插件或者使用Spring专业版,创建项目时勾选:

接着导入SpringWeb相关模块:
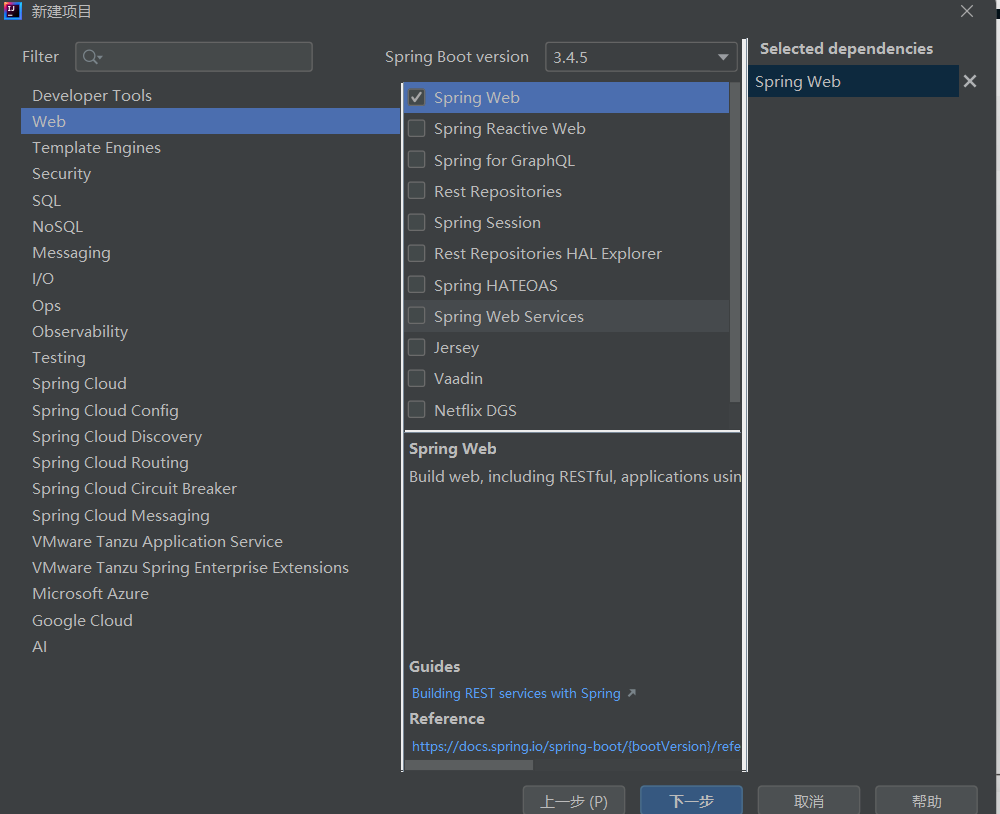
这样就完成了Spring项目的创建。
2.4建立连接
下面我们在idea中建立连接:
package com.example.demo;
import org.springframework.web.bind.annotation.RequestMapping;
import org.springframework.web.bind.annotation.RestController;
@RestController
public class test1 {
    @RequestMapping("/hello")
    public String hello(){
        return "hello";
    }
}
资源路径:类路径+方法路径。
核心注解说明:
1.
@RestController
- 是
@Controller+@ResponseBody的组合注解。- 作用:
- 标记这个类是一个控制器,能接收 HTTP 请求。
- 所有方法的返回值会直接写入 HTTP 响应体(Response Body),而不是跳转到视图页面。
- 适合场景:开发 RESTful API(返回 JSON/XML 数据)。
2.
@RequestMapping("/hello")
- 作用:将 HTTP 请求路径
/hello映射到hello()方法。- 默认行为:
- 支持所有 HTTP 方法(GET、POST、PUT 等)。
- 返回的字符串 "hello" 会直接作为响应内容返回给客户端。
当我们运行项目并在浏览器访问访问 http://localhost:8080/hello时:
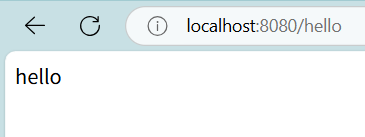
这样就代表连接成功。
如果注解相同,那么就必须保证资源路径(类路径+方法路径)不同:
package com.example.demo;
import org.springframework.web.bind.annotation.RequestMapping;
import org.springframework.web.bind.annotation.RestController;
@RestController
public class test1 {
    @RequestMapping("/hello")
    public String hello(){
        return "hello";
    }
    @RequestMapping("/hello")
    public String hello1(String name){ return "hello" + name; }
}
项目直接启动报错并退出:

红线标注部分“error”就是错误日志了。
package com.example.demo;
import org.springframework.web.bind.annotation.RequestMapping;
import org.springframework.web.bind.annotation.RestController;
@RestController
public class test1 {
    @RequestMapping("/hello")
    public String hello(){
        return "hello";
    }
    @RequestMapping("/hello1")
    public String hello1(String name){ return "hello" + name; }
}
这样即可正常运行:

2.5Postman
官网:Download Postman | Get Started for Free
https://www.postman.com/downloads/
Postman是什么呢:
Postman 是一款API 开发与测试工具,被广泛用于设计、调试、测试和文档化 HTTP 接口。无论是后端开发者、测试工程师,还是前端开发者,都可以用它快速验证 API 的功能和可靠性。
- 发送 HTTP 请求(GET/POST/PUT/DELETE 等)。
- 自动化测试 API 接口。
- 管理 API 集合(分类、分组、共享)。
- 生成 API 文档。
- 模拟服务器(Mock Server)。
- 团队协作(共享工作区)。
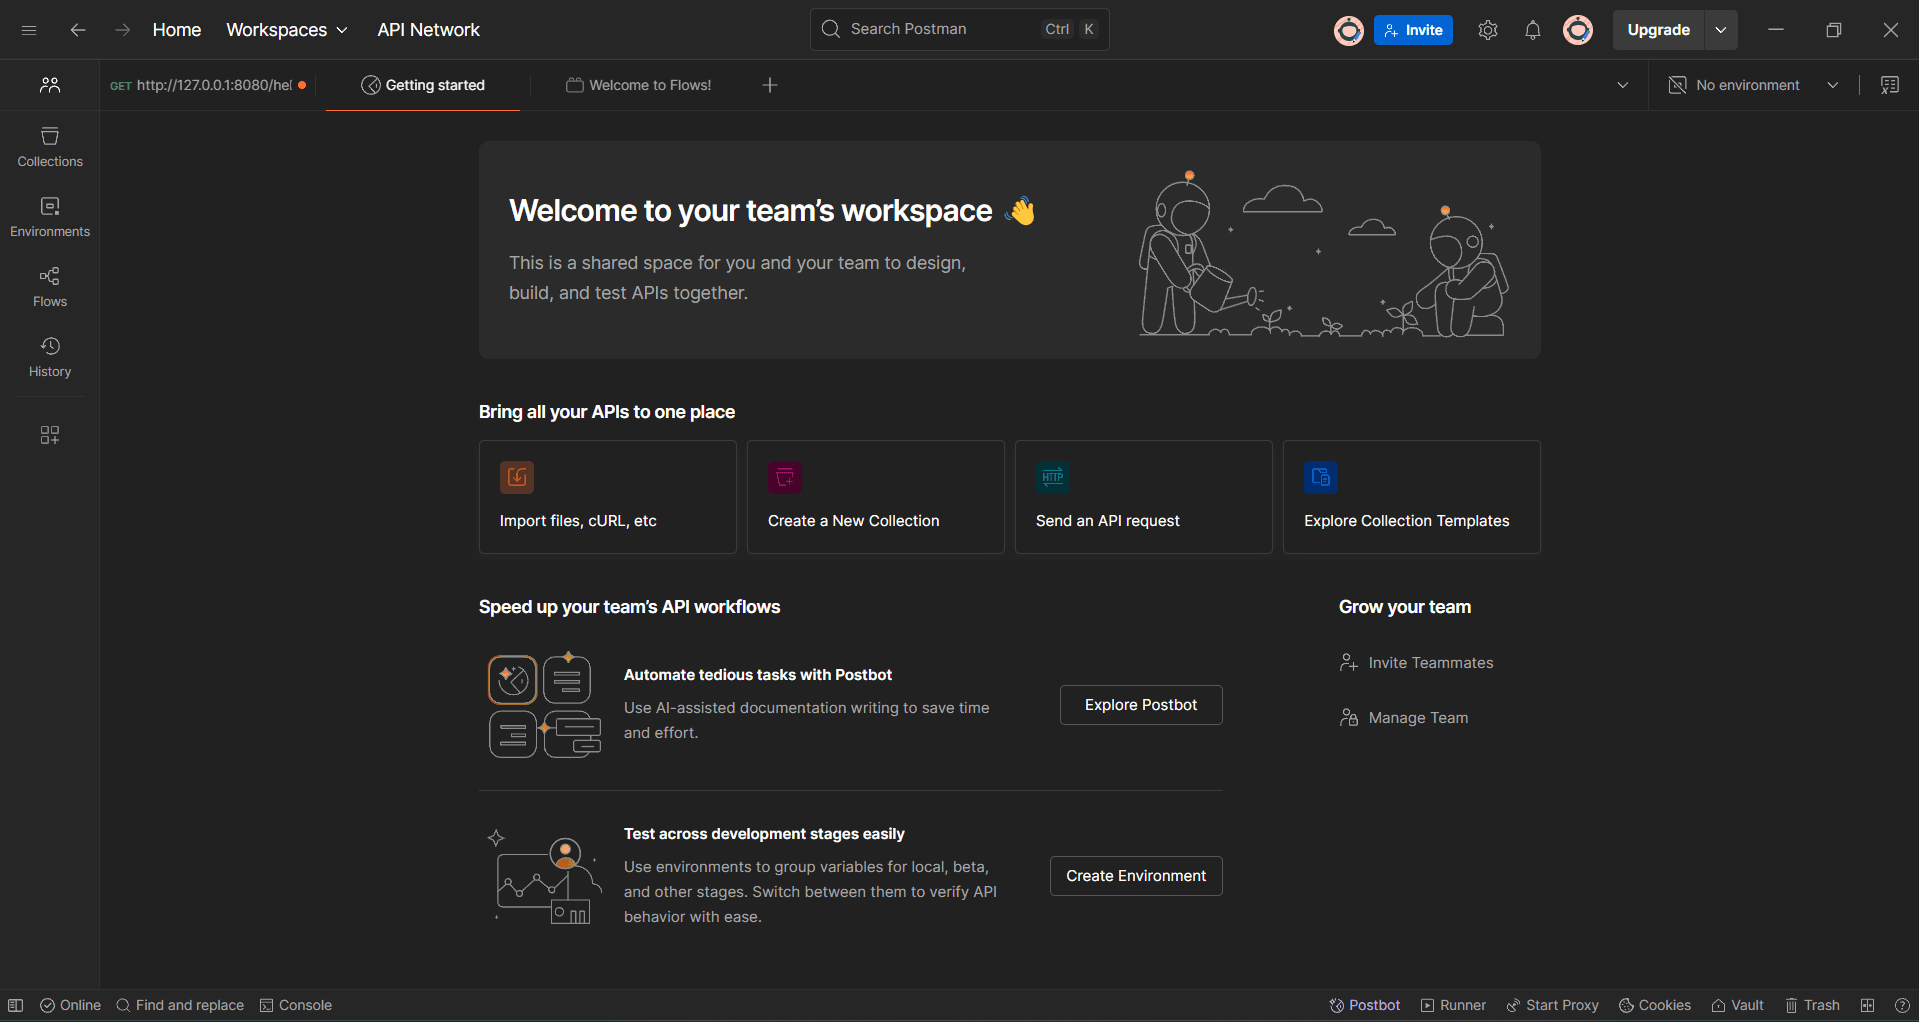
页面看起来还是很清新的。
就还拿上一段代码来测试,第二个方法还有一个参数name,我们在Postman里可以快捷在请求中添加参数,注意参数名一定要相同。
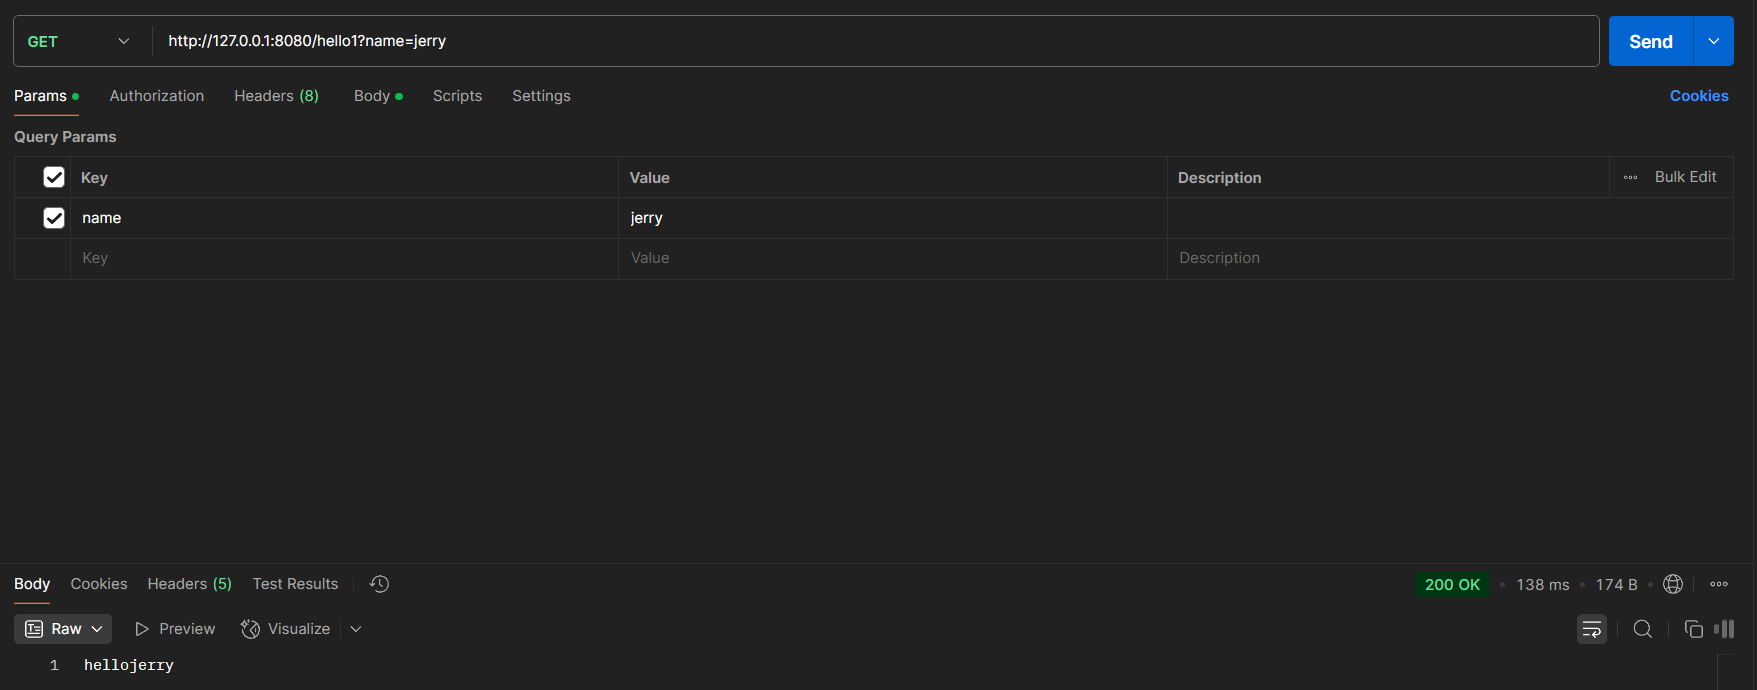
发送成功。
3.小结
今天的分享到这里就结束了,喜欢的小伙伴点点赞点点关注,你的支持就是对我最大的鼓励,大家加油!
到此这篇关于SpringMVC 概念引入与连接的文章就介绍到这了,更多相关SpringMVC 概念引入与连接内容请搜索脚本之家以前的文章或继续浏览下面的相关文章希望大家以后多多支持脚本之家!
