
springboot连接oracle全流程
作者:qq_39095899
这篇文章主要介绍了springboot连接oracle全流程,具有很好的参考价值,希望对大家有所帮助,如有错误或未考虑完全的地方,望不吝赐教
springboot连接oracle
创建一个springboot项目
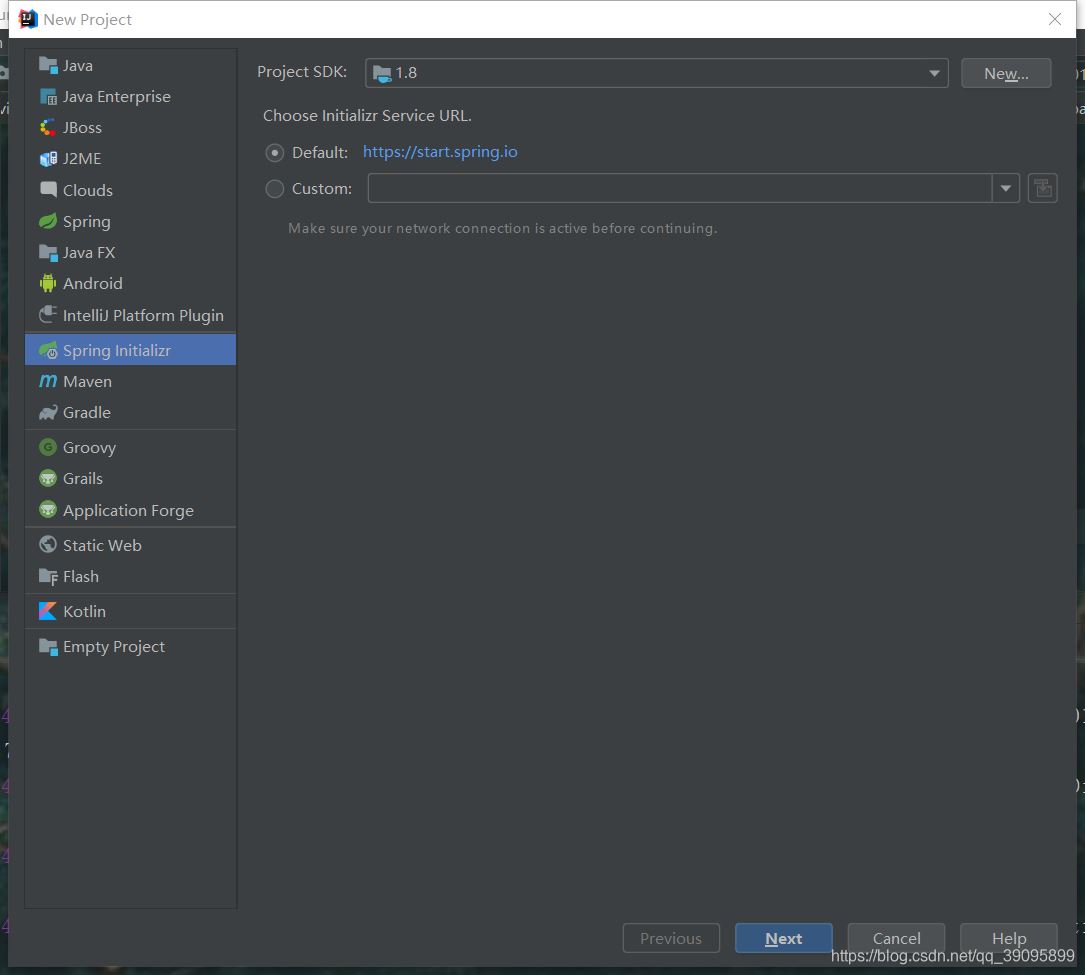
第一步:new —>project—>spring Initializr—>next
下一个页面直接next
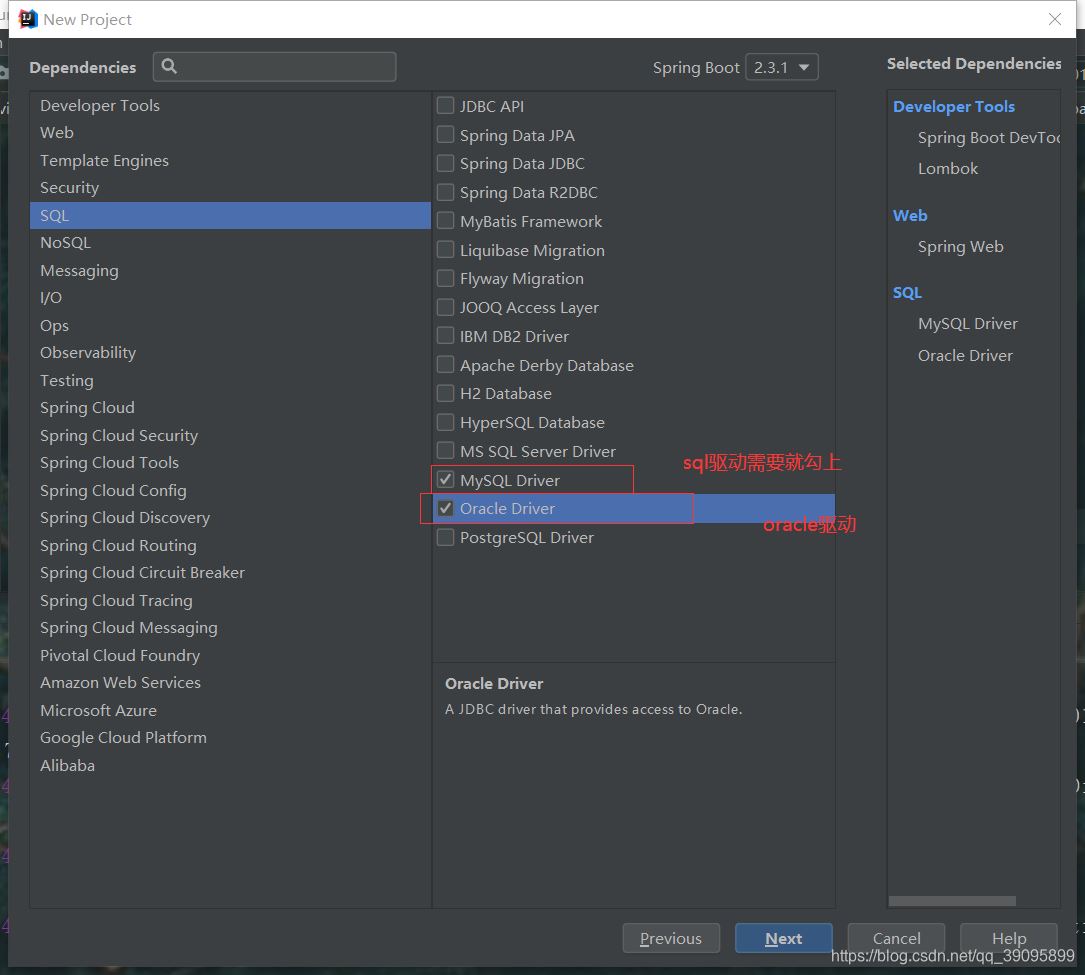
这里需要勾选上一些东西了比如热部署,lombok、web、oracle Driver

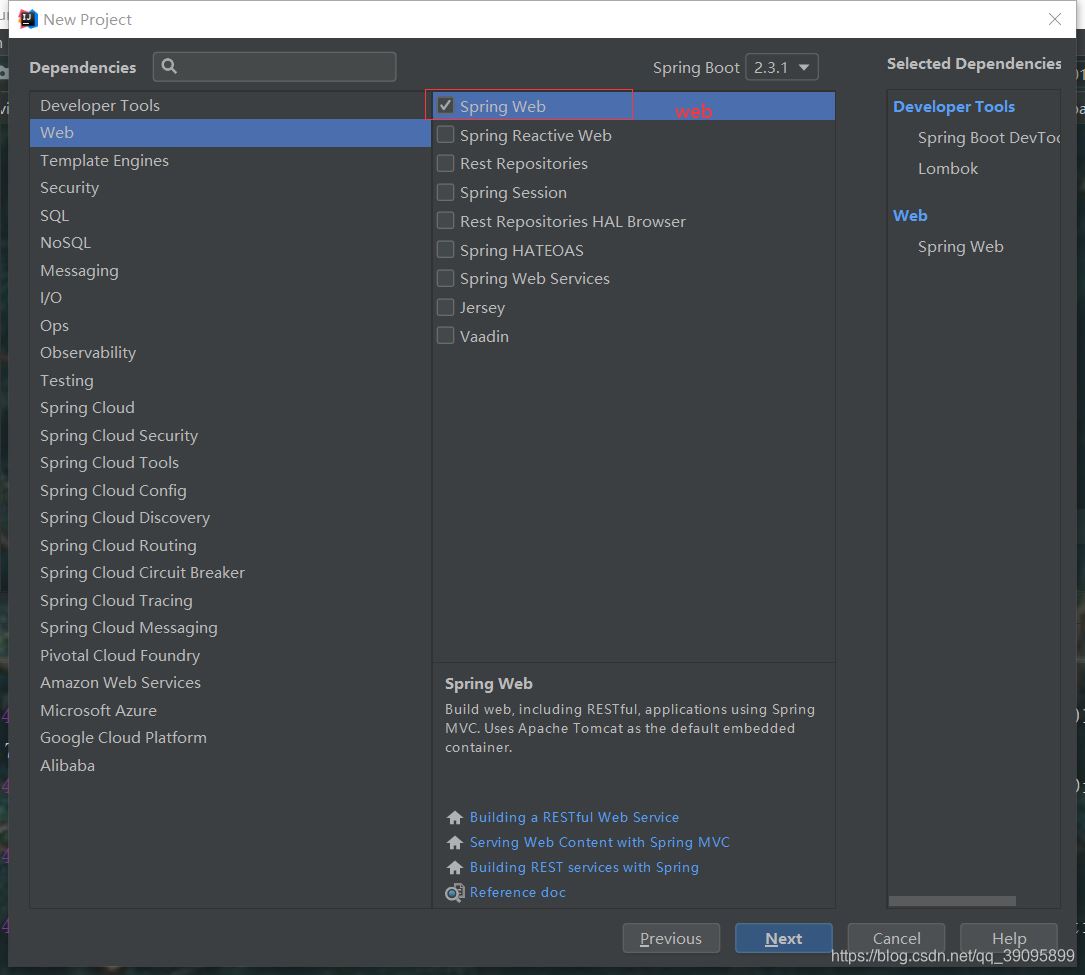
mysql驱动可选
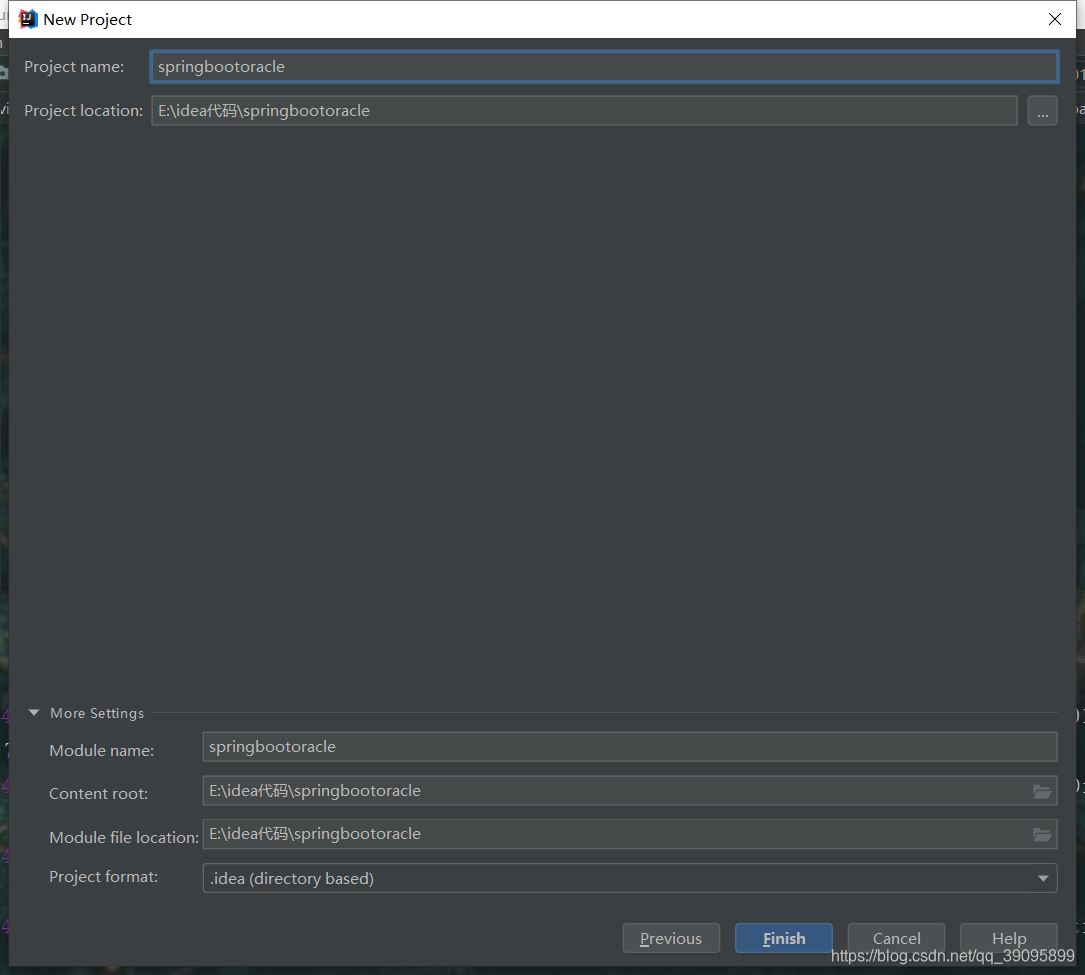
完成
下面这俩个使用自动导入,应用插件lombok。
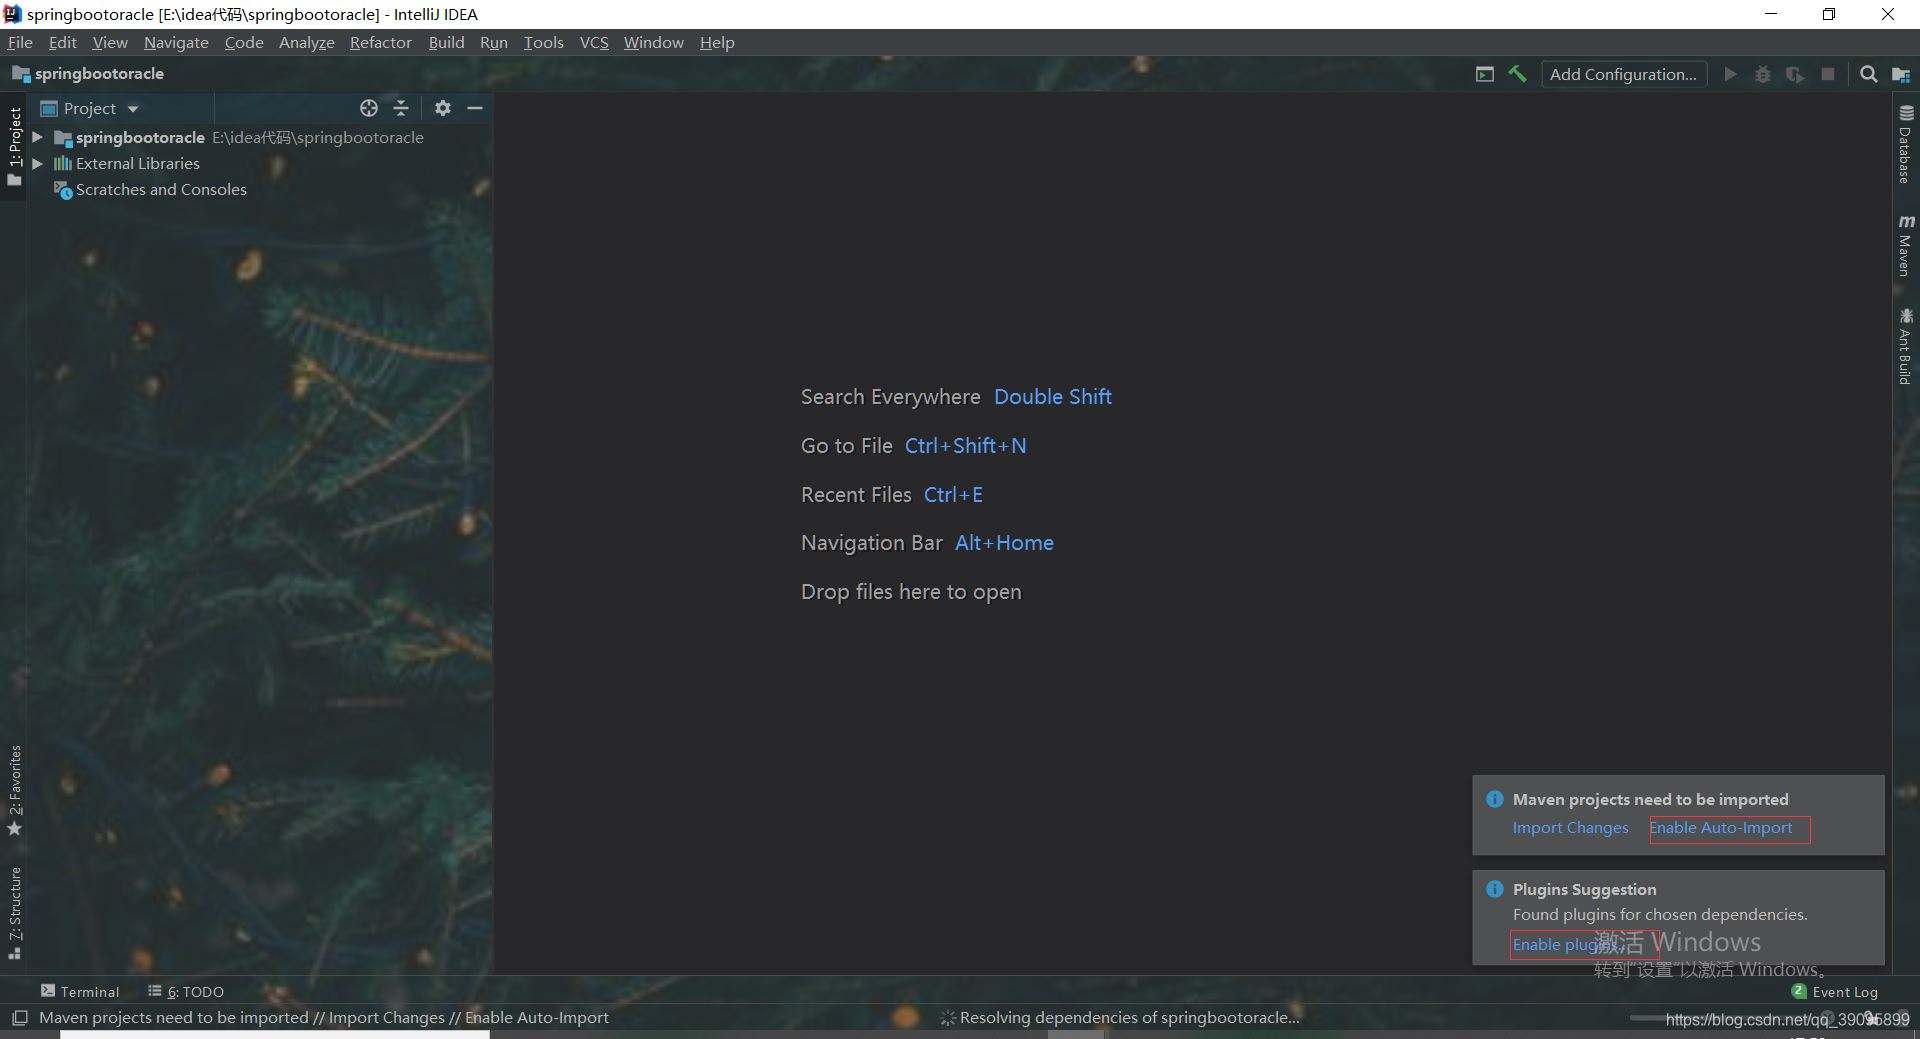
过一会弹出个这样的框点ok就行了。还会弹出一个让你重启idea的,这样你的插件才能可使用。

此时springboot就建好了。剩下的就是写代码了。
连接oracle数据的代码示例
- pom.xml中,其他的由idea自动生成
		<dependency>
            <groupId>org.projectlombok</groupId>
            <artifactId>lombok</artifactId>
            <optional>true</optional>
        </dependency>
        <dependency>
            <groupId>com.oracle.ojdbc</groupId>
            <artifactId>ojdbc8</artifactId>
            <scope>runtime</scope>
</dependency>- 在application.properties中配置
##springboot连接数据库
spring.datasource.platform=oracle
spring.datasource.driver-class-name=oracle.jdbc.driver.OracleDriver
spring.datasource.url=jdbc:oracle:thin:@127.0.0.1:1521:orcl
spring.datasource.username=xixi
spring.datasource.password=123456
##springboot关联mybatis
##sqlmapper映射文件位置
mybatis.mapper-locations=classpath:/sqlMapper/*Mapper.xml
##下划线到驼峰式命名法映射
mybatis.configuration.map-underscore-to-camel-case=true
##类起别名
mybatis.type-aliases-package=com.it.springbootoracle.pojo
## 配置支持单个文件大于1M的  文件上传
spring.servlet.multipart.max-file-size=100MB
## 配置一次请求文件上传的最大值
spring.servlet.multipart.max-request-size=1000MB
- 在主类中加入扫描的mapper包
@MapperScan("com.it.springbootoracle.mapper")- sqlMapper.xml
	<select id="findAll" resultType="Dept">
      select * from dept
    </select>
    <select id="findByDeptno" resultType="Dept">
        select * from dept where deptno=#{deptno}
    </select>
    <update id="update" parameterType="Dept">
        update dept set dname=#{dname},loc=#{loc},imagepath=#{imagepath} where deptno=#{deptno}
    </update>
    <delete id="delete">
        delete from dept where deptno=#{deptno}
    </delete>
    <insert id="save" parameterType="Dept">
        insert into dept (deptno,dname,loc,imgpath) values (seq_dept_deptno.nextval,#{dname},#{loc},#{imgpath})
    </insert>
从controller到mapper层自己跟之前的博客一样
thymeleaf(了解) == jsp(el,jstl) 转发
- 在pom.xml中添加
		<dependency>
            <groupId>org.springframework.boot</groupId>
            <artifactId>spring-boot-starter-thymeleaf</artifactId>
</dependency>- 在application.properties中添加thymeleaf配置
###Thymeleaf配置
spring.thymeleaf.prefix=classpath:/static/
spring.thymeleaf.suffix=.html
spring.thymeleaf.cache=false
spring.thymeleaf.encoding=UTF-8
## 2.1.3必须配置,不配置找不到html页面
spring.thymeleaf.mode=HTML5
###过滤中文乱码
spring.http.encoding.force=true
spring.http.encoding.charset=UTF-8
spring.http.encoding.enabled=true
- controler层
@Controller
@RequestMapping("dept2")
@MultipartConfig
public class DeptController2 {
    @Autowired
    private DeptService deptService;
    @RequestMapping("save")
    public String save(Dept dept, MultipartFile myFile, HttpServletRequest request){
        try {
            myFile.transferTo(new File("E:\\idea代码\\springbootoracle\\src\\main\\resources\\static\\upload\\"+myFile.getOriginalFilename()));
        } catch (IOException e) {
            e.printStackTrace();
        }
        dept.setImgpath("upload/"+myFile.getOriginalFilename());
        deptService.save(dept);
        return "deptlist";
}- dept.html
   <form action="dept2/save" enctype="multipart/form-data" method="post">
        部门名称:<input type="text" name="dname"><br>
        部门地址:<input type="text" name="loc"><br>
        logo:<input type="file" name="myFile"><br>
        <input type="submit" value="保存">
</form>- deptList.html
    <script type="text/javascript" src="js/jquery.min.js"></script>
    <script>
        $(function () {
            $.get("/dept/findAll",function (data) {
                $.each(data,function (index,obj) {
                    var tr = "<tr>" +
                        "<td>"+obj.deptno+"</td>" +
                        "<td>"+obj.dname+"</td>" +
                        "<td>"+obj.loc+"</td>" +
                        "<td><img width=\"200px\" height=\"100px\" src='/"+obj.imgpath+"'></td>" +
                        "</tr>";
                    $("table tbody").append(tr);
                });
            },"json");
        });
    </script>
先访问dept.html输入数据。在打开一个页面输入deptList.html。就可以看到效果
总结
以上为个人经验,希望能给大家一个参考,也希望大家多多支持脚本之家。