
Java调用Deepseek-R1.1.5b大模型的超详细教程(附代码)
作者:小星袁
这篇文章主要为大家介绍了Java调用Deepseek-R1.1.5b大模型的超详细教程并附上了代码,文中的教程讲解详细,有需要的小伙伴可以参考一下
一、部署本地 DeepSeek 模型(核心步骤)
步骤可参考:deepseek本地部署及java、python调用步骤详解
二、Java本地测试代码
public class OllamaDemo {

    private static final String API_URL = "http://localhost:11435/api/generate";

    public static final String askDeepSeek(String prompt) {
        JSONObject param = new JSONObject();
        param.set("model", "deepseek-r1:1.5b")
                .set("prompt", prompt)
                .set("stream", false)
                .set("temperature", 0.7);
        return HttpRequest.post(API_URL)
                .body(param.toString())
                .timeout(30000)
                .execute()
                .body();
    }

    public static void main(String[] args) {
        Scanner scanner = new Scanner(System.in);
        System.out.println("请输入你的问题(输入退出停止运行):");
        String question = scanner.nextLine();
        System.out.println(askDeepSeek(question));
    }
}
三、Java实现跨域代码
3.1 Controller类
public JsonResult getQuestion(String question) {
        return JsonResult.ok(questionService.getAnswer(question));
    }
3.2 Service接口
String getAnswer(String question);
3.3 Service类
private static final String API_URL = "http://localhost:11435/api/generate";

public String getAnswer(String question) {
        JSONObject param = new JSONObject();
        param.set("model", "deepseek-r1:1.5b")
                .set("prompt", prompt)
                .set("stream", false)
                .set("temperature", 0.7);
        String responseBody = HttpRequest.post(API_URL)
                .body(param.toString())
                .timeout(30000)
                .execute()
                .body();
        JSONObject responseJson = new JSONObject(responseBody);
        return responseJson.getStr("response");
    }
3.4 html代码
<!DOCTYPE html>
<html lang="zh-CN">
<head>
<meta charset="UTF-8">
<meta name="viewport" content="width=device-width, initial-scale=1.0">
<title>DeepSeek 智能对话</title>
<style>
:root {
--user-bg: #4F46E5;
--bot-bg: #F3F4F6;
--text-primary: #1F2937;
--border-color: #E5E7EB;
}
body {
margin: 0;
min-height: 100vh;
font-family: 'Segoe UI', system-ui, -apple-system;
background: #F9FAFB;
display: flex;
flex-direction: column;
}
.chat-container {
flex: 1;
max-width: 800px;
margin: 0 auto;
width: 100%;
padding: 1rem;
overflow-y: auto;
}
.message {
display: flex;
gap: 1rem;
margin-bottom: 1.5rem;
animation: fadeIn 0.3s ease;
}
.user-message {
flex-direction: row-reverse;
}
.avatar {
width: 32px;
height: 32px;
border-radius: 6px;
background: var(--user-bg);
display: flex;
align-items: center;
justify-content: center;
color: white;
font-weight: 500;
}
.bot .avatar {
background: #6B7280;
}
.content {
max-width: 85%;
padding: 1rem;
border-radius: 0.75rem;
background: white;
box-shadow: 0 2px 4px rgba(0,0,0,0.05);
}
.user .content {
background: var(--user-bg);
color: white;
}
.typing-indicator {
display: inline-flex;
gap: 0.25rem;
padding: 0.5rem;
}
.typing-dot {
width: 6px;
height: 6px;
background: #9CA3AF;
border-radius: 50%;
animation: bounce 1.4s infinite;
}
@keyframes bounce {
0%, 100% { transform: translateY(0); }
50% { transform: translateY(-4px); }
}
.input-area {
border-top: 1px solid var(--border-color);
padding: 1.5rem;
background: white;
}
.input-wrapper {
max-width: 800px;
margin: 0 auto;
display: flex;
gap: 1rem;
align-items: center;
}
#question {
flex: 1;
padding: 0.75rem 1rem;
border: 1px solid var(--border-color);
border-radius: 0.75rem;
resize: none;
min-height: 44px;
max-height: 200px;
}
</style>
</head>
<body>
<div class="chat-container" id="chatContainer">
<!-- 示例对话 -->
<div class="message bot">
<div class="avatar">AI</div>
<div class="content">您好!我是DeepSeek智能助手,有什么可以帮您?</div>
</div>
</div>
<div class="input-area">
<div class="input-wrapper">
<textarea
id="question"
placeholder="输入消息..."
rows="1"
onkeydown="handleKeyDown(event)"
></textarea>
<button onclick="sendMessage()" class="send-btn">
发送
</button>
</div>
</div>
<script>
function sendMessage() {
const input = document.getElementById('question');
const message = input.value.trim();
if (!message) return;
// 添加用户消息
addMessage(message, 'user');
input.value = '';
// 显示加载状态
const loader = addLoader();
fetch(`http://localhost:8081/ai/get?question=${encodeURIComponent(message)}`)
.then(response => response.json())
.then(data => {
removeLoader(loader);
if(data.code === 2001) {
typewriterEffect(data.data);
} else {
addMessage(`错误:${data.msg}`, 'bot');
}
})
.catch(() => {
removeLoader(loader);
addMessage("服务暂时不可用,请稍后再试", 'bot');
});
}
function addMessage(text, type) {
const container = document.getElementById('chatContainer');
const messageDiv = document.createElement('div');
messageDiv.className = `message ${type}`;
messageDiv.innerHTML = `
<div class="avatar">${type === 'user' ? '你' : 'AI'}</div>
<div class="content">${text}</div>
`;
container.appendChild(messageDiv);
container.scrollTop = container.scrollHeight;
}
function addLoader() {
const container = document.getElementById('chatContainer');
const loaderDiv = document.createElement('div');
loaderDiv.className = 'message bot';
loaderDiv.innerHTML = `
<div class="avatar">AI</div>
<div class="content">
<div class="typing-indicator">
<div class="typing-dot"></div>
<div class="typing-dot"></div>
<div class="typing-dot"></div>
</div>
</div>
`;
container.appendChild(loaderDiv);
container.scrollTop = container.scrollHeight;
return loaderDiv;
}
function removeLoader(element) {
element.remove();
}
function typewriterEffect(text) {
const container = document.getElementById('chatContainer');
const messageDiv = document.createElement('div');
messageDiv.className = 'message bot';
messageDiv.innerHTML = `
<div class="avatar">AI</div>
<div class="content"></div>
`;
container.appendChild(messageDiv);
const contentDiv = messageDiv.querySelector('.content');
let index = 0;
function type() {
if (index < text.length) {
contentDiv.innerHTML += text.charAt(index);
index++;
setTimeout(type, 20);
container.scrollTop = container.scrollHeight;
}
}
type();
}
function handleKeyDown(event) {
if (event.key === 'Enter' && !event.shiftKey) {
event.preventDefault();
sendMessage();
}
}
</script>
</body>
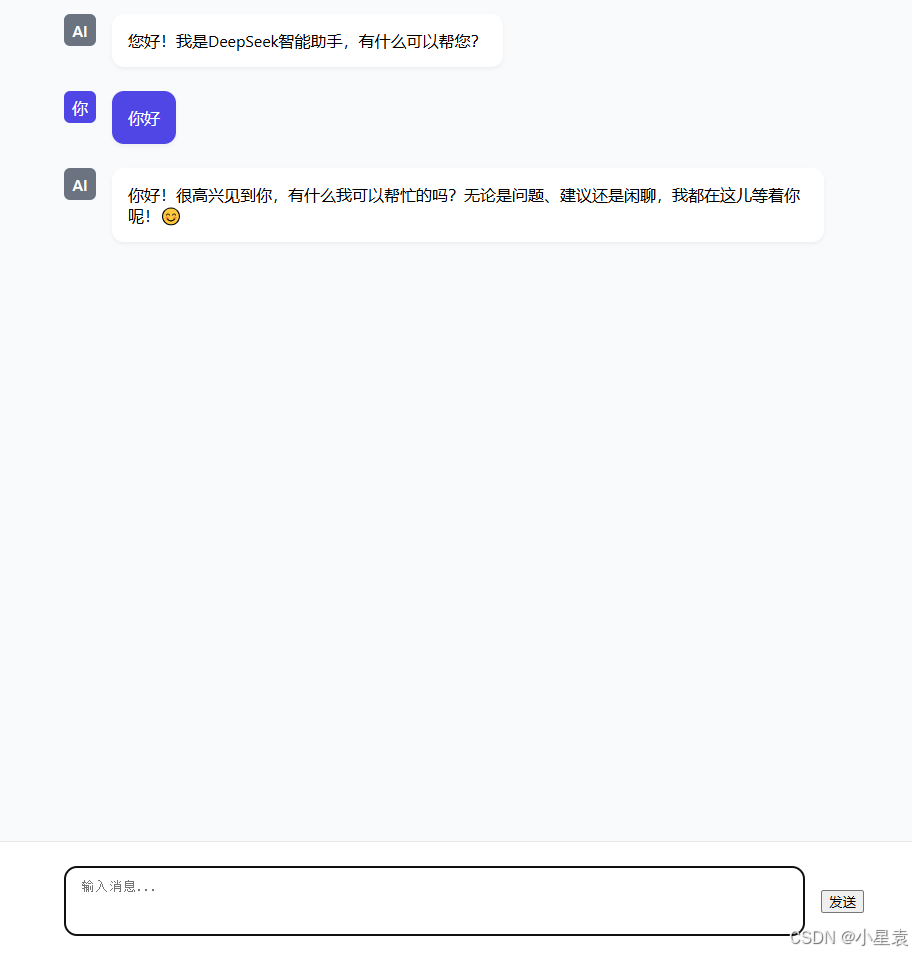
</html>3.5 结果展示
到此这篇关于Java调用Deepseek-R1.1.5b大模型的超详细教程的文章就介绍到这了,更多相关Java调用Deepseek-R1.1.5b模型内容请搜索脚本之家以前的文章或继续浏览下面的相关文章希望大家以后多多支持脚本之家!