WPF自定义控件实现ItemsControl鱼眼效果
作者:阿金啊
这篇文章主要为大家详细介绍了WPF如何通过自定义控件实现ItemsControl鱼眼效果,文中的示例代码讲解详细,需要的可以参考一下
原理
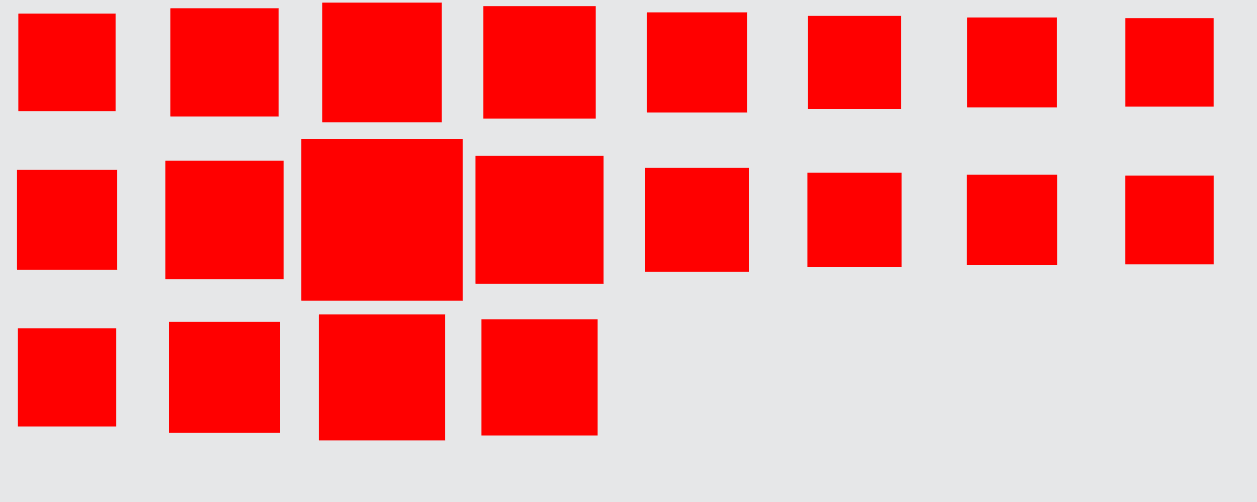
先获取鼠标在控件中的坐标,在获取其每一项相对于ItemsControl的坐标,然后计算每一项离当前鼠标的距离,在根据这个距离,对其每一项进行适当的缩放
实现
创建一个类,命名为FishEyeItemsControl
public class FishEyeItemsControl : ItemsControl
添加应用鱼眼效果方法(控制其控件的缩放)
private void ApplyFishEyeEffect(UIElement element, double strength, double additionalScale = 0.0)
{
    // 将鱼眼效果应用于控件的正中心位置

    // 获取控件的宽度和高度
    double width = element.RenderSize.Width;
    double height = element.RenderSize.Height;

    // 计算控件的正中心位置
    double centerX = width / 2.0;
    double centerY = height / 2.0;

    // 创建 ScaleTransform 对象并设置缩放中心为控件的正中心
    ScaleTransform scaleTransform = new ScaleTransform();
    scaleTransform.CenterX = centerX;
    scaleTransform.CenterY = centerY;

    // 根据强度调整缩放比例
    scaleTransform.ScaleX = strength + additionalScale;
    scaleTransform.ScaleY = strength + additionalScale;

    // 将 ScaleTransform 应用于控件的 RenderTransform
    element.RenderTransform = scaleTransform;
}
当鼠标移入到ItemsControl区域内时,计算其项距离鼠标距离,实现鱼眼效果
CalculateStrength方法可根据实际需求进行更改
protected override void OnMouseMove(MouseEventArgs e)
{
    base.OnMouseMove(e);
    Point mousePosition = e.GetPosition(this);
    hoveredIndex = -1;

    for (int i = 0; i < Items.Count; i++)
    {
        UIElement element = ItemContainerGenerator.ContainerFromIndex(i) as UIElement;

        if (element != null)
        {
            Point itemPosition = element.TranslatePoint(new Point(element.RenderSize.Width / 2, element.RenderSize.Height / 2), this);
            double distance = CalculateDistance(mousePosition, itemPosition);
            double strength = CalculateStrength(distance);

            ApplyFishEyeEffect(element, strength, Scale);

            if (distance < element.RenderSize.Width)
            {
                hoveredIndex = i;
            }
        }
    }
}

private double CalculateDistance(Point p1, Point p2)
{
    double dx = p1.X - p2.X;
    double dy = p1.Y - p2.Y;
    return Math.Sqrt(dx * dx + dy * dy);
}

private double CalculateStrength(double distance)
{
    // 根据距离计算变换的强度
    var strength = 1.0;
    strength = Math.Exp(-distance / 100);
    return strength;
}
当鼠标离开ItemsControl时,进行效果还原
protected override void OnMouseLeave(MouseEventArgs e)
{
    base.OnMouseLeave(e);

    for (int i = 0; i < Items.Count; i++)
    {
        UIElement element = ItemContainerGenerator.ContainerFromIndex(i) as UIElement;

        if (element != null)
        {
            ApplyFishEyeEffect(element, 1.0);
        }
    }
    hoveredIndex = -1;
}
添加背景色,如果未设置,当鼠标处于两个项之间的空间会触发OnMouseLeave
public FishEyeItemsControl()
{
    this.Background = Brushes.Transparent;
}
属性
依赖属性Scale是为了在Xaml中动态修改其效果
private int hoveredIndex = -1;

#region DependencyProperty

public double Scale
{
    get { return (double)GetValue(ScaleProperty); }
    set { SetValue(ScaleProperty, value); }
}

// Using a DependencyProperty as the backing store for Scale.  This enables animation, styling, binding, etc...
public static readonly DependencyProperty ScaleProperty =
    DependencyProperty.Register("Scale", typeof(double), typeof(FishEyeItemsControl), new FrameworkPropertyMetadata(1.0, FrameworkPropertyMetadataOptions.BindsTwoWayByDefault));

#endregion
Xaml
<zWorkUi:FishEyeItemsControl
      Width="800"
      Height="600"
      ItemsSource="{Binding TestList}">
      <zWorkUi:FishEyeItemsControl.ItemsPanel>
          <ItemsPanelTemplate>
              <WrapPanel />
          </ItemsPanelTemplate>
      </zWorkUi:FishEyeItemsControl.ItemsPanel>
      <zWorkUi:FishEyeItemsControl.ItemTemplate>
          <DataTemplate>
              <Border
                  Width="50"
                  Height="50"
                  Margin="20,20"
                  Background="Red" />
          </DataTemplate>
      </zWorkUi:FishEyeItemsControl.ItemTemplate>
  </zWorkUi:FishEyeItemsControl>
效果
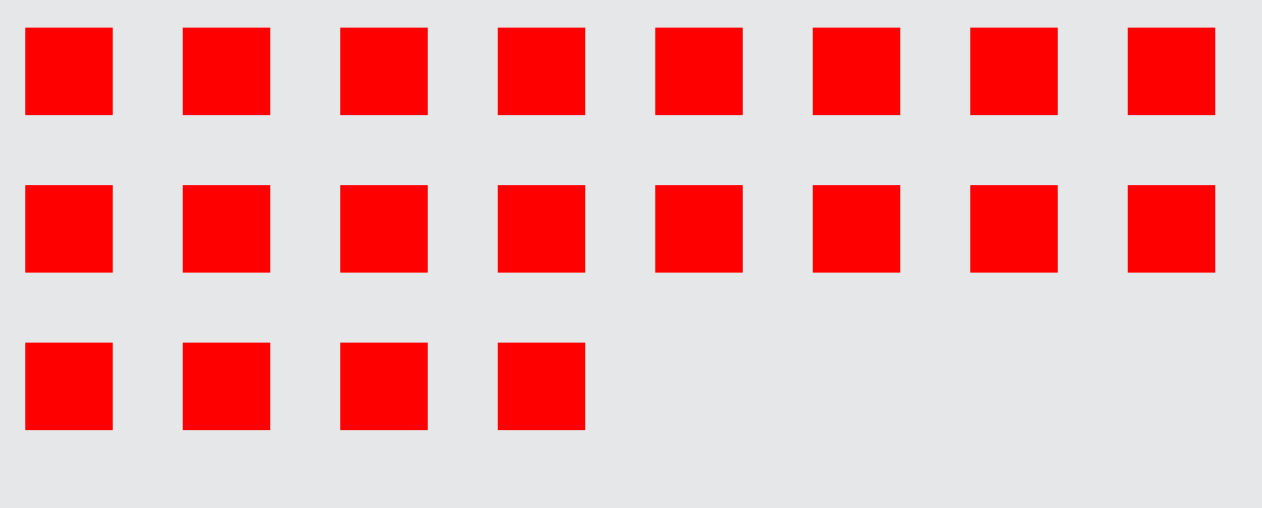
鼠标未进入区域时
效果1

效果2

鼠标进入区域,移到某一项上时
效果1

效果2

以上就是WPF自定义控件实现ItemsControl鱼眼效果的详细内容,更多关于WPF ItemsControl鱼眼效果的资料请关注脚本之家其它相关文章!
