SpringBoot整合七牛云上传图片的示例代码
作者:I'm Jie
本文就来介绍了SpringBoot整合七牛云上传图片的示例代码,用户在前端上传图片后,交由后端处理,上传至七牛云,感兴趣的可以了解一下
在个人的一个项目中有一些需求需要用到图片文件上传,那么相比于阿里云我选择了七牛云,主要还是想白嫖,哈哈。
七牛云每个月有一定的免费额度,对于目前我的项目来说还是足够用的

阿里云OSS个人理解是上传不收费,但是访问就会产生费用
开通七牛云
注册登录七牛云:https://sso.qiniu.com/

进入管理控制台

选择资源管理→新建存储空间

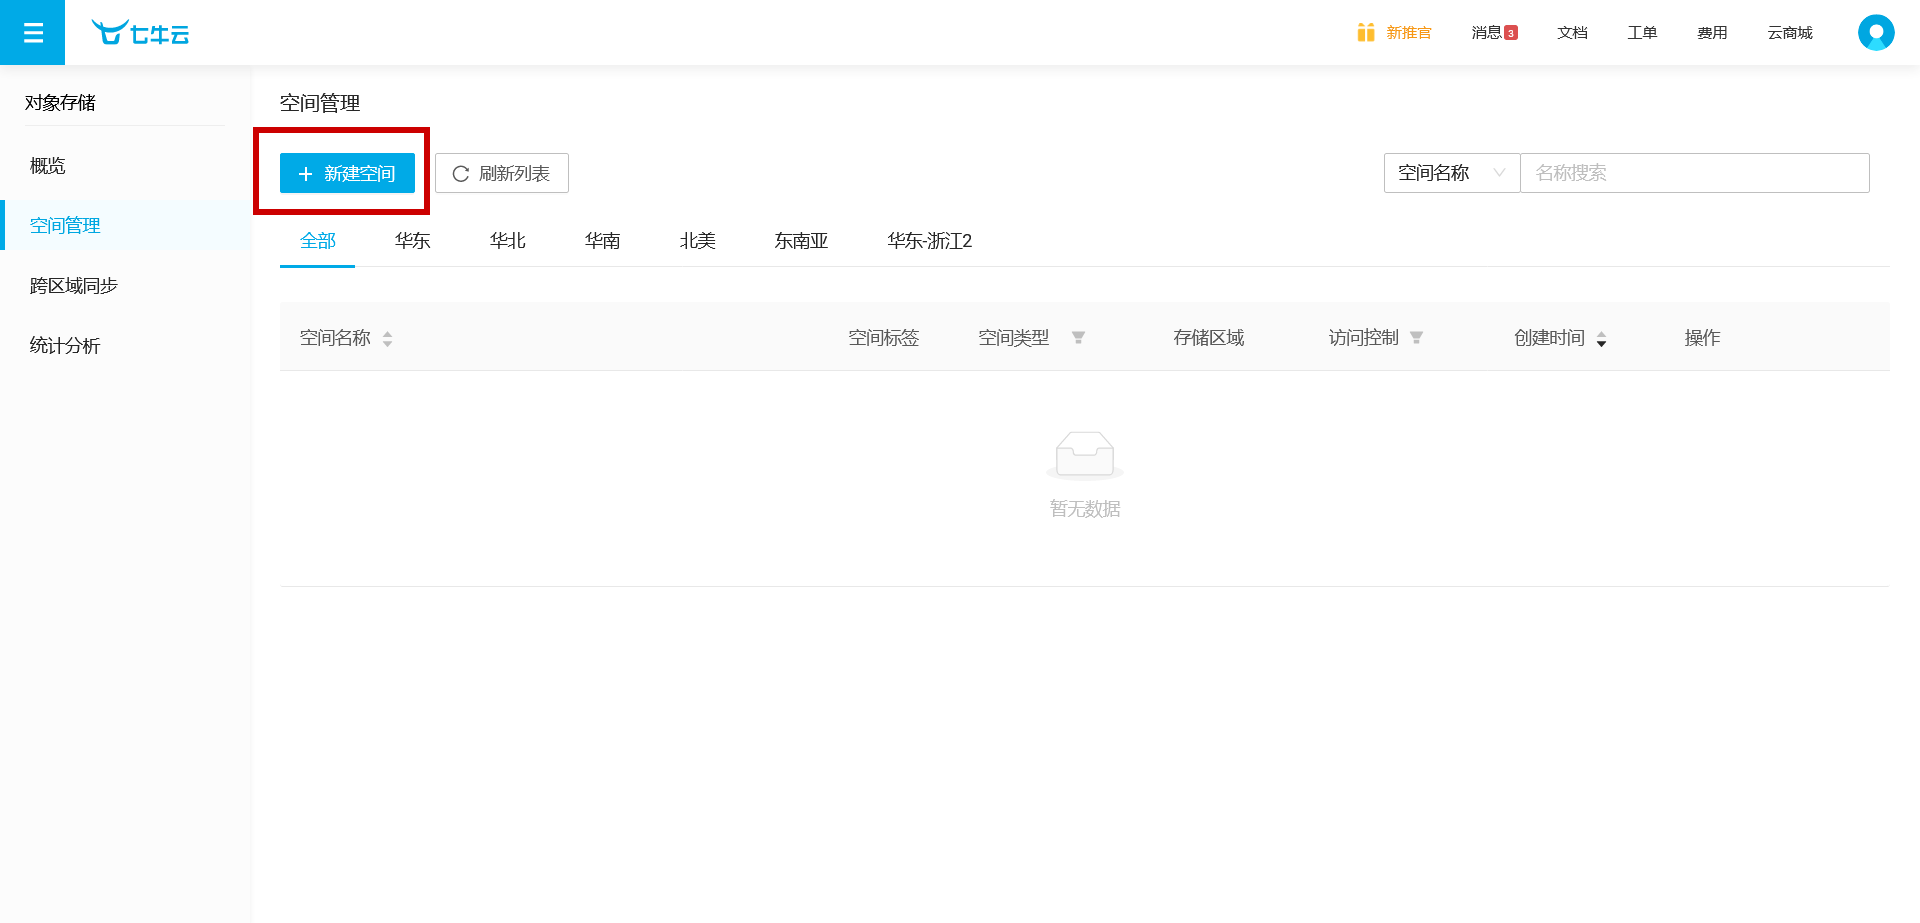
进入空间管理之后,点击【+新建空间】
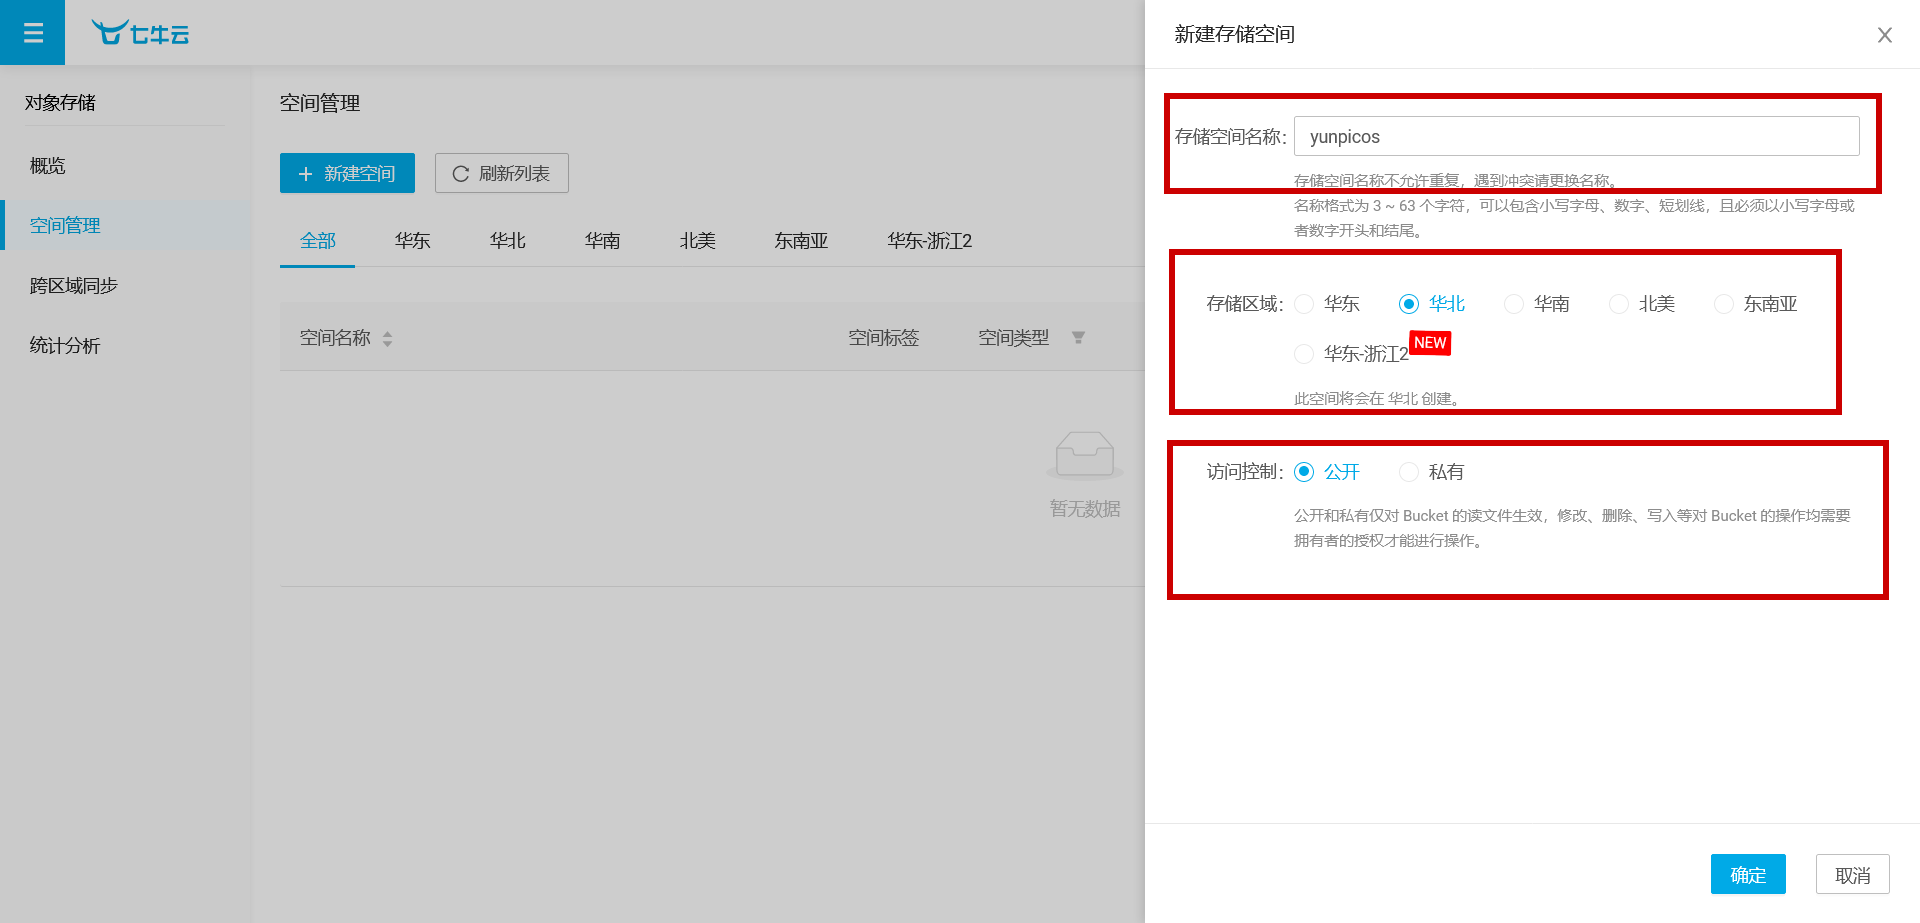
右侧设置【空间名称】,【区域】,【访问控制】
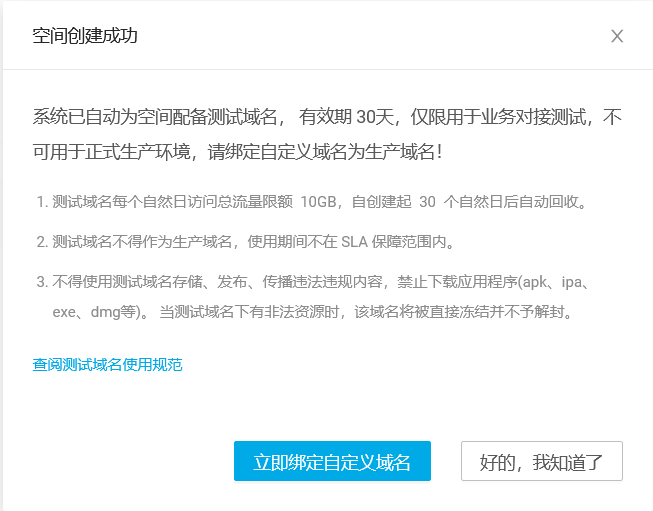
空间创建完之后,七牛云会给一个具有一个月时限的测试域名,也可以绑定备案的域名。
到这里,七牛云的对象存储空间就设置成功了。
七牛云开发文档
官方文档地址:https://developer.qiniu.com/kodo/1239/java
点击【文档】→【开发者中心】
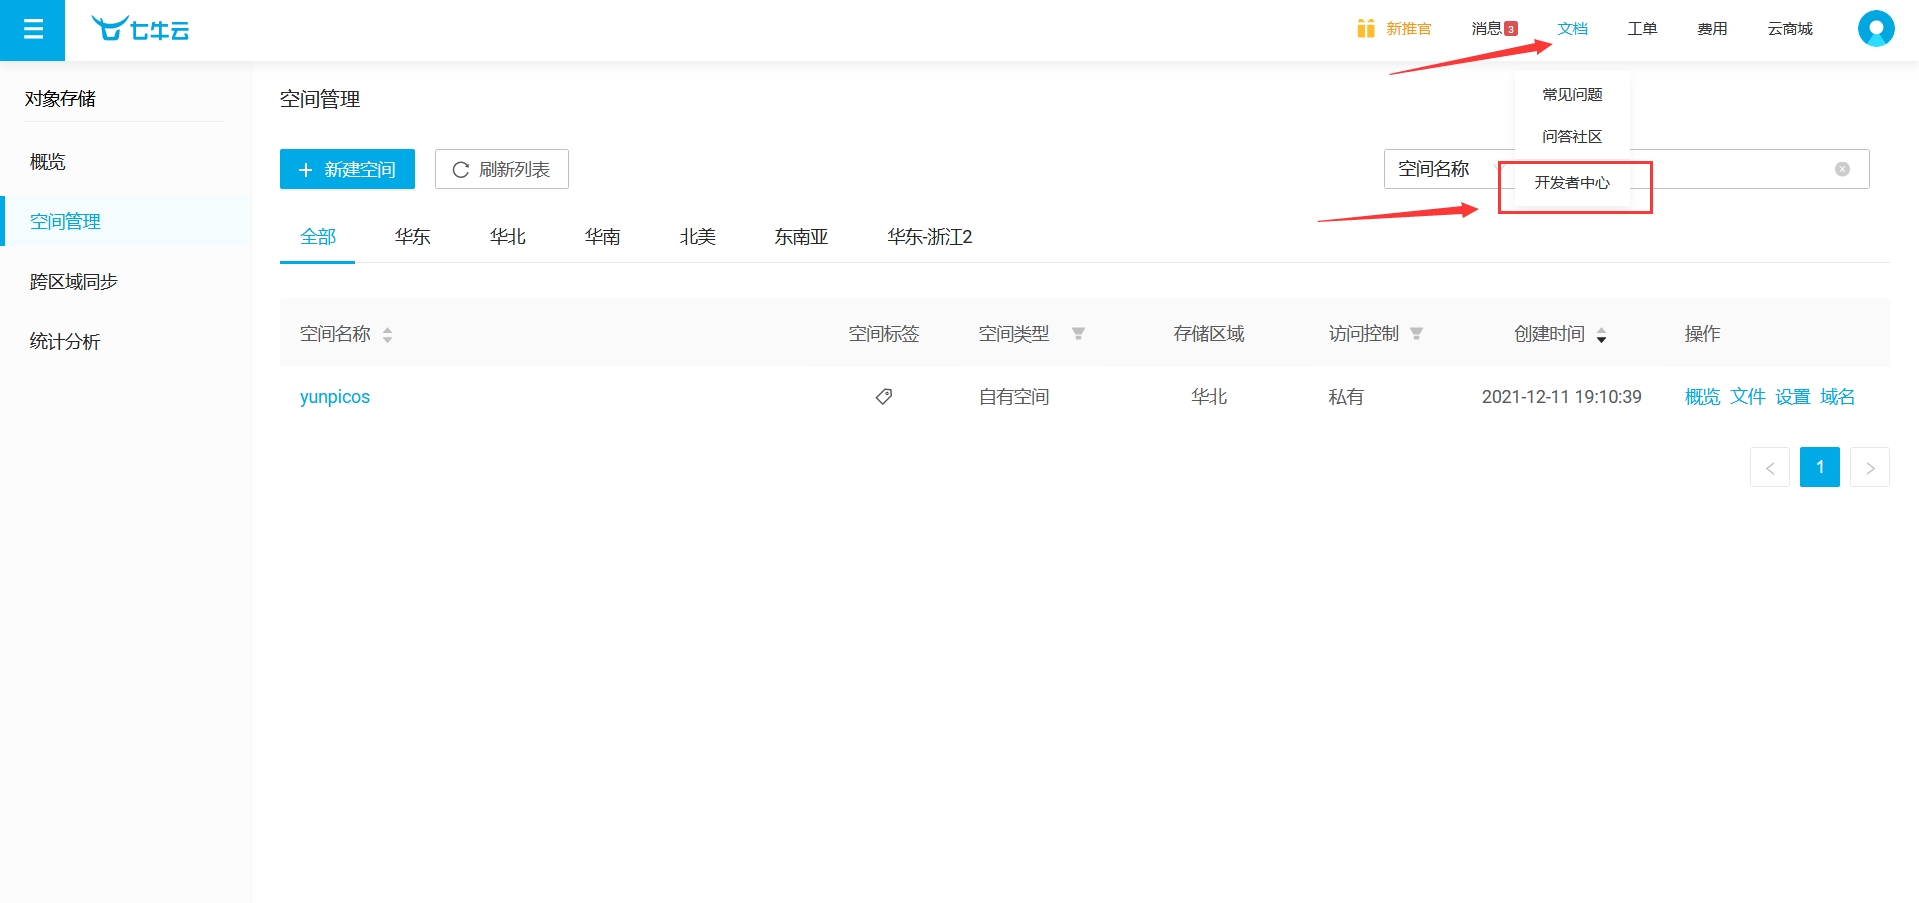
点击【对象存储】
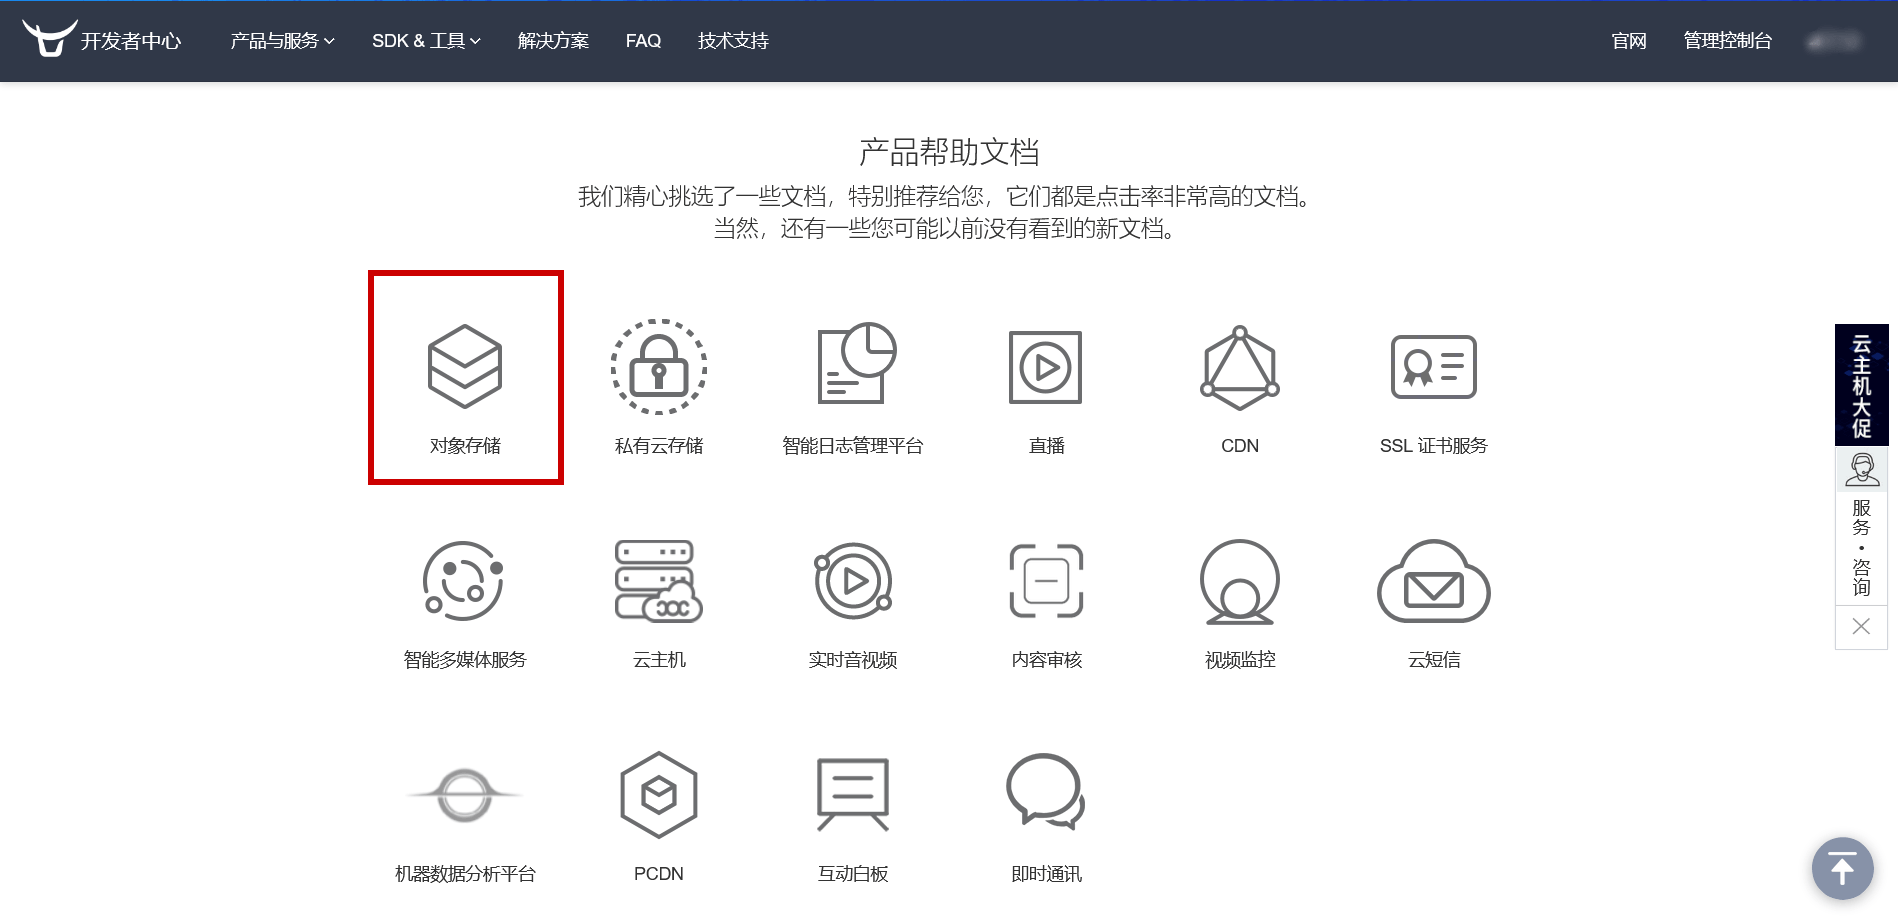
就可以看到官方文档了
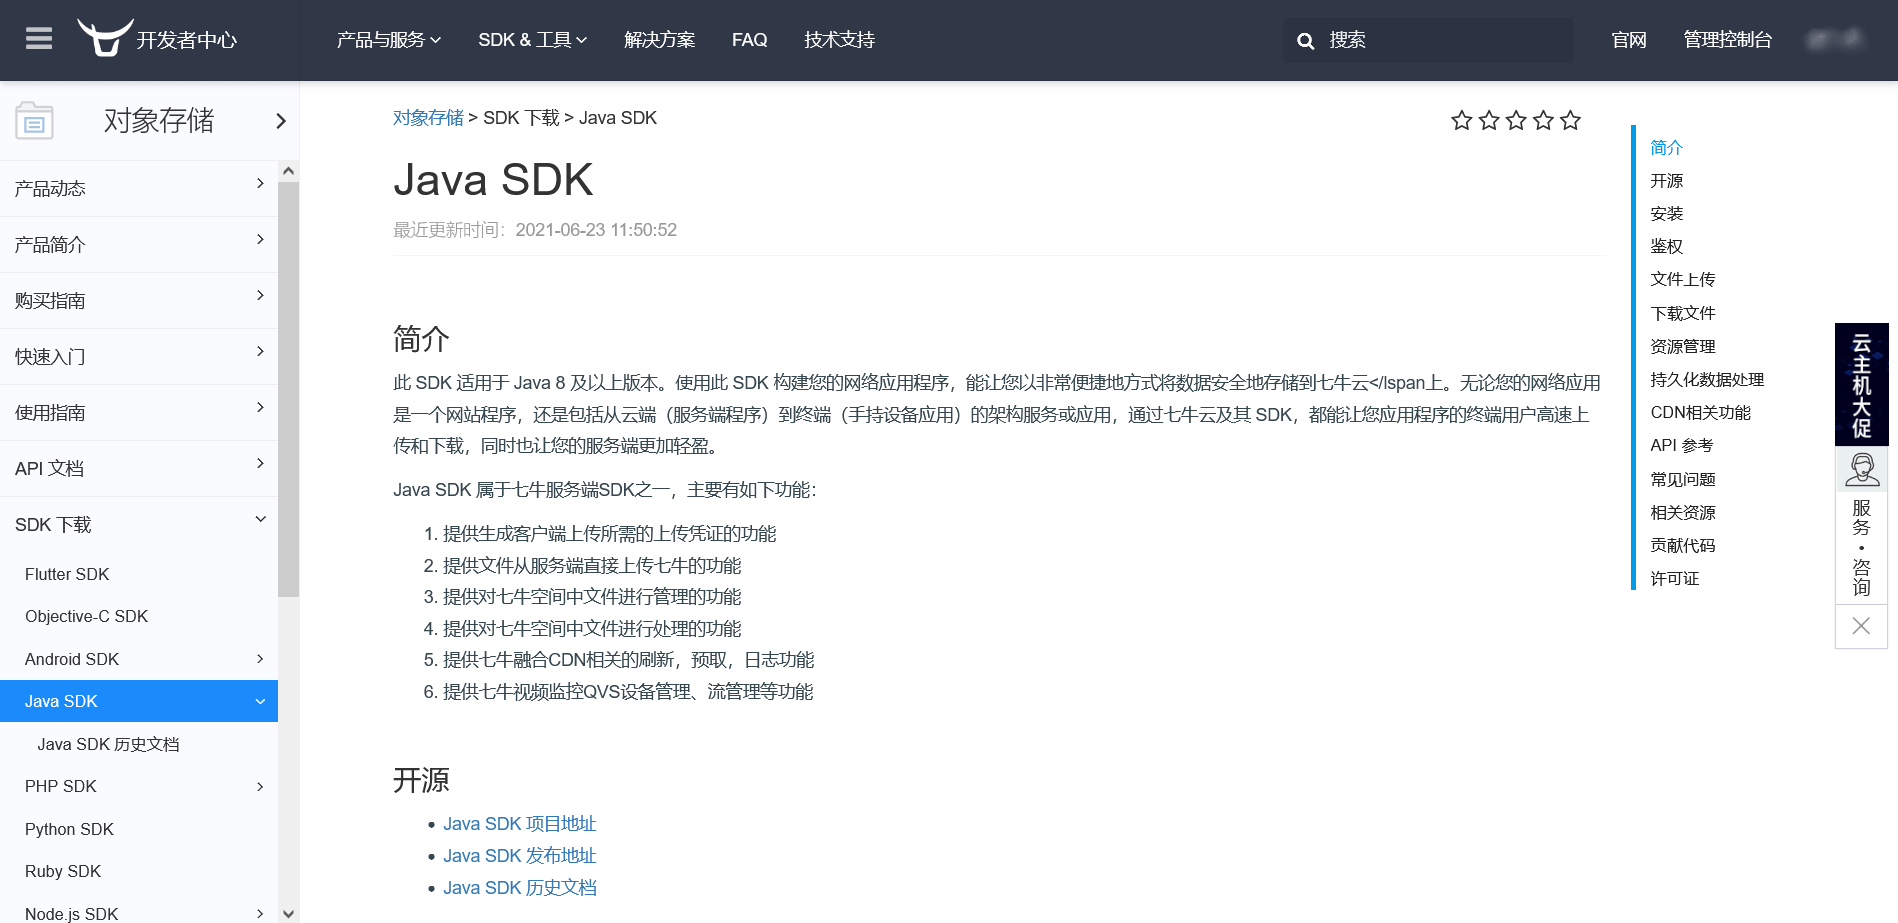
SpringBoot 上传图片
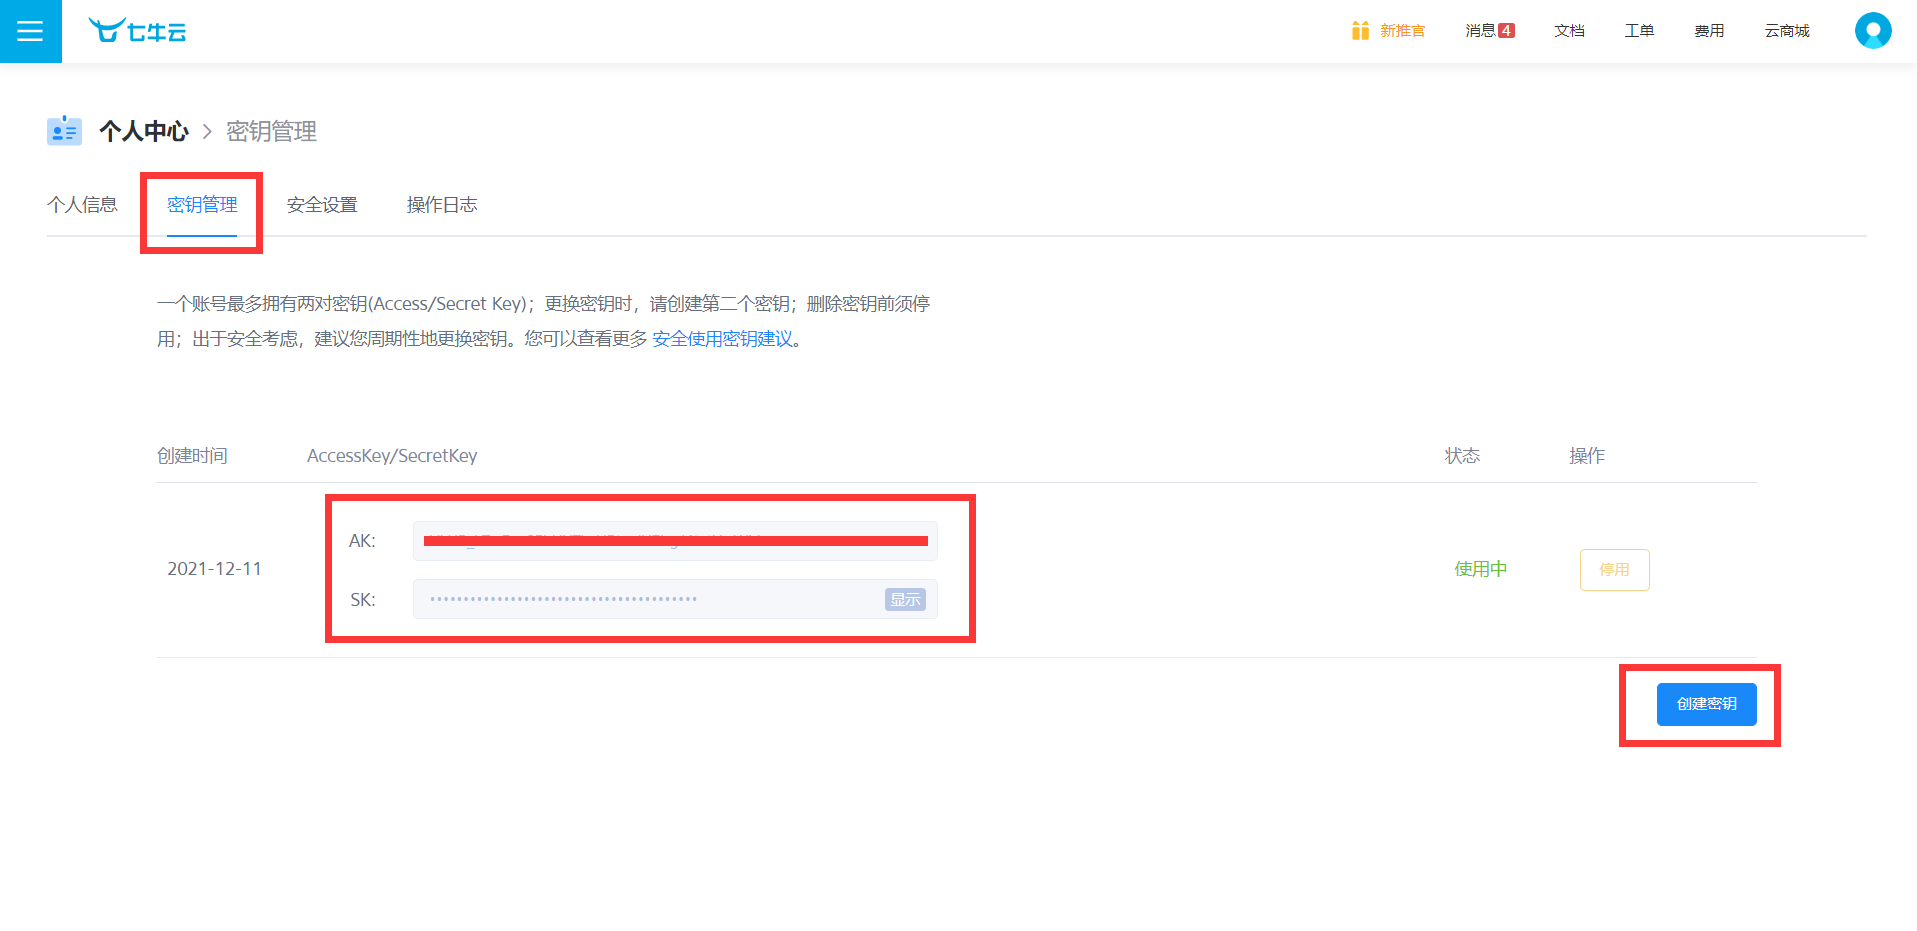
获取七牛云密钥
进入七牛云控制台
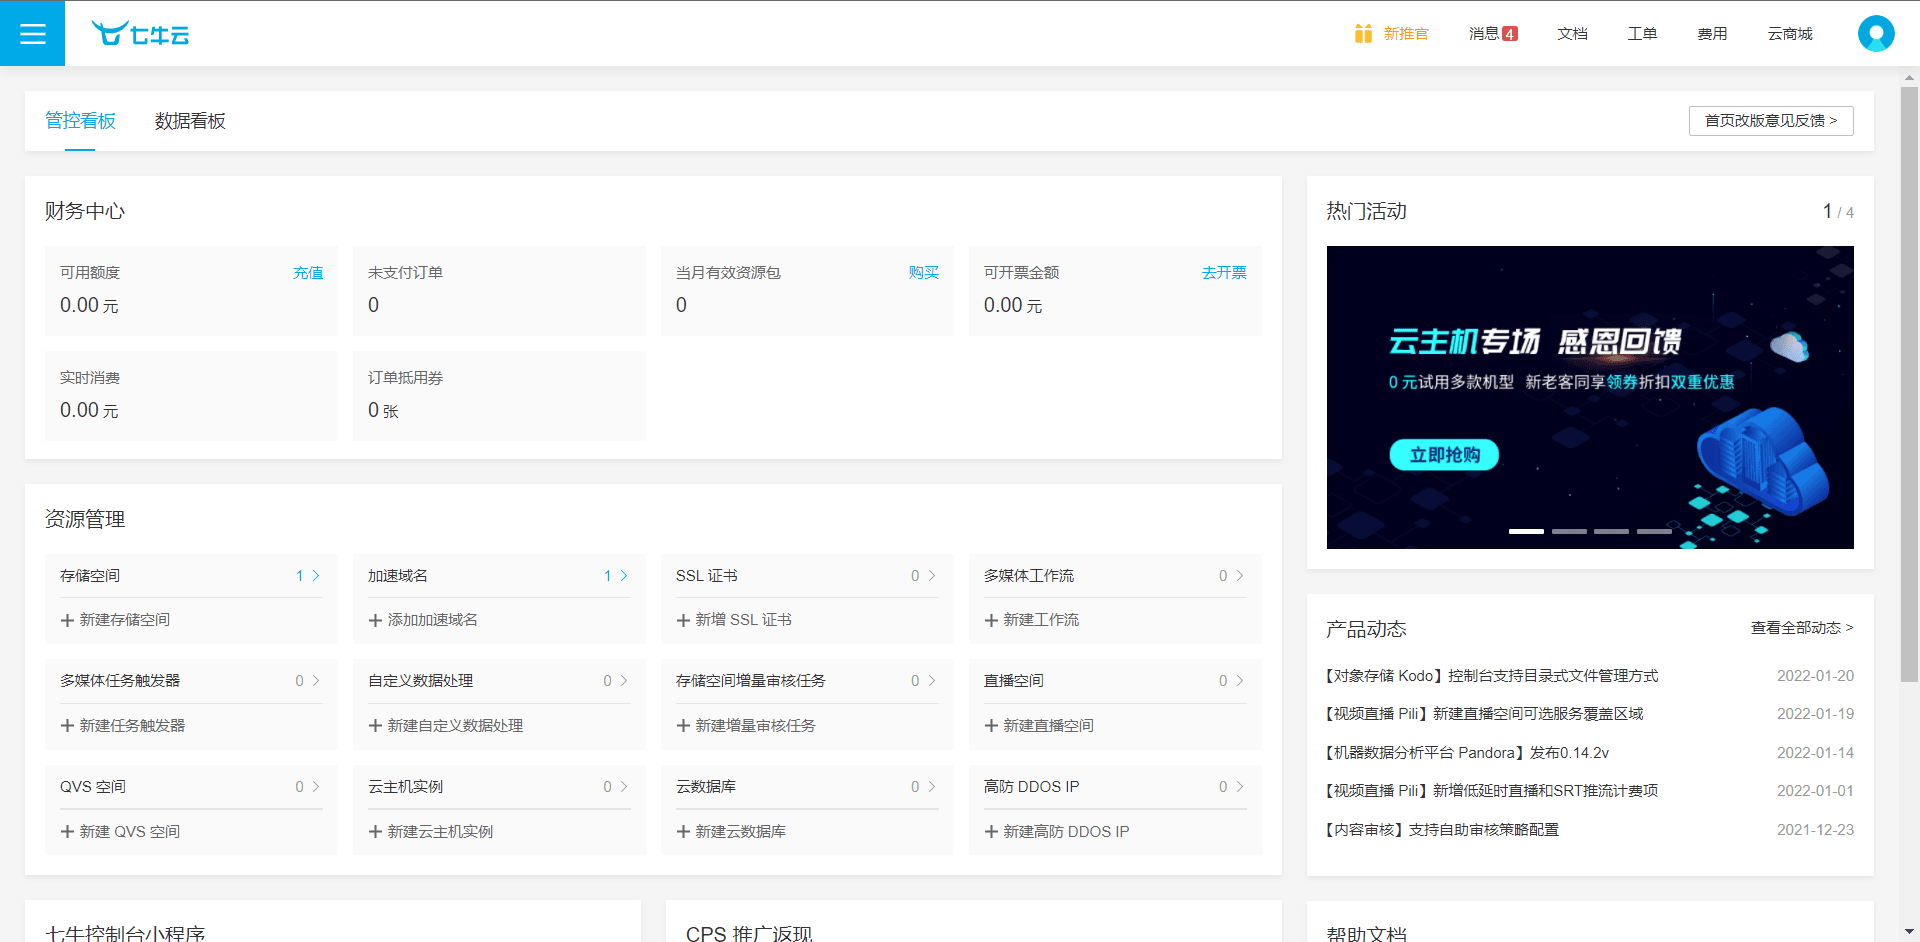
点击【头像】→【密钥管理】
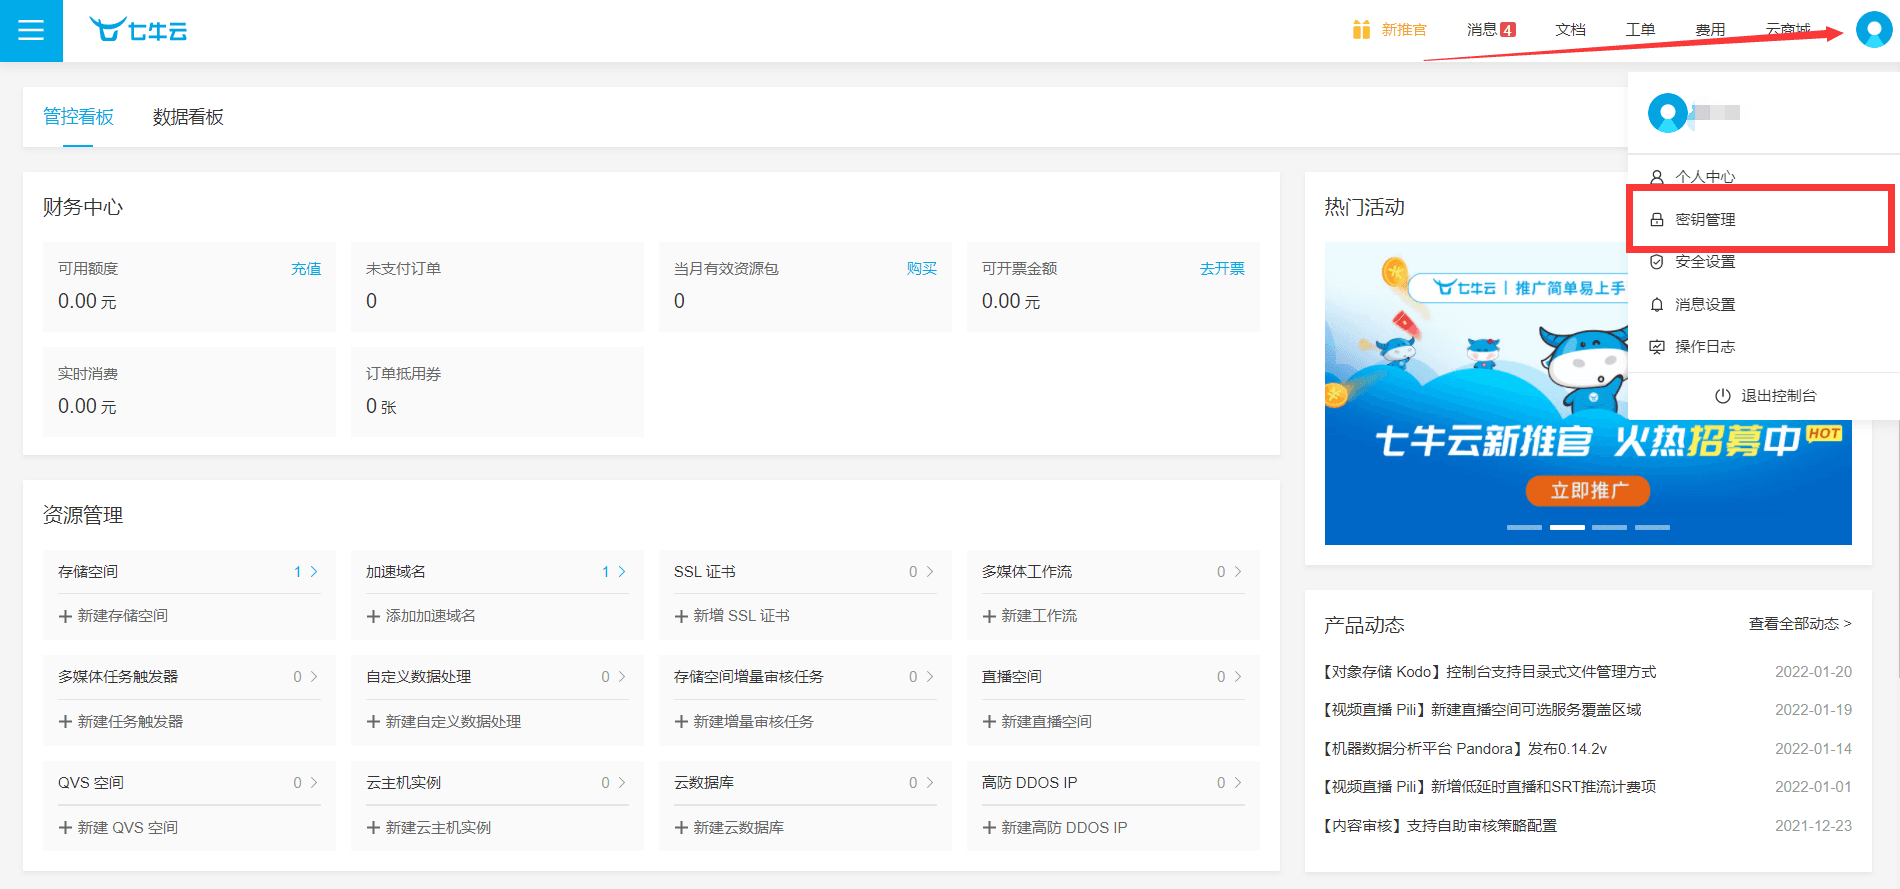
创建密钥,复制保存,下面要用
导入依赖
<!--qiniu依赖-->
<dependency>
    <groupId>com.qiniu</groupId>
    <artifactId>qiniu-java-sdk</artifactId>
    <version>7.2.28</version>
</dependency>
<!--thymeleaf依赖-->
<dependency>
    <groupId>org.springframework.boot</groupId>
    <artifactId>spring-boot-starter-thymeleaf</artifactId>
</dependency>
配置 application.yml
spring:
  freemarker:
    suffix: .html
    cache: false
  servlet:
    multipart:
      max-file-size: 20MB
      max-request-size: 20MB

qiniu:
  accessKey: 申请的 AccessKey,AK
  accessSecretKey: 申请的 SecretKey,SK
  bucket: 创建的空间名
  imageUrl: 域名
编写 ImageUtils
图片的上传工具类
@Component
public class ImageUtils {

    @Value("${qiniu.accessKey}")
    private String accessKey;

    @Value("${qiniu.accessSecretKey}")
    private String accessSecretKey;

    @Value("${qiniu.bucket}")
    private String bucket;

    @Value("${qiniu.imageUrl}")
    private String url;

	/**
     * 处理多文件
     * @param multipartFiles
     * @return
     */
    public Map<String, List<String>> uploadImages(MultipartFile[] multipartFiles){
        Map<String,List<String>> map = new HashMap<>();
        List<String> imageUrls = new ArrayList<>();
        for(MultipartFile file : multipartFiles){
            imageUrls.add(uploadImageQiniu(file));
         }
        map.put("imageUrl",imageUrls);
        return map;
    }

    /**
     * 上传图片到七牛云
     * @param multipartFile
     * @return
     */
    private String uploadImageQiniu(MultipartFile multipartFile){
        try {
            //1、获取文件上传的流
            byte[] fileBytes = multipartFile.getBytes();
            //2、创建日期目录分隔
            SimpleDateFormat dateFormat = new SimpleDateFormat("yyyy/MM/dd");
            String datePath = dateFormat.format(new Date());

            //3、获取文件名
            String originalFilename = multipartFile.getOriginalFilename();
            String suffix = originalFilename.substring(originalFilename.lastIndexOf("."));
            String filename = datePath+"/"+UUID.randomUUID().toString().replace("-", "")+ suffix;

            //4.构造一个带指定 Region 对象的配置类
            //Region.huabei(根据自己的对象空间的地址选
            Configuration cfg = new Configuration(Region.huabei());
            UploadManager uploadManager = new UploadManager(cfg);

            //5.获取七牛云提供的 token
            Auth auth = Auth.create(accessKey, accessSecretKey);
            String upToken = auth.uploadToken(bucket);
            uploadManager.put(fileBytes,filename,upToken);

            return url+filename;
        } catch (IOException e) {
            e.printStackTrace();
        }
        return null;
    }
}
编写 Controller
跳转到 upload.html 的接口
@Controller
public class PageController {

    @RequestMapping("/upload")
    public String to(){
        return "upload";
    }

}
图片服务接口
@RestController
@RequestMapping("/api")
public class ImageController {

    @Autowired
    private ImageUtils imageUtils;

    @PostMapping("/image/upload")
    public ResponseResult uploadImage(@RequestParam(value = "file",required = false) MultipartFile[] multipartFile){
        if(ObjectUtils.isEmpty(multipartFile)){
            return new ResponseResult(HttpResponseStatus.OK.code(), "请选择图片");
        }
        Map<String, List<String>> uploadImagesUrl = imageUtils.uploadImages(multipartFile);
        return new ResponseResult(HttpResponseStatus.OK.code(), "上传成功",uploadImagesUrl);
    }

}
注:ResponseResult 为响应结果封装类,自定义即可。
编写前端上传页面
<!DOCTYPE html>
<html lang="en">
<head>
    <meta charset="UTF-8">
    <title>Title</title>
</head>
<body>
<form action="http://localhost:8002/api/image/upload" method="post" enctype="multipart/form-data">
    <input type="file" name="file">
    <input type="submit">
</form>
</body>
注:<input type="file" name="file">的 name 值一定要和接口的 @RequestParam("file")一样
测试
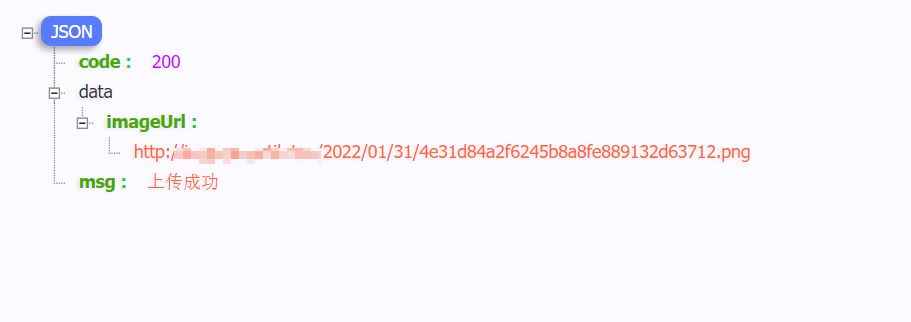
访问 http://localhost:8002/upload

选择图片,点击提交

上传成功
查看七牛云

到此这篇关于SpringBoot 整合七牛云上传图片的示例代码的文章就介绍到这了,更多相关SpringBoot 七牛云上传图片内容请搜索脚本之家以前的文章或继续浏览下面的相关文章希望大家以后多多支持脚本之家!
