
PS将古装美男转为梦幻的仿手绘效果
空白的小月亮
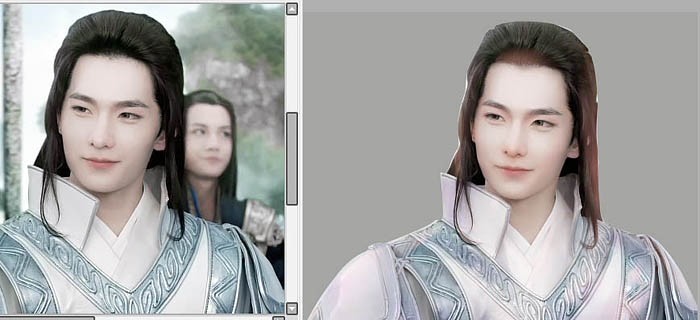
作者的绘画功底非常深厚,转手绘的时候直接在原图上重画一遍,连衣服,头发等极细的部分都画得非常到位。新手可能有点难度。
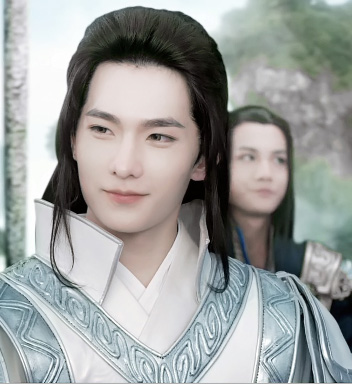
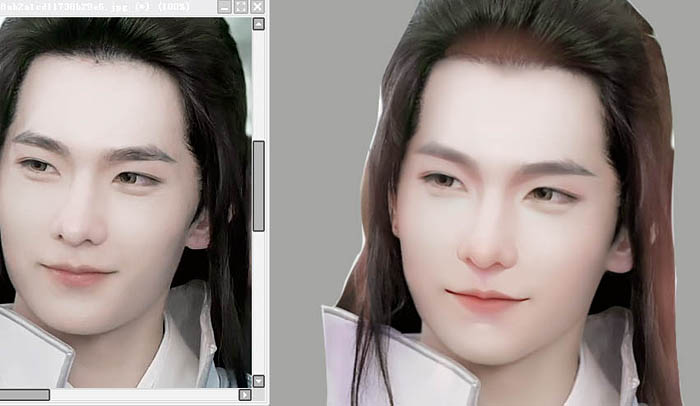
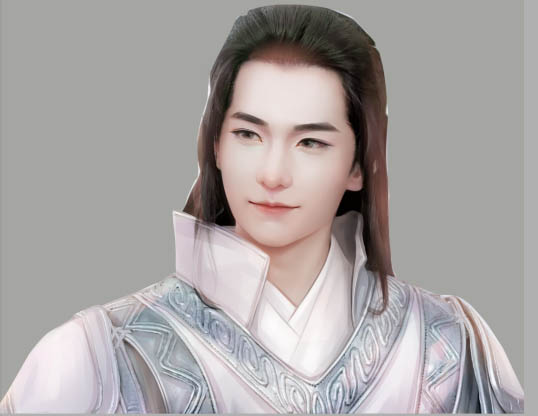
原图
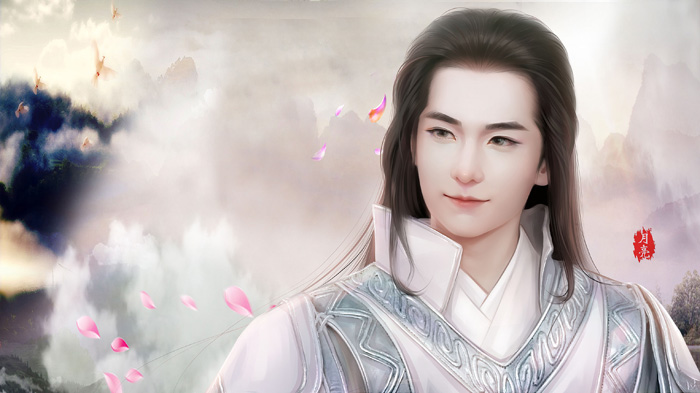
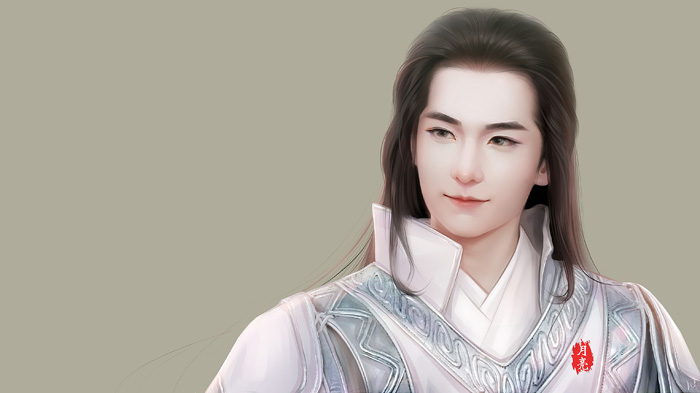
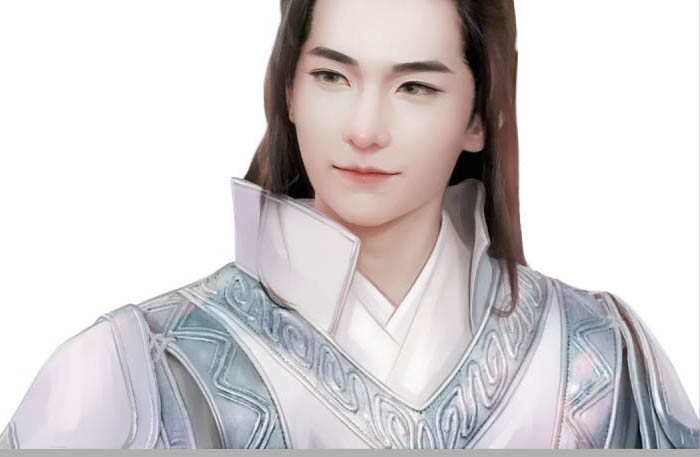
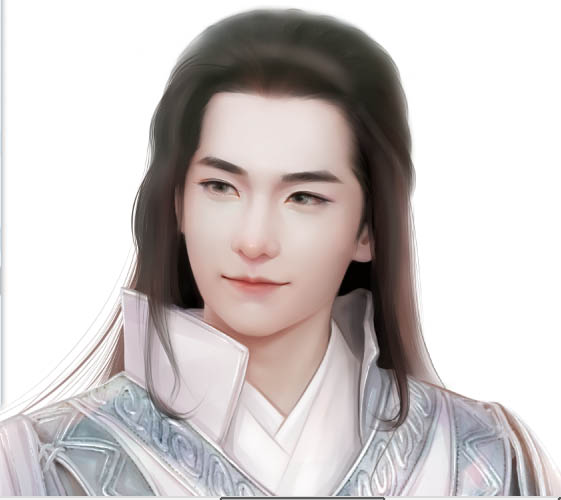
最终效果
1、软件是sai,把人物抠出来,滤色图层-叠点肤色在脸上,衣服上,衣服上叠一些蓝色紫色。
2、水彩笔磨皮,用笔把鼻子嘴巴的结构稍微画一下。
3、细化结构。
4、把鼻子和嘴巴的高光画出来。
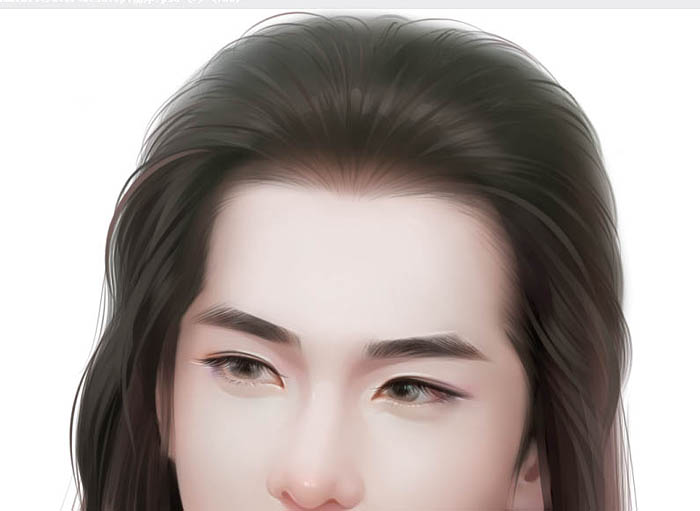
5、画眼睛轮廓,正片叠底加上眼睑的阴影,和眉毛先磨皮,然后画上眉毛丝(笔-材质用的扩散和躁点)。
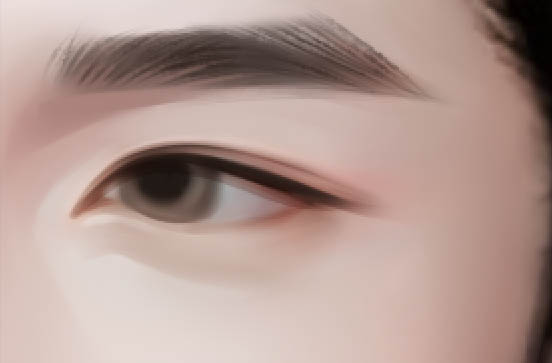
6、眼睛高光,发光图层画。
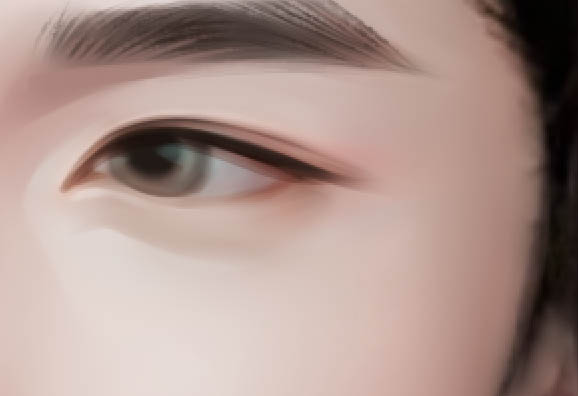
7、画上睫毛,然后用橡皮切割下刚才的高光,用笔给睫毛加蹭光。

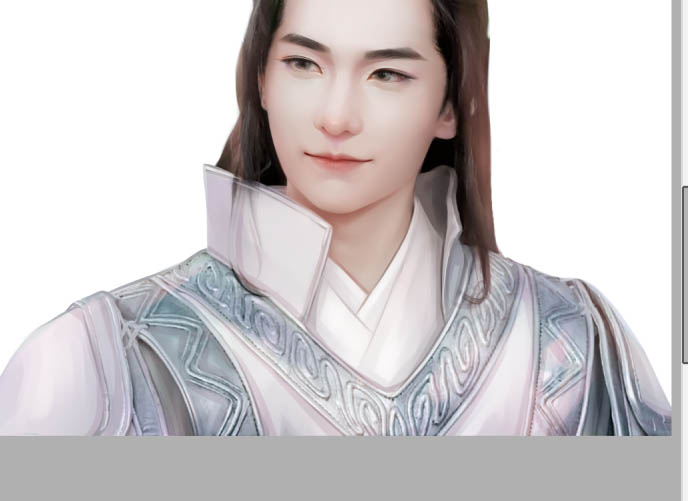
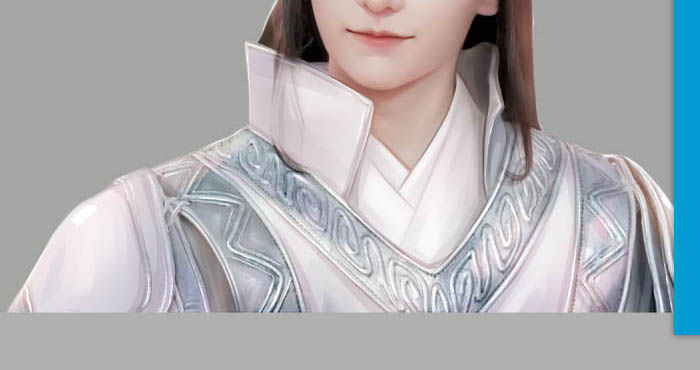
8、衣服,用水彩磨一遍主要位置的皮,正片叠底图层上画一遍阴影。
9、滤色图层,衣服边缘加一层肤色的光。
10、发光图层,给铠甲的高光描一遍。
11、头发的轮廓用画布丙烯刷出来,喷枪在高光的地方喷一下。
12、用笔,把上面的高光切割一下,这就是分组----然后用笔,画其他小分组。

13、笔设置的细一些,在边缘和浅的地方加一遍发丝。
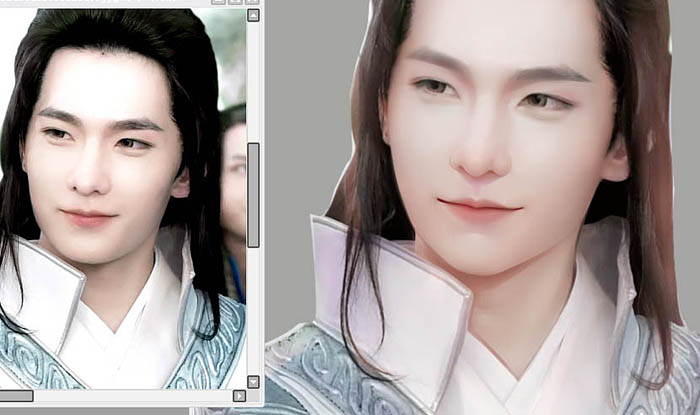
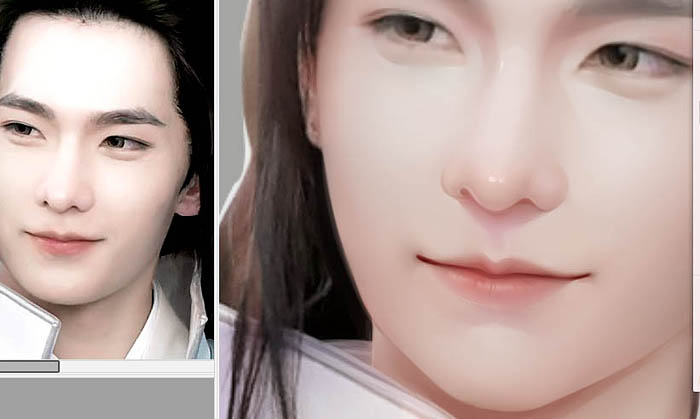
最终效果:
原图

最终效果


1、软件是sai,把人物抠出来,滤色图层-叠点肤色在脸上,衣服上,衣服上叠一些蓝色紫色。

2、水彩笔磨皮,用笔把鼻子嘴巴的结构稍微画一下。

3、细化结构。

4、把鼻子和嘴巴的高光画出来。

5、画眼睛轮廓,正片叠底加上眼睑的阴影,和眉毛先磨皮,然后画上眉毛丝(笔-材质用的扩散和躁点)。

6、眼睛高光,发光图层画。

7、画上睫毛,然后用橡皮切割下刚才的高光,用笔给睫毛加蹭光。

8、衣服,用水彩磨一遍主要位置的皮,正片叠底图层上画一遍阴影。

9、滤色图层,衣服边缘加一层肤色的光。

10、发光图层,给铠甲的高光描一遍。


11、头发的轮廓用画布丙烯刷出来,喷枪在高光的地方喷一下。

12、用笔,把上面的高光切割一下,这就是分组----然后用笔,画其他小分组。

13、笔设置的细一些,在边缘和浅的地方加一遍发丝。

最终效果: