
Photoshop将人物图片转为古典国画效果
独饮白水
教程的过程非常简单,不过要做出效果图还是要花费一定时间的。首先要对国画有一定的了解,然后从人物装饰,拍摄,再到后期修饰等都要自己去规划和处理。
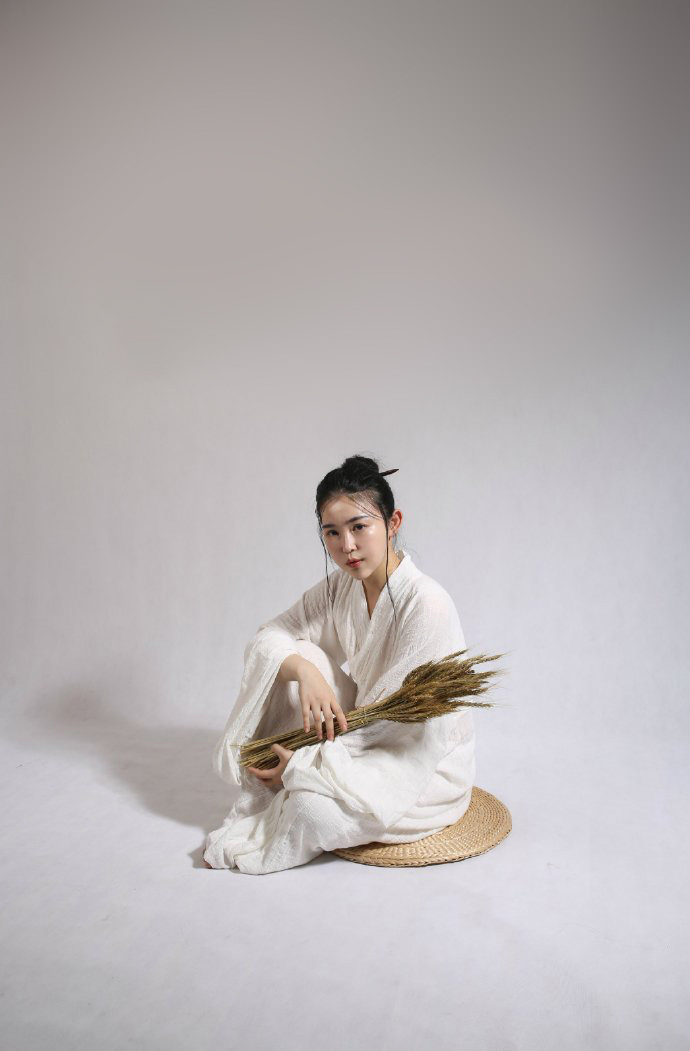
原图
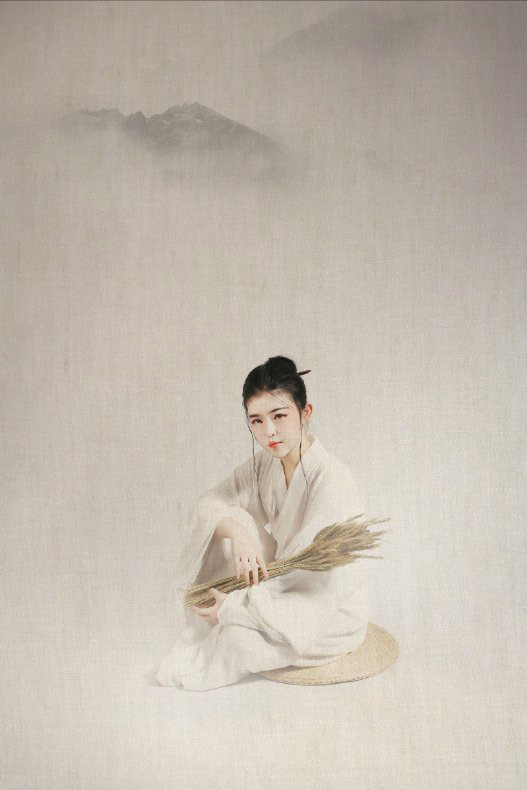
最终效果
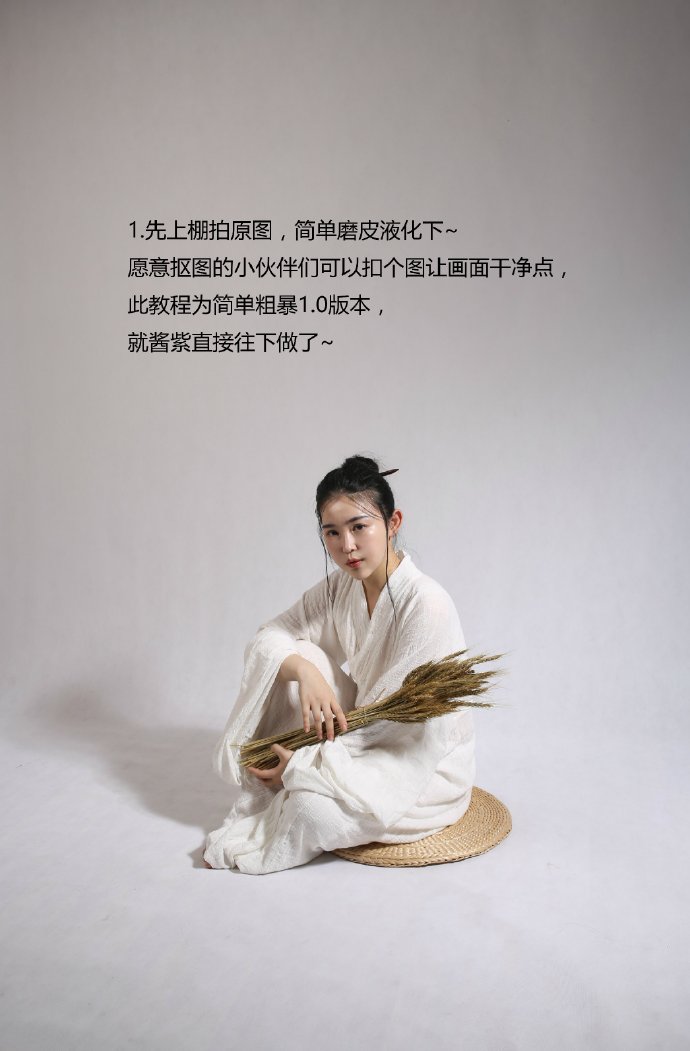
1、先上棚拍原图,简单磨皮液化下。
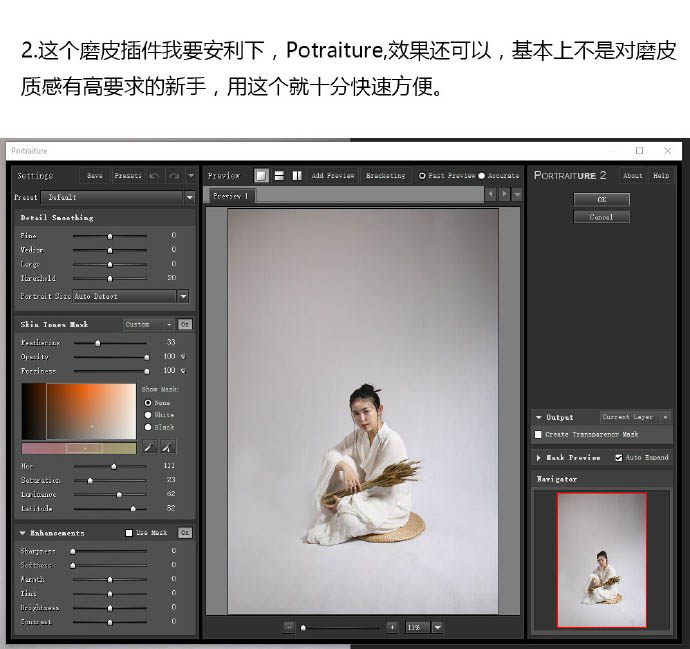
2、磨皮用Potraiture。
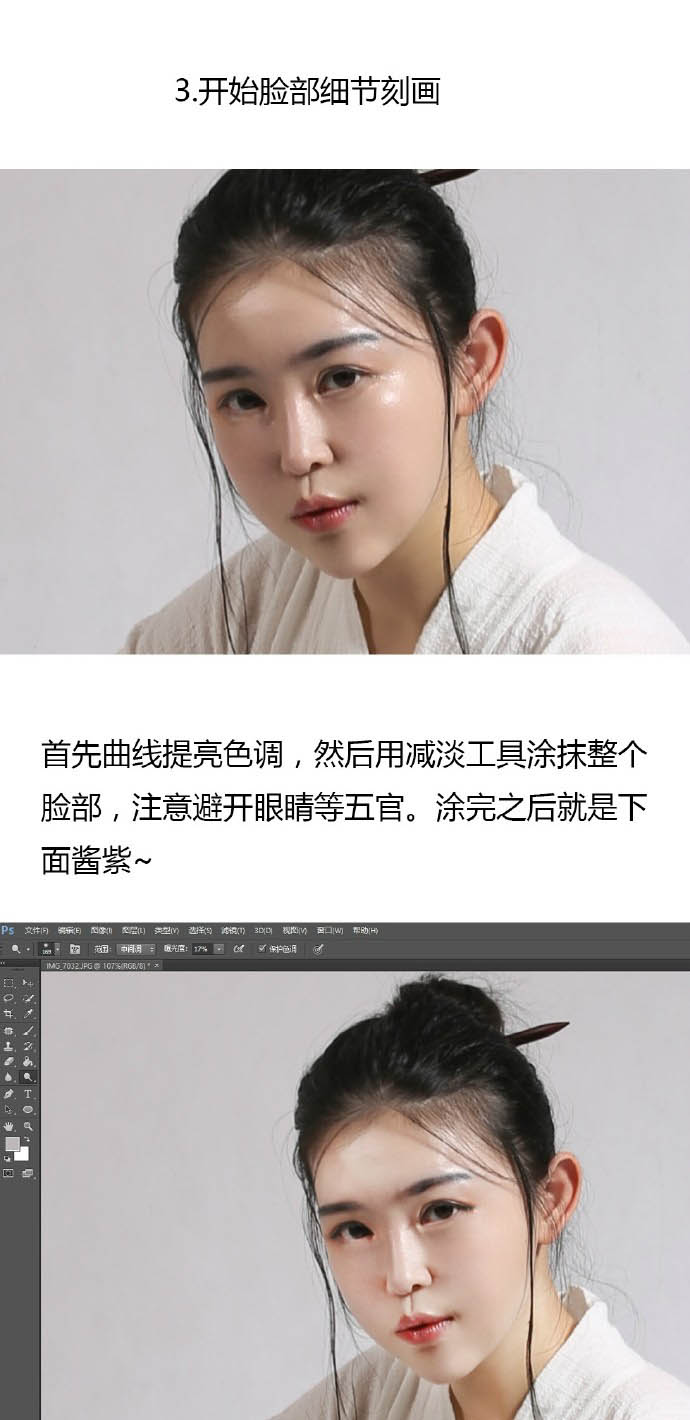
3、开始脸部细节刻画。
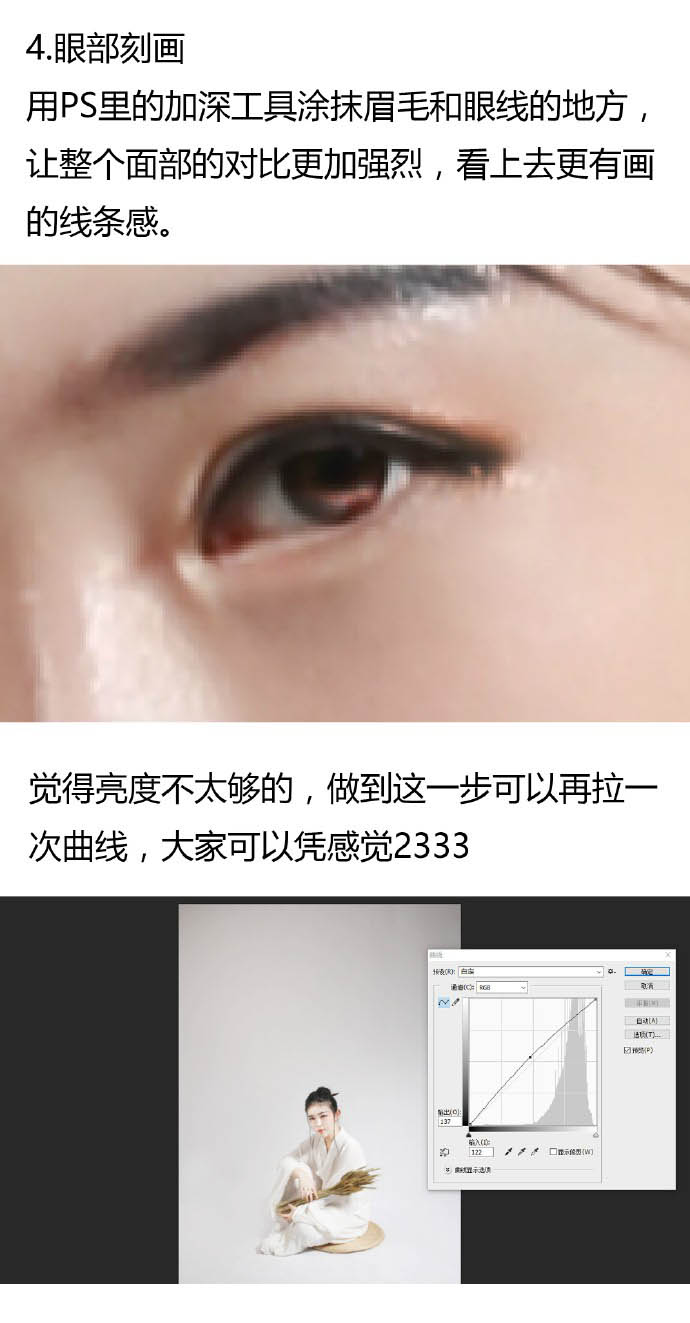
4、眼部刻画。
5、插入底纹的纸纹素材。
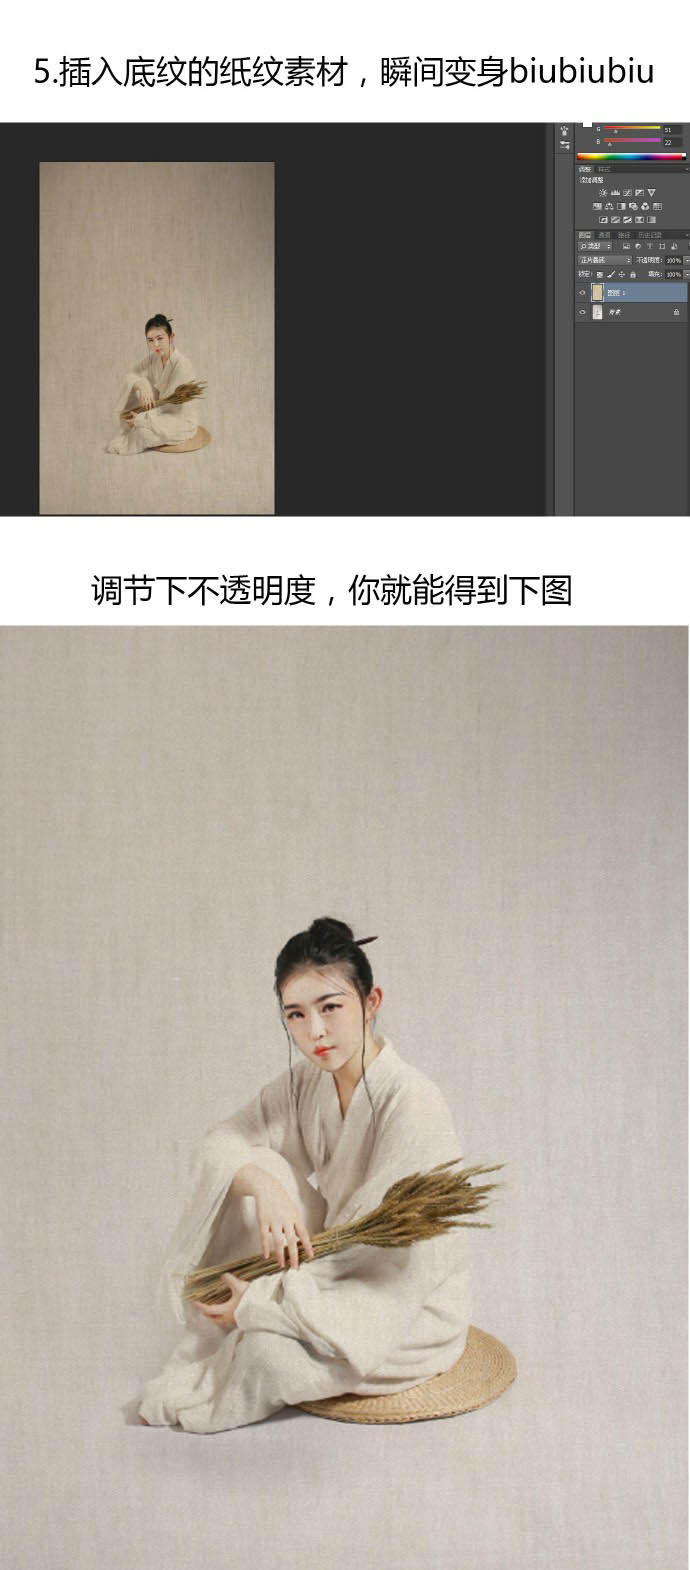
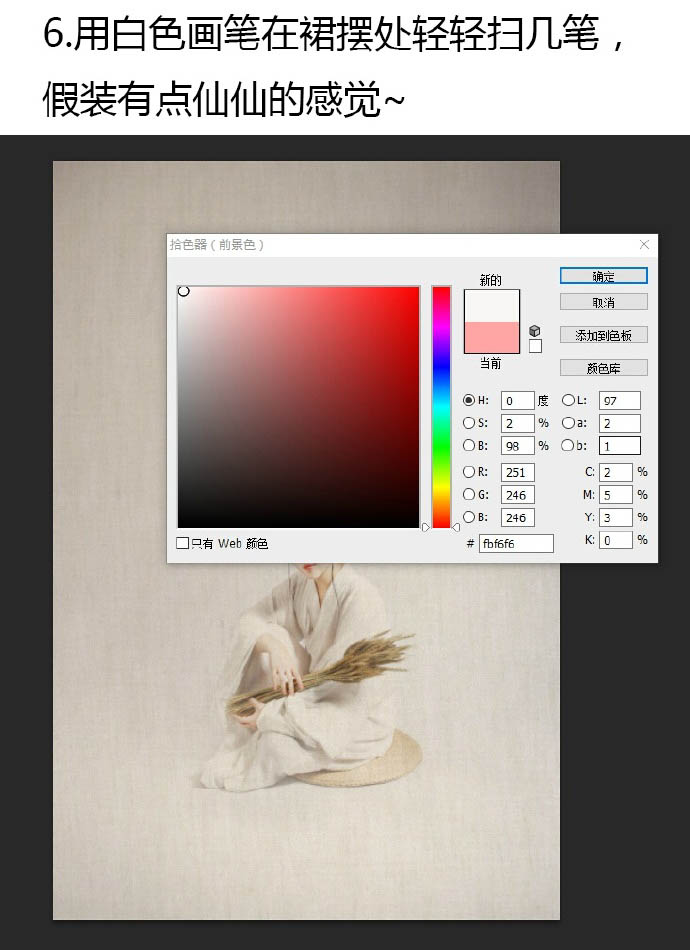
6、用白色画笔在裙摆处轻轻扫几笔。
7、加上背景素材。
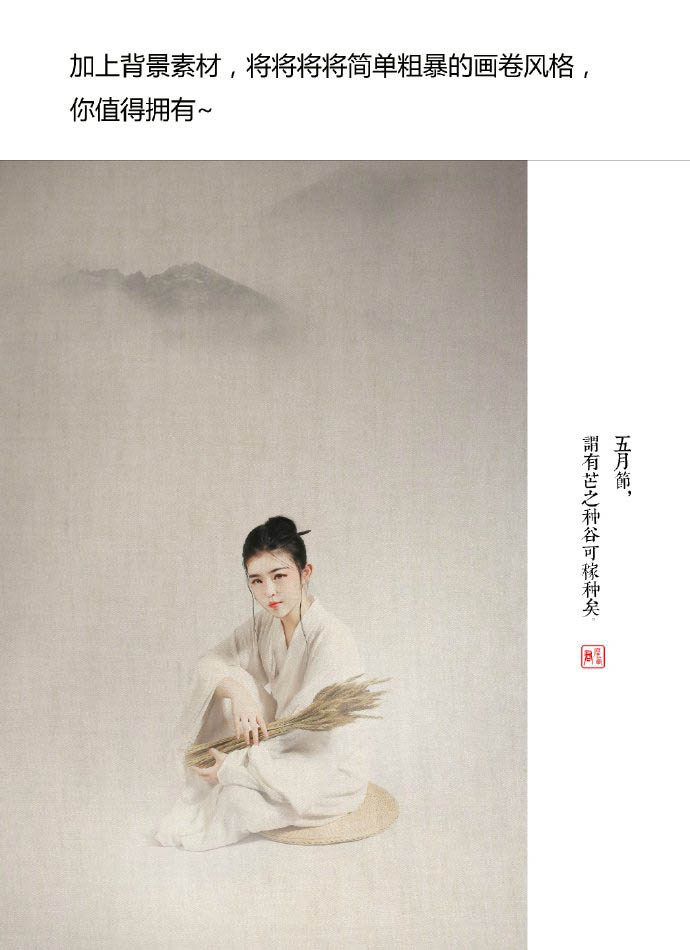
最终效果:
原图

最终效果

1、先上棚拍原图,简单磨皮液化下。

2、磨皮用Potraiture。

3、开始脸部细节刻画。

4、眼部刻画。

5、插入底纹的纸纹素材。

6、用白色画笔在裙摆处轻轻扫几笔。

7、加上背景素材。

最终效果: