
Photoshop(PS)把自己的手写签名制成作品水印效果教程
脚本之家
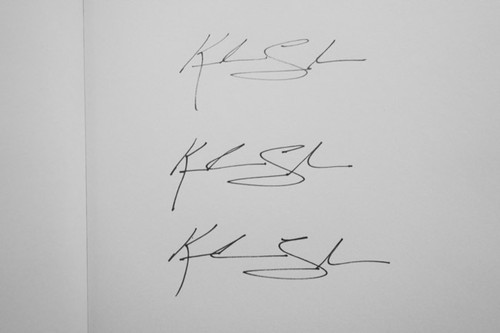
1、先签个大名

真的需要签一个较大的名,并最好使用Marker(马克笔)写,让名字的线条更清晰可见。
2、拍下你的签名
用相机把你的签名拍下,尽量避免有镜头变形(尽量使用长焦镜拍摄)。
3、使用Photoshop预处理
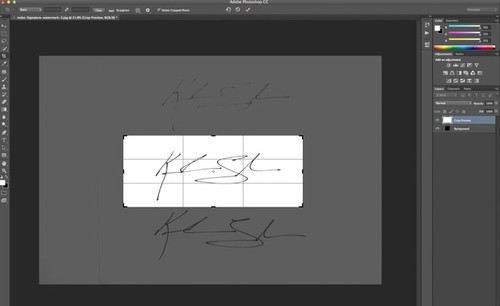
使用Photoshop,调较对比,让黑色签名突显出来。
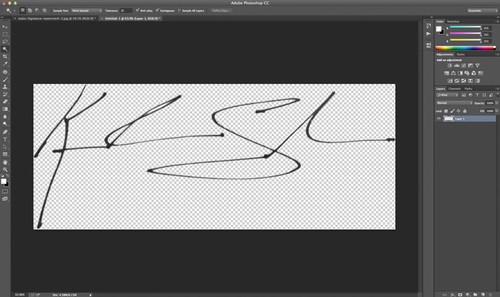
4、把黑色签名从白底分离出来
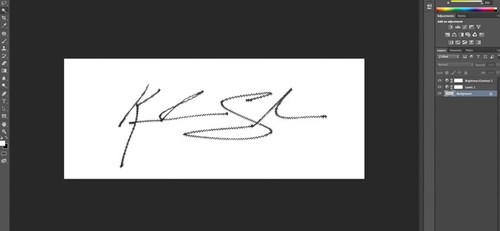
使用Magic Wand tool点选白底的部份。如果你签名的文字里有白色空间(例如"O"字中间的白色位置),可以按shift然后点选。
5、反选得签名
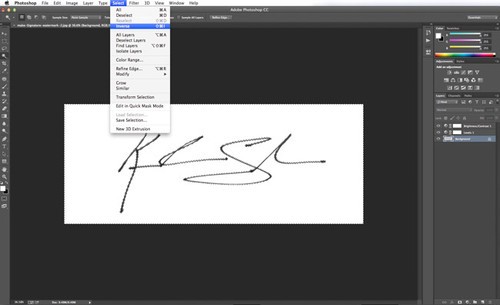
按Select>Inverse进行反选,这样就会变成全选黑色签名部份。点选后按Ctrl+C复制签名。
6、制造透明背景
在没有关闭原档案的情况下开新档案,然后把"Background Contents"设定为"Transparent"。在新档案里贴上签名。
7、储存成签名档的格式
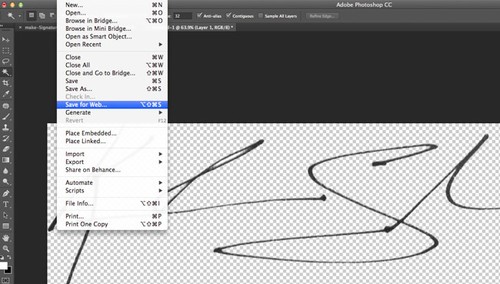
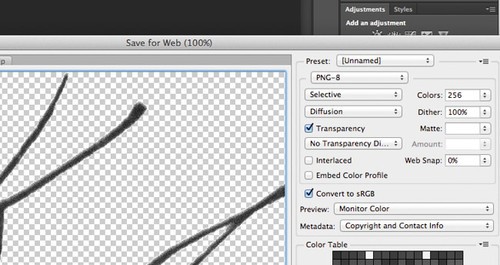
按File>Save For Web,点选transparency及把档案储存为PNG-8。

8、完成了。把你的签名档贴上作品吧。