
基于JavaScript+SpringBoot实现大文件分片上传
作者:Micro麦可乐
1. 前言
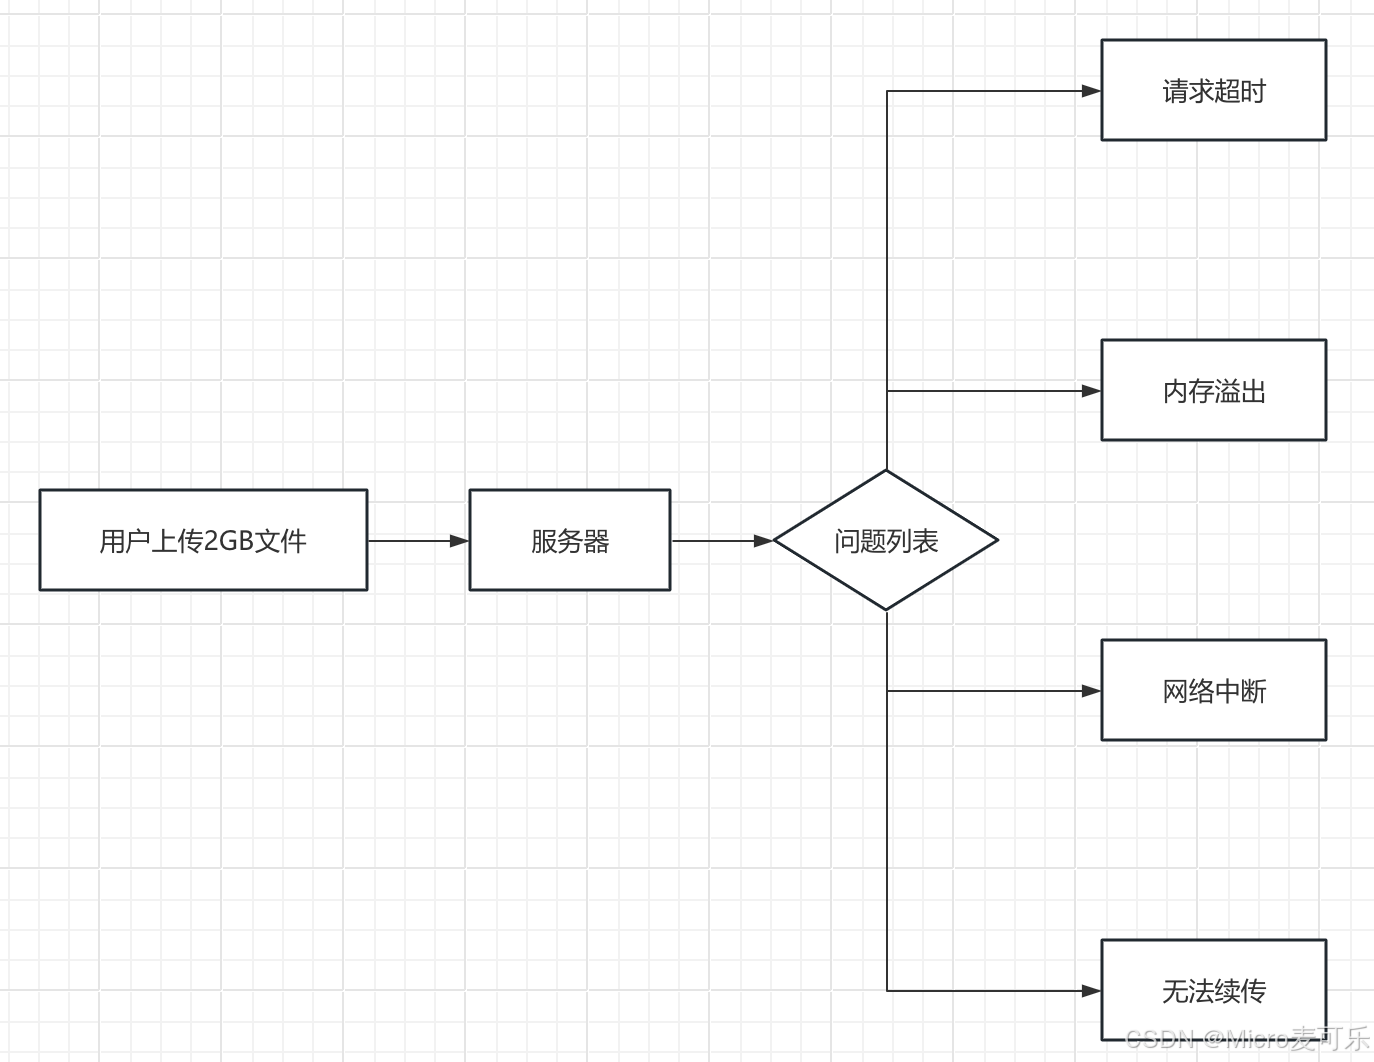
在很多 Web 应用场景下,我们需要上传体积很大的文件(视频、镜像包、数据包等)。一次性将整个文件上传往往会面临以下问题:
- 网络不稳定时容易中断:导致上传失败,需要重头再来
- 服务器内存/磁盘压力大:一次性接收大文件可能瞬间占满带宽或写满临时目录
- 用户体验差:上传过程中无法做到断点续传或重试
为了解决上述问题,分片上传(Chunked Upload)应运而生。它将大文件拆分成一个个小块,按序上传并在后台合并,既可以实现断点续传,也能平滑流量、降低服务器压力。
本文博主将带着小伙伴了解如何基于 前端原生 JavaScript + Spring Boot 实现大文件分片上传。
2. 为什么要分片
- 断点续传
每个分片上传完成后都会得到确认,下次重试只需上传未成功的分片,用户体验更佳。 - 可控并发
前端可以设置并发上传的分片数量(比如同时 3~5 个),既能提高吞吐量,又不至于瞬时压垮网络或服务器。 - 流量均衡
小块数据平滑地传输,避免一次性大流量冲击。 - 兼容性与安全
后端可对每个分片做校验(大小、哈希、格式等),在合并前即可过滤非法内容。
分片上传的核心优势
| 痛点 | 分片方案 | 收益 |
|---|---|---|
| 超时中断 | 小片独立上传 | 避免整体失败 |
| 内存压力 | 单片流式处理 | 内存占用<10MB |
| 网络波动 | 失败分片重试 | 带宽利用率提升40%+ |
| 大文件传输 | 并行上传机制 | 速度提升3-5倍 |
| 意外中断 | 断点续传支持 | 节省90%重复流量 |
3. 实现思路与流程
前端
用户选中文件后,按固定大小(如 1MB)切片;
依次(或并发)将每个分片通过 fetch/XMLHttpRequest 上传到后端;
上传完所有分片后,通知后端开始合并;
后端(Spring Boot)
接收每个分片时,根据文件唯一标识(如 MD5)与分片序号,保存到临时目录;
接收 “合并请求” 时,按序读取所有分片并写入最终文件;
合并完成后,可删除临时分片,返回成功。
4. 完整实现方案
1、前端分片逻辑实现
首先我们编写前端的分片、上传逻辑
<input type="file" id="largeFile">
<button onclick="startUpload()">开始上传</button>
<div id="progressBar"></div>

<script>
async function startUpload() {
  const file = document.getElementById('largeFile').files[0];
  if (!file) return;

  // 配置参数
  const CHUNK_SIZE = 5 * 1024 * 1024; // 5MB分片
  const TOTAL_CHUNKS = Math.ceil(file.size / CHUNK_SIZE);
  const FILE_ID = `${file.name}-${file.size}-${Date.now()}`;

  // 创建进度跟踪器
  const uploadedChunks = new Set();

  // 并行上传控制(最大5并发)
  const parallelLimit = 5;
  let currentUploads = 0;
  let activeChunks = 0;

  for (let chunkIndex = 0; chunkIndex < TOTAL_CHUNKS; ) {
    if (currentUploads >= parallelLimit) {
      await new Promise(resolve => setTimeout(resolve, 500));
      continue;
    }

    if (uploadedChunks.has(chunkIndex)) {
      chunkIndex++;
      continue;
    }

    currentUploads++;
    activeChunks++;

    const start = chunkIndex * CHUNK_SIZE;
    const end = Math.min(start + CHUNK_SIZE, file.size);
    const chunk = file.slice(start, end);

    uploadChunk(chunk, chunkIndex, FILE_ID, TOTAL_CHUNKS, file.name)
      .then(() => {
        uploadedChunks.add(chunkIndex);
        updateProgress(uploadedChunks.size, TOTAL_CHUNKS);
      })
      .catch(err => console.error(`分片${chunkIndex}失败:`, err))
      .finally(() => {
        currentUploads--;
        activeChunks--;
      });

    chunkIndex++;
  }

  // 检查所有分片完成
  const checkCompletion = setInterval(() => {
    if (activeChunks === 0 && uploadedChunks.size === TOTAL_CHUNKS) {
      clearInterval(checkCompletion);
      completeUpload(FILE_ID, file.name);
    }
  }, 1000);
}

async function uploadChunk(chunk, index, fileId, total, filename) {
  const formData = new FormData();
  formData.append('file', chunk, filename);
  formData.append('chunkIndex', index);
  formData.append('totalChunks', total);
  formData.append('fileId', fileId);

  return fetch('/api/upload/chunk', {
    method: 'POST',
    body: formData
  }).then(res => {
    if (!res.ok) throw new Error('上传失败');
    return res.json();
  });
}

async function completeUpload(fileId, filename) {
  return fetch('/api/upload/merge', {
    method: 'POST',
    headers: { 'Content-Type': 'application/json' },
    body: JSON.stringify({ fileId, filename })
  }).then(res => {
    if (res.ok) alert('上传成功!');
    else alert('合并失败');
  });
}

function updateProgress(done, total) {
  const percent = Math.round((done / total) * 100);
  document.getElementById('progressBar').innerHTML = `
    <div style="width: ${percent}%; background: #4CAF50; height: 20px;">
      ${percent}%
    </div>
  `;
}
</script>
2、SpringBoot后端实现
首先配置一下SpringBoot 上传的一些限制
# application.yml
spring:
  servlet:
    multipart:
      max-file-size: 10MB       # 单片最大尺寸
      max-request-size: 1000MB  # 总请求限制
file:
  upload-dir: /data/upload
分片上传控制器Controller
@RestController
@RequestMapping("/api/upload")
public class FileUploadController {

    @Value("${file.upload-dir}") //
    private String uploadDir;

    // 分片上传接口
    @PostMapping("/chunk")
    public ResponseEntity<?> uploadChunk(
            @RequestParam("file") MultipartFile file,
            @RequestParam("chunkIndex") int chunkIndex,
            @RequestParam("totalChunks") int totalChunks,
            @RequestParam("fileId") String fileId) {

        try {
            // 创建分片存储目录
            String chunkDir = uploadDir + "/chunks/" + fileId;
            Path dirPath = Paths.get(chunkDir);
            if (!Files.exists(dirPath)) {
                Files.createDirectories(dirPath);
            }

            // 保存分片文件
            String chunkFilename = chunkIndex + ".part";
            Path filePath = dirPath.resolve(chunkFilename);
            Files.copy(file.getInputStream(), filePath,
                StandardCopyOption.REPLACE_EXISTING);

            return ResponseEntity.ok().body(Map.of(
                "status", "success",
                "chunk", chunkIndex
            ));
        } catch (Exception e) {
            return ResponseEntity.status(500).body(Map.of(
                "status", "error",
                "message", e.getMessage()
            ));
        }
    }

    // 合并文件接口
    @PostMapping("/merge")
    public ResponseEntity<?> mergeChunks(
            @RequestBody MergeRequest request) {

        try {
            String fileId = request.getFileId();
            String filename = request.getFilename();

            Path chunkDir = Paths.get(uploadDir, "chunks", fileId);
            Path outputFile = Paths.get(uploadDir, filename);

            // 检查分片完整性
            long expectedChunks = Files.list(chunkDir).count();
            if (expectedChunks != request.getTotalChunks()) {
                return ResponseEntity.badRequest().body(
                    "分片数量不匹配");
            }

            // 按序号排序分片
            List<Path> chunks = Files.list(chunkDir)
                .sorted((p1, p2) -> {
                    String f1 = p1.getFileName().toString();
                    String f2 = p2.getFileName().toString();
                    return Integer.compare(
                        Integer.parseInt(f1.split("\\.")[0]),
                        Integer.parseInt(f2.split("\\.")[0]));
                })
                .collect(Collectors.toList());

            // 合并文件
            try (OutputStream out = Files.newOutputStream(outputFile,
                StandardOpenOption.CREATE, StandardOpenOption.APPEND)) {

                for (Path chunk : chunks) {
                    Files.copy(chunk, out);
                }
            }

            // 清理分片目录
            FileUtils.deleteDirectory(chunkDir.toFile());

            return ResponseEntity.ok().body(Map.of(
                "status", "success",
                "file", filename,
                "size", Files.size(outputFile)
            ));
        } catch (Exception e) {
            return ResponseEntity.status(500).body(
                "合并失败: " + e.getMessage());
        }
    }

    // 请求体定义
    @Data
    public static class MergeRequest {
        private String fileId;
        private String filename;
        private int totalChunks;
    }
}
3、扩展断点续传
如果你的项目没有断点续传的需求,可以直接参考 ❶ ❷前后端代码即可,否则可以在分片上传接口中添加续传支持,增加代码如下:
// 在分片上传接口中添加续传支持
@GetMapping("/check")
public ResponseEntity<?> checkChunks(
        @RequestParam("fileId") String fileId,
        @RequestParam("totalChunks") int totalChunks) {

    Path chunkDir = Paths.get(uploadDir, "chunks", fileId);
    if (!Files.exists(chunkDir)) {
        return ResponseEntity.ok().body(Map.of(
            "exists", false
        ));
    }

    try {
        // 获取已上传分片索引
        Set<Integer> uploaded = Files.list(chunkDir)
            .map(p -> Integer.parseInt(
                p.getFileName().toString().split("\\.")[0]))
            .collect(Collectors.toSet());

        return ResponseEntity.ok().body(Map.of(
            "exists", true,
            "uploaded", uploaded
        ));
    } catch (IOException e) {
        return ResponseEntity.status(500).body(
            "检查失败: " + e.getMessage());
    }
}
前端调用检查接口:
async function checkUploadStatus(fileId, totalChunks) {
  const res = await fetch(`/api/upload/check?fileId=${fileId}&totalChunks=${totalChunks}`);
  const data = await res.json();
  return data.exists ? data.uploaded : new Set();
}

// 在上述前端代码 startUpload函数中加入
const uploadedChunks = await checkUploadStatus(FILE_ID, TOTAL_CHUNKS);
5. 高级优化方案
通过上面的代码示例,你已经可以轻松使用大文件的分片上传了,如果你还有一些优化需求,博主这里简单罗列三个,供小伙伴们参考
5.1 分片秒传优化
// 在保存分片前计算哈希
String hash = DigestUtils.md5DigestAsHex(file.getBytes());
String chunkFilename = hash + ".part"; // 哈希作为文件名

// 检查是否已存在相同分片
if (Files.exists(dirPath.resolve(chunkFilename))) {
    return ResponseEntity.ok().body(Map.of(
        "status", "skip",
        "chunk", chunkIndex
    ));
}
5.2 并行合并加速
// 使用并行流合并文件
List<Path> chunks = ... // 排序后的分片列表

try (OutputStream out = Files.newOutputStream(outputFile)) {
    chunks.parallelStream().forEach(chunk -> {
        try {
            Files.copy(chunk, out);
        } catch (IOException e) {
            throw new UncheckedIOException(e);
        }
    });
}
5.3 安全增强措施
// 文件名安全过滤
String safeFilename = filename.replaceAll("[^a-zA-Z0-9\\.\\-]", "_");

// 文件类型检查
String mimeType = Files.probeContentType(filePath);
if (!mimeType.startsWith("video/")) {
    throw new SecurityException("非法文件类型");
}
结语:构建可靠的大文件传输体系
本文示例演示了一个从前端分片、并发上传,到后端按序存储与合并的完整流程。并可以按需提供断点续传,以及部分优化的方案参考,这样我们就提高大文件上传的稳定性与用户体验。
通过本文实现的分片上传方案,我们成功解决了大文件传输的核心挑战:
- 稳定性提升:分片机制有效规避了网络波动影响
- 资源优化:内存占用从GB级降至MB级
- 用户体验:进度可视化 + 断点续传
- 扩展能力:秒传、并行合并等优化空间
以上就是基于JavaScript+SpringBoot实现大文件分片上传的详细内容,更多关于JavaScript SpringBoot文件分片上传的资料请关注脚本之家其它相关文章!