
React创建配置项目的实现
作者:shifff
tips:所有配置文件均配置在项目的根目录下
1.初始化一个前端项目
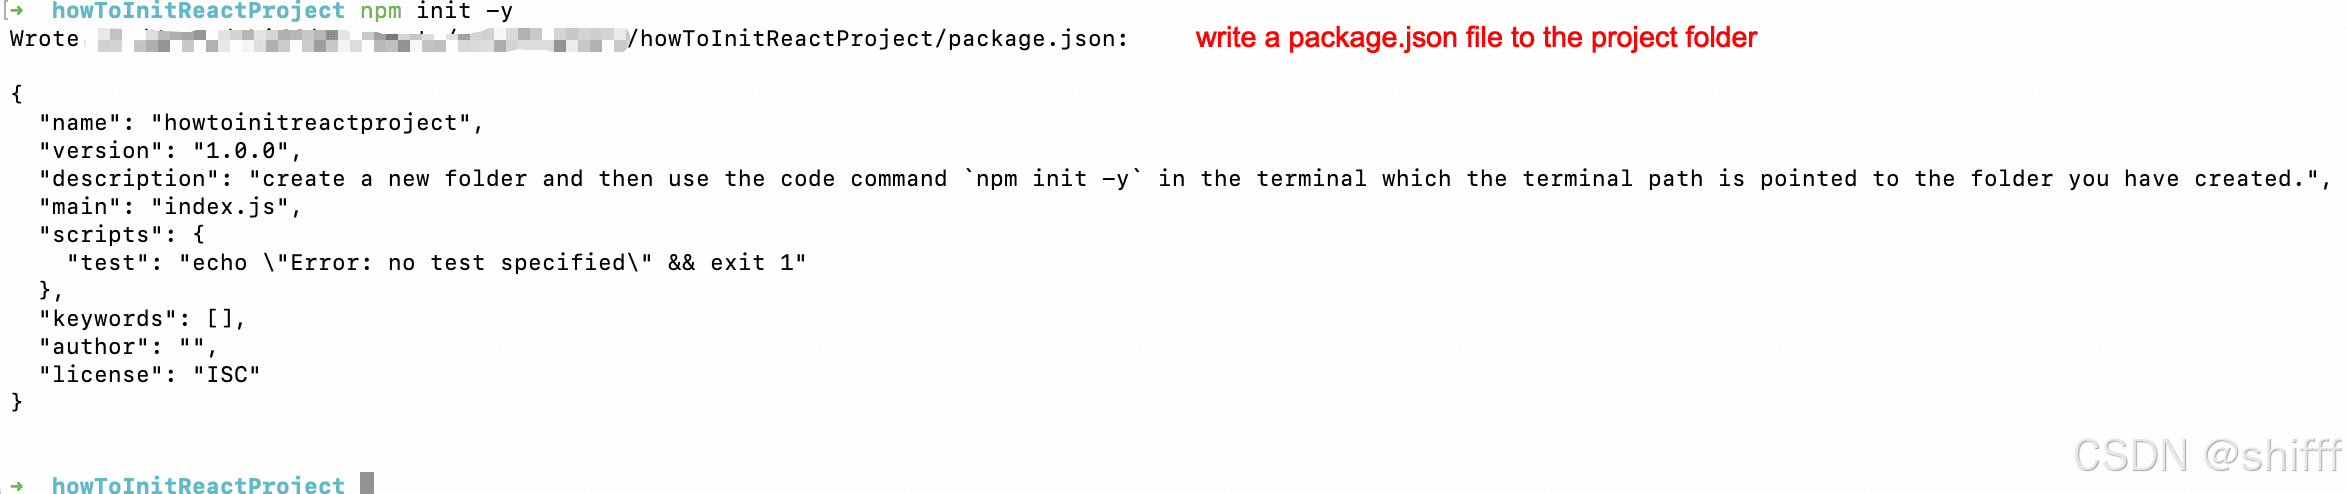
新建一个项目文件夹:npm init -y
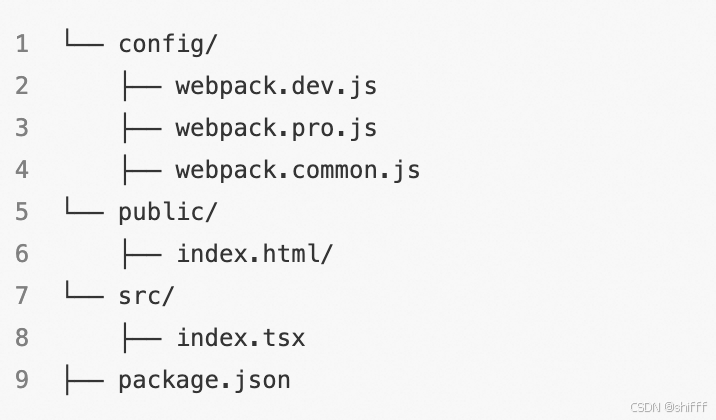
创建文件目录如下
- src/
 -index.ts//项目入口文件
- package.json
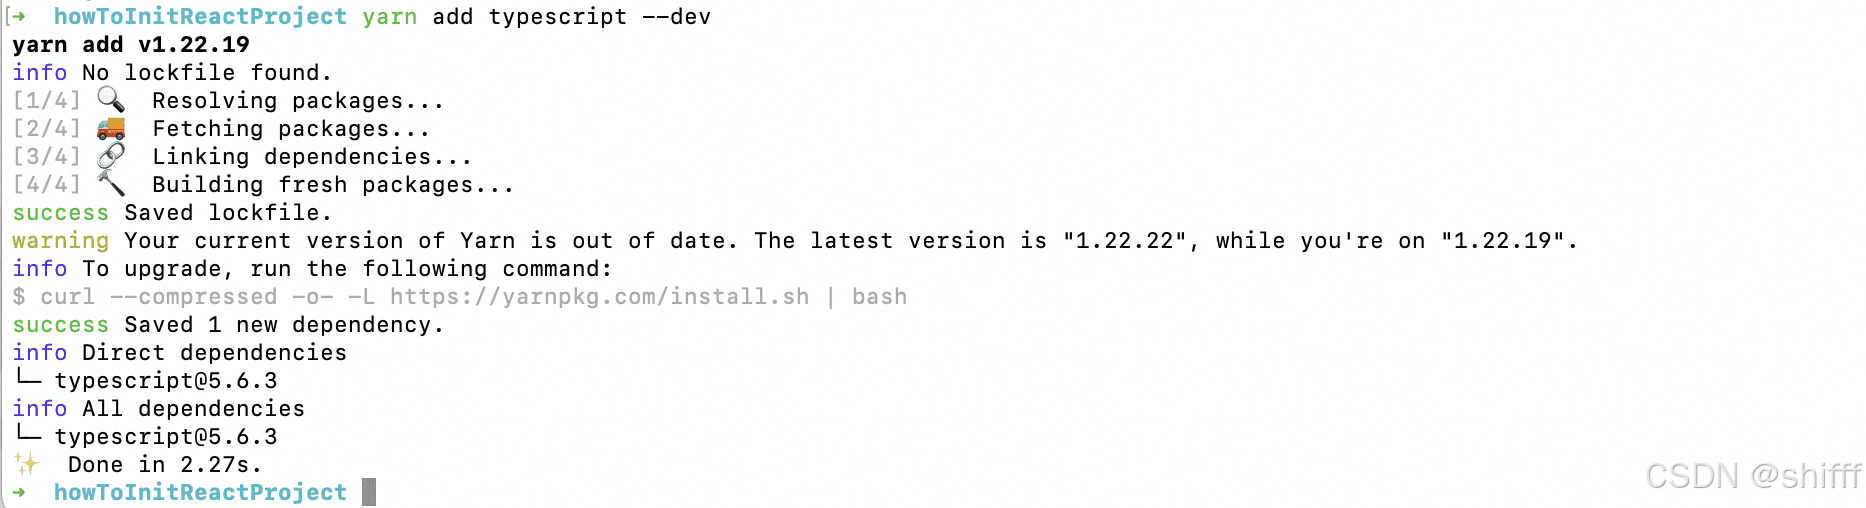
2.添加TypeScript(可选/默认JS)
安装TS,要先在全局安装有yarn包管理工具,--dev命令将ts安装为开发环境的依赖,不需要在生产环境中运行。
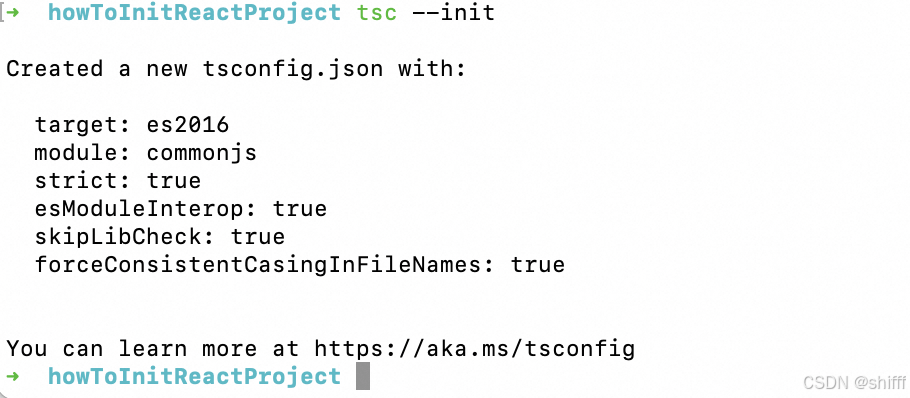
进行TS配置,在项目根目录通过tsc --init命令创建tsconfig.json文件
如果报错:zsh: command not found: tsc。通常是因为 tsc 命令未被正确识别。可能是因为 TypeScript 没有全局安装,或者你没有正确配置路径来运行 tsc。这里我们不需要全局安装,所以我们直接配置路径。
确认路径设置(针对 zsh 用户)
( 可以通过 vi ~/.zshrc打开.zshrc文件,键盘敲I键进入编辑模式)
在 ~/.zshrc 文件中,添加以下行(如果未添加):
export PATH="$PATH:./node_modules/.bin"
输入:wq退出并保存文件,然后应用更改
source ~/.zshrc
通过tsc --version查看版本,如果出现版本说明路径设置成功
配置tsconfig.json文件
{
  "compilerOptions": {
    "module": "esnext",
    "target": "esnext",
    "lib": ["esnext", "dom"],
    "baseUrl": ".",
    "jsx": "react-jsx",
    "resolveJsonModule": true,
    "allowSyntheticDefaultImports": true,
    "moduleResolution": "node",
    "forceConsistentCasingInFileNames": true,
    "noImplicitReturns": true,
    "suppressImplicitAnyIndexErrors": true,
    "noUnusedLocals": true,
    "allowJs": true,
    "skipLibCheck": true,
    "esModuleInterop": true,
    "strict": true,
    "paths": {
      "@/*": ["./src/*"]
    },
    "noEmit": true
  },
  "include": [
    "src/**/*",
    "typings/**/*",
    "config/**/*",
    ".eslintrc.js",
    ".stylelintrc.js",
    ".prettierrc.js"
  ],
  "exclude": ["node_modules", "build", "dist"]
}
3.添加ESLint
yarn add eslint eslint-plugin-react eslint-plugin-react-hooks @typescript-eslint/parser @typescript-eslint/eslint-plugin --dev
配置.eslintrc.json文件
{
  "parser": "@typescript-eslint/parser",
  "parserOptions": {
    "ecmaVersion": 2018,
    "sourceType": "module"
  },
  "plugins": ["@typescript-eslint", "react-hooks"],
  "extends": [
    "plugin:react/recommended",
    "plugin:@typescript-eslint/recommended"
  ],
  "rules": {
    "react-hooks/rules-of-hooks": "error",
    "react-hooks/exhaustive-deps": "warn",
    "react/prop-types": "off",
    "@typescript-eslint/explicit-module-boundary-types": "off"
  }
}
配置.eslintignore文件
# 忽略目录
.DS_Store
node_modules
dist
build
public
4.添加Prettier
yarn add prettier --dev
配置.prettierrc文件(不允许注释)
{
    "printWidth": 100,
    "semi": true,
    "singleQuote": true,
    "tabWidth": 2,
    "trailingComma": "all",
    "bracketSpacing": true,
    "jsxBracketSameLine": false,
    "arrowParens": "always",
    "requirePragma": false,
    "proseWrap": "preserve"
}
或者配置 .prettierrc.js文件(允许注释)
module.exports={
  "printWidth": 100, // 换行字符串阈值
  "semi": true, // 句末加分号
  "singleQuote": true, // 用单引号
  "tabWidth": 2,
  "trailingComma": "all", // 最后一个对象元素加逗号
  "bracketSpacing": true, // 对象,数组加空格
  "jsxBracketSameLine": false, // jsx > 是否另起一行
  "arrowParens": "always", // (x) => {} 是否要有小括号
  "requirePragma": false, // 是否要注释来决定是否格式化代码
  "proseWrap": "preserve" // 是否要换行
}
配置.prettierignore文件
*.svg
package.json
.DS_Store
.eslintignore
*.png
*.toml
.editorconfig
.gitignore
.prettierignore
LICENSE
.eslintcache
*.lock
yarn-error.log
/build
/public
5.添加 EditorConfig 代码风格统一工具
在VSCode 中安装 EditorConfig 插件
配置.editorconfig文件
# http://editorconfig.org
root = true

[*]
#缩进风格:空格
indent_style = space
#缩进大小2
indent_size = 2
#换行符lf
end_of_line = lf
#字符集utf-8
charset = utf-8
#是否删除行尾的空格
trim_trailing_whitespace = true
#是否在文件的最后插入一个空行
insert_final_newline = true

[*.md]
trim_trailing_whitespace = false

[Makefile]
indent_style = tab
6.stylelint样式规范校验工具
VScode中安装stylelint插件
安装依赖
yarn add stylelint stylelint-config-standard --dev
配置.stylelintrc.js文件
module.exports = {
  extends: "stylelint-config-standard",
  rules: {
    // your rules
  },
  // 忽略其他文件,只校验样式相关的文件
  ignoreFiles: [
    "node_modules/**/*",
    "public/**/*",
    "dist/**/*",
    "**/*.js",
    "**/*.jsx",
    "**/*.tsx",
    "**/*.ts",
  ],
};
7.添加git hook(git提交前的强制校验,不满足条件不让提交)
- husky 是一个 gitHook 工具,可以配置 git 的一些钩子,本文主要用来配置 commit 钩子
- lint-staged 是一个在 git 暂存文件上运行 lint 校验的工具,配合 husky 配置 commit 钩子,用于 git commit 前的强制校验
安装依赖(下面两条命令二选一)
yarn add husky lint-staged --dev
npm install husky lint-staged --save-dev
8.基本项目结构
index.html内容如下
<!DOCTYPE html>
<html lang="en">
  <head>
    <meta charset="UTF-8" />
    <meta http-equiv="X-UA-Compatible" content="IE=edge" />
    <meta name="viewport" content="width=device-width, initial-scale=1.0" />
    <title>react-app</title>
  </head>
  <body>
    <div id="root"></div>
  </body>
</html>
9.安装react
yarn add react react-dom
yarn add   @types/react @types/react-dom --dev
10.添加react根组件
在src下添加index.tsx文件,内容如下
import { createRoot } from 'react-dom/client';
import React from 'react';

const App = () => {
  return (<h1>你好!</h1>);
};
// 这里用非空断言说明root这个根结点是一定存在的
const root = createRoot(document.getElementById("root")!);
root.render(<App />);
11.添加Babel
需要使用 Babel 将 React 和 TypeScript 代码转换为 JavaScript。接下来我们安装一些 Babel 工具
yarn add @babel/core @babel/preset-env @babel/preset-react @babel/preset-typescript @babel/plugin-transform-runtime @babel/runtime --dev
配置 .babelrc文件
{
  "presets": [
    "@babel/preset-env",
    "@babel/preset-react",
    "@babel/preset-typescript"
  ],
  "plugins": [
    [
      "@babel/plugin-transform-runtime",
      {
        "regenerator": true
      }
    ]
  ]
}
12.添加webpack
yarn add webpack webpack-cli @types/webpack --dev

yarn add webpack-dev-server @types/webpack-dev-server  --dev

yarn add babel-loader  --dev

yarn add html-webpack-plugin  --dev
开发环境文件config/webpack.dev.js
const path = require("path");
const webpack = require("webpack");
const HtmlWebpackPlugin = require("html-webpack-plugin");

const config = {
  mode: "development",
  entry: {
    main: path.resolve(__dirname, "../src/index.tsx"),
  },
  output: {
    filename: "[name].js",
    path: path.resolve(__dirname, "../build"),
  },
  module: {
    rules: [
      {
        test: /\.(ts|js)x?$/i,
        exclude: /node_modules/,
        use: {
          loader: "babel-loader",
          options: {
            presets: [
              "@babel/preset-env",
              "@babel/preset-react",
              "@babel/preset-typescript",
            ],
            plugins: [
              [
                "@babel/plugin-transform-runtime",
                {
                  regenerator: true,
                },
              ],
            ],
          },
        },
      },
    ],
  },
  resolve: {
    alias: {
      "@": path.resolve(__dirname, "../src"),
    },
    extensions: [".tsx", ".ts", ".jsx", ".js"],
  },
  plugins: [
    new HtmlWebpackPlugin({
      template: "public/index.html",
    }),
    new webpack.HotModuleReplacementPlugin(),
  ],
  devtool: "inline-source-map",
  devServer: {
    static:{
      directory: '../build',
    },
    historyApiFallback: true,
    port: 4000,
    hot: true,
  },
};

module.exports = config;
到此这篇关于React创建配置项目的实现的文章就介绍到这了,更多相关React创建配置项目内容请搜索脚本之家以前的文章或继续浏览下面的相关文章希望大家以后多多支持脚本之家!