
一文教你如何在Vue项目中使用Emoji表情
作者:英子的搬砖日志
主要介绍了在vue项目中,如何使用emoji表情,包括:font-awesome 图标、v-emoji-picker、vue-emoji等emoji表情库。
1、直接使用html的 Emoji 字符集
使用:
<template>
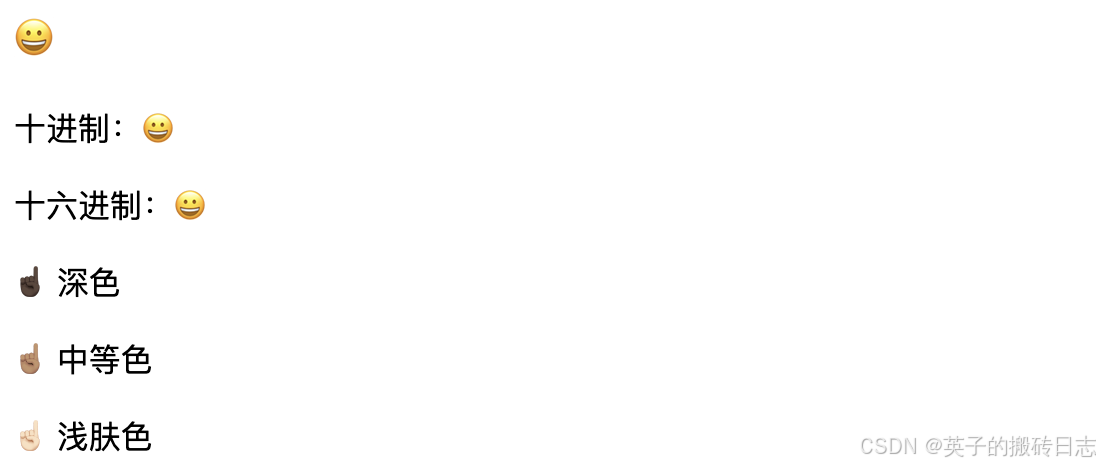
<p style="font-size:20px">😀</p>
<p>十进制:😀</p>
<p>十六进制:😀</p>
<p>☝🏿 深色</p>
<p>☝🏽 中等色</p>
<p>☝🏻 浅肤色</p>
</template>
效果:
更多参考:https://www.runoob.com/charsets/ref-emoji.html
2、 font-awesome 图标
安装:npm i font-awesome

在项目主入口引入样式文件(例:vue3项目main.ts):
import 'font-awesome/css/font-awesome.css';
使用示例:
<template>
	<i class="fa fa-smile-o"></i>
  	<i class="fa fa-phone"></i>
  	<i class="fa fa-commenting-o"></i>
</template>
更多参看:https://www.runoob.com/font-awesome/fontawesome-icons-webapp.html
3、v-emoji-picker
安装: npm i v-emoji-picker

事件
@select - 选中表情时触发
@changeCategory - 切换分类时触发
属性
  customEmojis: Array<IEmoji>, // 默认:[],自定义表情符号数组
  customCategories: Array<ICategory>, // 默认:[],自定义分类数组
  limitFrequently: number, // 默认:15,频繁使用的表情限制数量
  emojisByRow: number, 		// 默认:5,每行的表情数
  continuousList: boolean, // 默认:false,是否连续滚动列表
  emojiSize: number, 		// 默认:32,表情大小
  emojiWithBorder: boolean, // 默认:true,表情是否有边框
  showSearch: boolean, 		// 默认:true,是否显示搜索功能
  showCategories: boolean, // 默认:true,是否显示分类选项
  dark: boolean, 			// 默认:false,暗黑模式
  initialCategory: string, // 默认:"Peoples",初始类别
  exceptCategories: Array<ICategory>, // 排除的类别数组,默认:[]
  exceptEmojis: Array<IEmoji>, // 排除的表情符号数组,默认:[]
  i18n: Object, 	// 国际化对象
具体示例:vue2 + element
// 第一步:在main.js引入emoji表情
import "font-awesome/css/font-awesome.css"; // 引入字体图标
import VEmojiPicker from "v-emoji-picker"; // 引入emoji图标
Vue.use(VEmojiPicker);

// 第二步:在组件中使用
<template>
  <div class="blog-container">
    <el-popover v-model="visibleEmoji" trigger="click">
      <VEmojiPicker @select="selectEmoji" />
      <i slot="reference" class="fa fa-smile-o"></i>
    </el-popover>
    <el-input v-model="inputValue" @blur="handleInputBlur" />
  </div>
</template>

<script>
export default {
  data() {
    return {
      inputValue: "",
      visibleEmoji: false,
      blurPos: undefined
    };
  },
  methods: {
    handleInputBlur(e) {
      this.blurPos = e.srcElement.selectionStart;
    },
    selectEmoji(emoji) {
      if (this.inputValue === undefined) {
        this.inputValue = emoji.data;
      } else if (
        this.blurPos === undefined ||
        this.blurPos === this.inputValue.length
      ) {
        this.inputValue = `${this.inputValue}${emoji.data}`;
      } else {
        this.inputValue =
          this.inputValue.slice(0, this.blurPos) +
          emoji.data +
          this.inputValue.slice(this.blurPos);
      }
      this.visibleEmoji = false;
    }
  }
};
</script>

<style lang="less" scoped>
.blog-container {
  padding: 10px;
}
</style>
效果
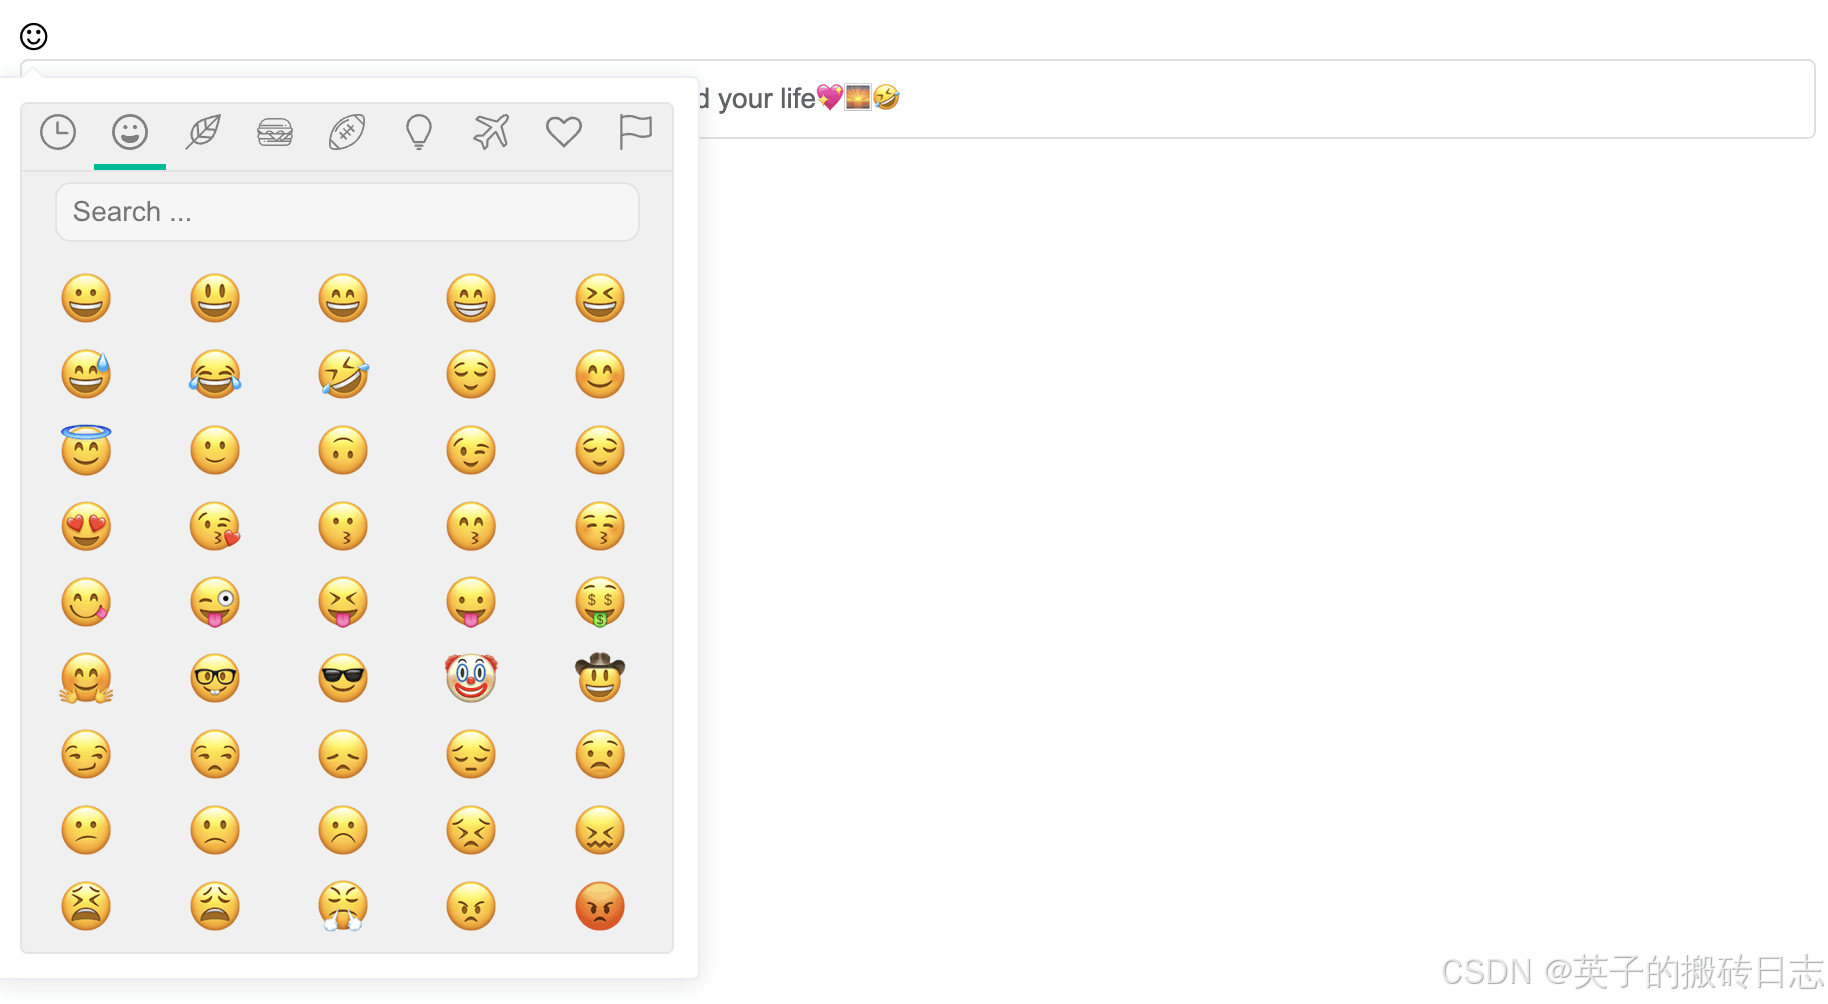
v-emoji-picker官方npm库:https://www.npmjs.com/package/v-emoji-picker
4、vue3-emoji-picker
安装: npm i vue3-emoji-picker

事件
@select - 选择/点击一个表情时触发此事件,事件回调的第一个参数接收所选的表情。@update:text - 输入文本发生变化时触发此事件,事件回调的第一个参数接收改变后的文本
属性
| 属性 | 类型 | 默认值 | 描述 |
|---|---|---|---|
| native | 布尔型 | false | 是否使用系统原生表情代替图片。 |
| hide-search | 布尔型 | true | 显示或隐藏搜索输入框。 |
| hide-group-icons | 布尔型 | false | 显示或隐藏分组图标。 |
| hide-group-names | 布尔型 | false | 显示或隐藏分组名称。 |
| disable-sticky-group-names | 布尔型 | false | 禁用分组名称的固定位置显示。 |
| disable-skin-tones | 布尔型 | false | 禁用肤色选择。 |
| disabled-groups | 数组 | [] | 禁用特定的分组或类别。参见[可用分组] |
| group-names | 对象 | {} | 更改任意分组名称。参见[默认分组名称] |
| static-texts | 对象 | 对象 | 参考[静态文本选项]表。 |
| pickerType | 字符串 | ‘’ | 选择选择器类型,可能的选项:input、textarea(弹出输入框或文本区域),''。 |
| mode | 字符串 | 'insert' | 选择插入模式,可能的选项:prepend、insert、append。 |
| offset | 数字 | 6 | 设置表情弹窗的偏移量。 |
| additional-groups | 对象 | {} | 添加自定义分组,键为从蛇形命名转换过来的分组名称。 |
| group-order | 数组 | [] | 覆盖分组的排序。 |
| group-icons | 对象 | {} | 通过在键上传递 SVG 来覆盖分组图标。 |
| display-recent | 布尔型 | false | 显示最近使用的表情。 |
| theme | 字符串 | ‘light’ | 可选值:'light'、'dark'、'auto'。 |
静态文本选项
| 属性 | 类型 | 默认值 | 描述 |
|---|---|---|---|
| placeholder | 字符串 | “Search emoji” | 更新搜索输入框的占位符文本。 |
| skinTone | 字符串 | “Skin tone” | 底部肤色按钮的文本。 |
可用分组
[
  "smileys_people",
  "animals_nature",
  "food_drink",
  "activities",
  "travel_places",
  "objects",
  "symbols",
  "flags"
]
默认分组名称
{
  "smileys_people": "微笑与人物",
  "animals_nature": "动物与自然",
  "food_drink": "食物与饮料",
  "activities": "活动",
  "travel_places": "旅行与地点",
  "objects": "物体",
  "symbols": "符号",
  "flags": "旗帜"
}
具体示例:vue3 + antd
// 使用了TypeScript,需要在 .d.ts 文件中添加模块声明
declare module 'vue3-emoji-picker';

// 组件中使用
<template>
  <div class="warpper">
    <a-popover title=" " v-model:visible="showEmoji" trigger="click">
      <template #content>
        <Vue3EmojiPicker :native="true" @select="chooseEmoji" />
      </template>
      <i class="fa fa-smile-o" @click="showEmoji = !showEmoji"></i>
    </a-popover>
    <a-input
      v-model:value="inputValue"
      @blur="handleInputBlur"
      placeholder="请输入"
    >
    </a-input>
  </div>
</template>

<script lang="ts" setup>
import { ref } from "vue";
import { Input, Popover } from "ant-design-vue";
import Vue3EmojiPicker from "vue3-emoji-picker"; // 引入emoji表情组件
import "vue3-emoji-picker/css"; // 引入样式

const showEmoji = ref<boolean>(false); // 是否显示表情
const inputValue = ref<string | undefined>(undefined); // 输入框的值
const blurPos = ref<number>(0); // 光标位置

// 获取光标位置
function handleInputBlur(e) {
  blurPos.value = e.srcElement.selectionStart;
}

/* 选择表情事件
  emoji示例:
    {
      n: ["face with tears of joy", "joy"],
      u: "1f602",
      r: "1f602",
      t: "neutral",
      i: "😂",
    }
*/
function chooseEmoji(emoji) {
  if (inputValue.value === undefined) {
    inputValue.value = emoji.i;
  } else if (blurPos.value === undefined || blurPos.value === inputValue.value.length) {
    inputValue.value = `${inputValue.value}${emoji.i}`;
  } else {
    inputValue.value =
      inputValue.value.slice(0, blurPos.value) +
      emoji.i +
      inputValue.value.slice(blurPos.value);
  }
  showEmoji.value = false;
}
</script>

<style scoped>
.warpper {
  padding: 40px;
  border: 1px solid #ccc;
}

.emoji-wrap {
  text-align: left;
}
</style>
效果

vue3-emoji-picker更多说明,参考官方npm库:https://www.npmjs.com/package/vue3-emoji-picker?activeTab=explore
5、vue-emoji
安装: npm i emoji-vue

事件与属性
@input - 当含有表情选择器的textarea内容改变时触发的事件。
value - 用于设置textarea初始内容的属性。
width - 设置可见textarea的宽度(以像素为单位);默认为’200px’。
height - 设置可见textarea的高度(以像素为单位);默认为’50px’。
使用:vue2 + element 使用
<template>
  <div class="blog-container">
    <VueEmoji ref="emoji" :value="inputText" @input="onInput"></VueEmoji>
    <el-button type="primary" size="mini" @click="clearInput">清除</el-button>
  </div>
</template>

<script>
import VueEmoji from "emoji-vue";

export default {
  components: {
    VueEmoji
  },
  data() {
    return {
      inputValue: "",
      visibleEmoji: false,
      blurPos: undefined,
      inputText: ""
    };
  },
  methods: {
    onInput(emoji) {
      console.log(emoji);
    },
    clearInput() {
      this.$refs.emoji.clear();
    }
  }
};
</script>

<style lang="less" scoped>
.blog-container {
  padding: 10px;
}
</style>
效果
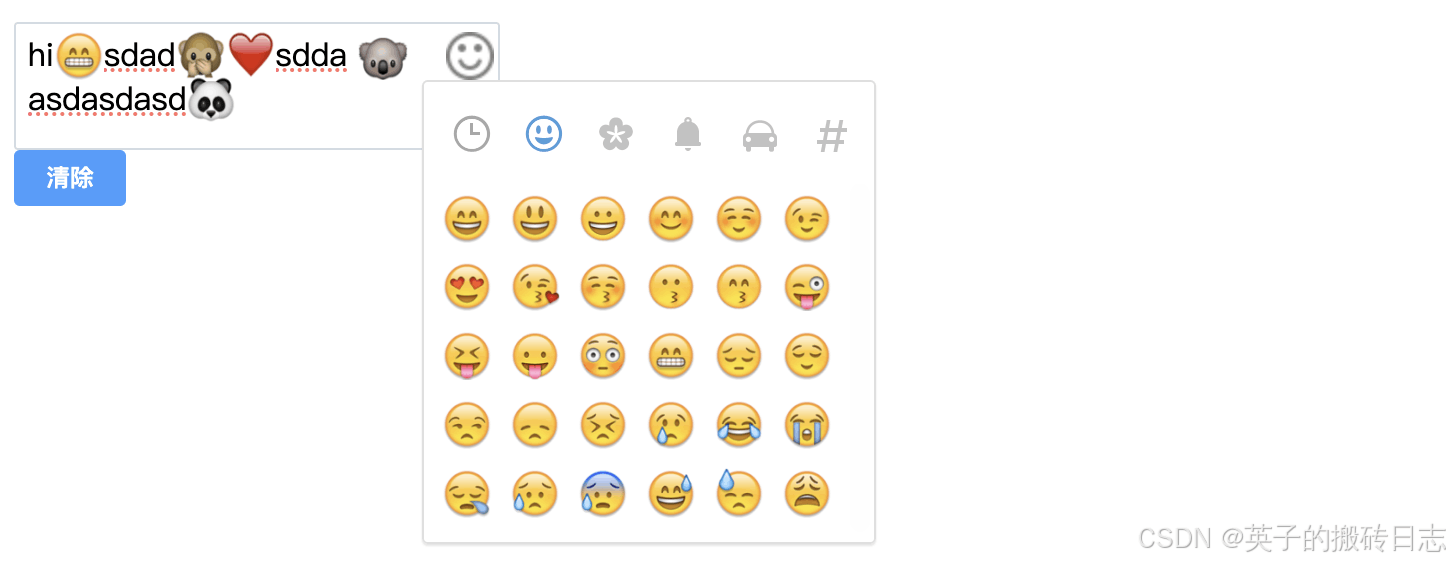
vue-emoji更多使用参考npm官方地址:https://www.npmjs.com/package/emoji-vue
以上就是一文教你如何在Vue项目中使用Emoji表情的详细内容,更多关于Vue使用Emoji表情的资料请关注脚本之家其它相关文章!