
如何利用vue+高德API搭建前端环境页面
作者:张謹礧
这篇文章主要介绍了如何使用Vue和高德API搭建一个前端页面,实现了地图的加载和卫星图层、路网图层的管理,文中通过图文及代码介绍的非常详细,需要的朋友可以参考下
一、模板部分(<template>)
html
<template>
  <div class="page-container">
    <div id="container"></div>
  </div>
</template>
- 这部分使用 Vue 的模板语法,定义了组件的 HTML 结构。
- 包含一个
div元素,类名为page-container,它可能是整个页面的容器。 - 内部有一个
div元素,其id为container,该元素很可能是用来承载地图的容器,后续的地图会被渲染在这个div元素中。
- 包含一个
二、脚本部分(<script>)
javascript
import AMapLoader from '@amap/amap-jsapi-loader';
export default {
  name: "LayerManage",
  data() {
    return {
      map: null,
      satelliteLayer: null,
      roadNetLayer: null
    };
  },
  methods: {
    initMap() {
      AMapLoader.load({
        key: "1e31659e58fa7666fe0d08f4487ec5c2",  // 记得替换为实际申请的有效key
        version: "2.0"
      }).then((AMap) => {
        this.map = new AMap.Map('container', {
          zoom: 12,
          center: [114.091135, 32.148518]
        });
        // 构造官方卫星、路网图层
        this.satelliteLayer = new AMap.TileLayer.Satellite();
        // this.roadNetLayer = new AMap.TileLayer.RoadNet();
        // 批量添加图层
        this.map.add([this.satelliteLayer, this.roadNetLayer]);
      }).catch(e => {
        console.log(e);
      });
    },
    addSatelliteLayer() {
      this.map.add(this.satelliteLayer);
    },
    removeSatelliteLayer() {
      this.map.remove(this.satelliteLayer);
    },
    addRoadNetLayer() {
      this.map.add(this.roadNetLayer);
    },
    removeRoadNetLayer() {
      this.map.remove(this.roadNetLayer);
    }
  },
  mounted() {
    this.initMap();
  }
};
- 导入和组件声明:
import AMapLoader from '@amap/amap-jsapi-loader';:从@amap/amap-jsapi-loader导入高德地图的 JavaScript API 加载器。export default {...}:定义一个 Vue 组件,组件名为LayerManage。
- 数据部分(data):
map: null:存储地图对象,初始化为null。satelliteLayer: null:存储卫星图层对象,初始化为null。roadNetLayer: null:存储路网图层对象,初始化为null。
- 方法部分(methods):
initMap():- 使用
AMapLoader.load()方法加载高德地图 API,传入key和version等配置信息。 - 在加载成功后,使用
AMap.Map创建一个地图对象,将其绑定到id为container的元素上,并设置zoom和center属性。 - 使用
new AMap.TileLayer.Satellite()创建一个卫星图层对象,并存储在satelliteLayer变量中。 - 代码中注释掉了
this.roadNetLayer = new AMap.TileLayer.RoadNet();,如果取消注释,会创建一个路网图层对象。 - 使用
this.map.add([this.satelliteLayer, this.roadNetLayer]);尝试将创建的图层添加到地图中,但由于roadNetLayer可能未正确创建,会出现问题,需要确保roadNetLayer正确创建和初始化。
- 使用
addSatelliteLayer():将卫星图层添加到地图中。removeSatelliteLayer():从地图中移除卫星图层。addRoadNetLayer():将路网图层添加到地图中。removeRoadNetLayer():从地图中移除路网图层。
- 生命周期钩子(mounted):
- 调用
initMap()方法,在组件挂载后初始化地图和相关图层。
- 调用
三、样式部分(<style>)
css
<style>
  html,
  body,
  #container {
    width: 100%;
    height: 125%;
  }
.page-container {
    width: 100%;
  }
.input-card {
    width: 24rem;
  }
.input-item {
    margin-bottom: 10px;
  }
.btn {
    padding: 5px 10px;
  }
</style>
- 通用样式:
html,body,#container:设置它们的宽度为 100%,#container的高度为 125%,用于确保容器元素和页面的布局。.page-container:设置类名为page-container的元素的宽度为 100%。.input-card:设置宽度为24rem,可能用于一些输入框元素的样式。.input-item:设置下边距为 10px,可能用于输入项的布局。.btn:设置按钮元素的内边距,可能用于样式调整。
可能的问题及优化建议:
- 在
initMap()方法中,roadNetLayer未正确创建,因为相关代码被注释掉了。如果需要使用路网图层,需要取消注释this.roadNetLayer = new AMap.TileLayer.RoadNet();并确保正确导入相关模块。 - 在
initMap()方法的this.map.add([this.satelliteLayer, this.roadNetLayer]);部分,需要确保roadNetLayer不为null,否则可能导致添加失败。可以在添加图层之前添加一些条件判断,例如:
javascript
if (this.satelliteLayer) {
  this.map.add(this.satelliteLayer);
}
if (this.roadNetLayer) {
  this.map.add(this.roadNetLayer);
}
这个 Vue 组件主要实现了高德地图的加载以及卫星图层和路网图层的管理,通过方法可以实现添加和移除这些图层的操作,同时使用 Vue 的生命周期钩子和样式来管理组件的状态和显示效果。在使用时需要确保高德地图 API 的 key 是有效的,并根据需求合理添加和移除图层。
完整代码:
<template>
<div class="page-container">
<div id="container"></div>
</div>
</template>
<script>
import AMapLoader from '@amap/amap-jsapi-loader';
export default {
name: "LayerManage",
data() {
return {
map: null,
satelliteLayer: null,
roadNetLayer: null
};
},
methods: {
initMap() {
AMapLoader.load({
key: "1e31659e58fa7666fe0d08f4487ec5c2", // 记得替换为实际申请的有效key
version: "2.0"
}).then((AMap) => {
this.map = new AMap.Map('container', {
zoom: 12,
center: [114.091135, 32.148518]
});
// 构造官方卫星、路网图层
this.satelliteLayer = new AMap.TileLayer.Satellite();
// this.roadNetLayer = new AMap.TileLayer.RoadNet();
// 批量添加图层
this.map.add([this.satelliteLayer, this.roadNetLayer]);
}).catch(e => {
console.log(e);
});
},
addSatelliteLayer() {
this.map.add(this.satelliteLayer);
},
removeSatelliteLayer() {
this.map.remove(this.satelliteLayer);
},
addRoadNetLayer() {
this.map.add(this.roadNetLayer);
},
removeRoadNetLayer() {
this.map.remove(this.roadNetLayer);
}
},
mounted() {
this.initMap();
}
};
</script>
<style>
html,
body,
#container {
width: 100%;
height: 125%;
}
.page-container {
width: 100%;
}
.input-card {
width: 24rem;
}
.input-item {
margin-bottom: 10px;
}
.btn {
padding: 5px 10px;
}
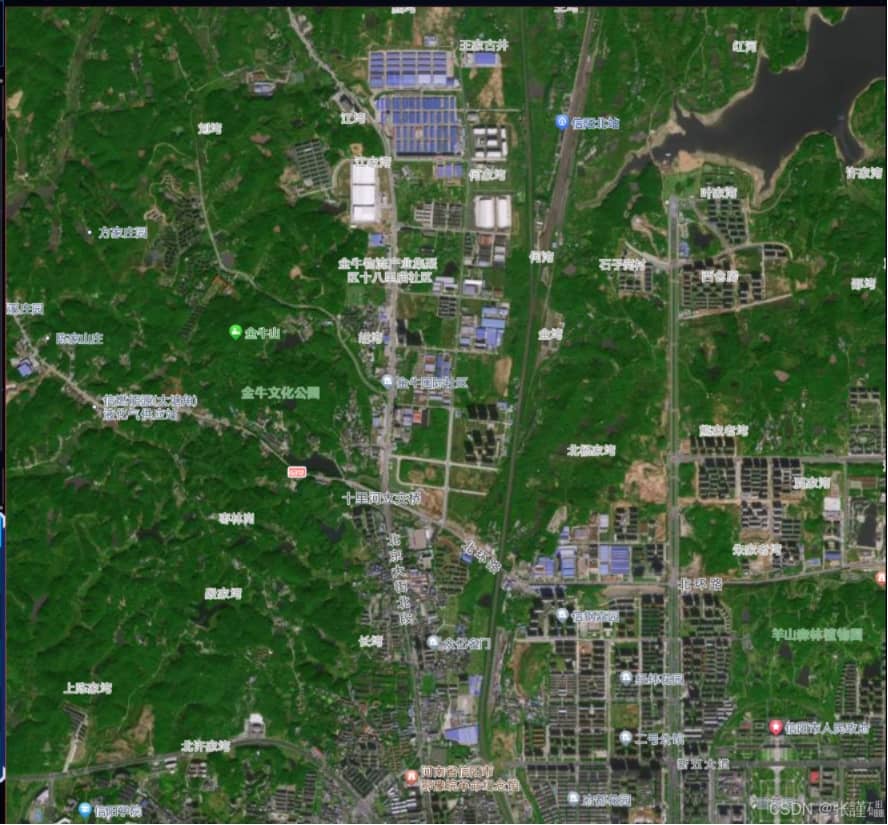
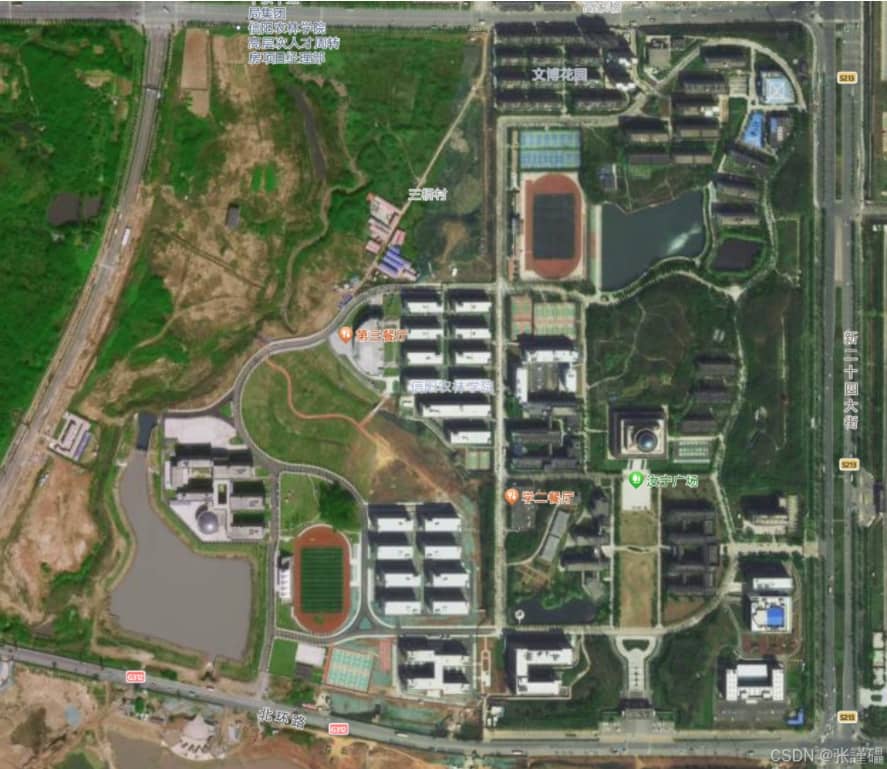
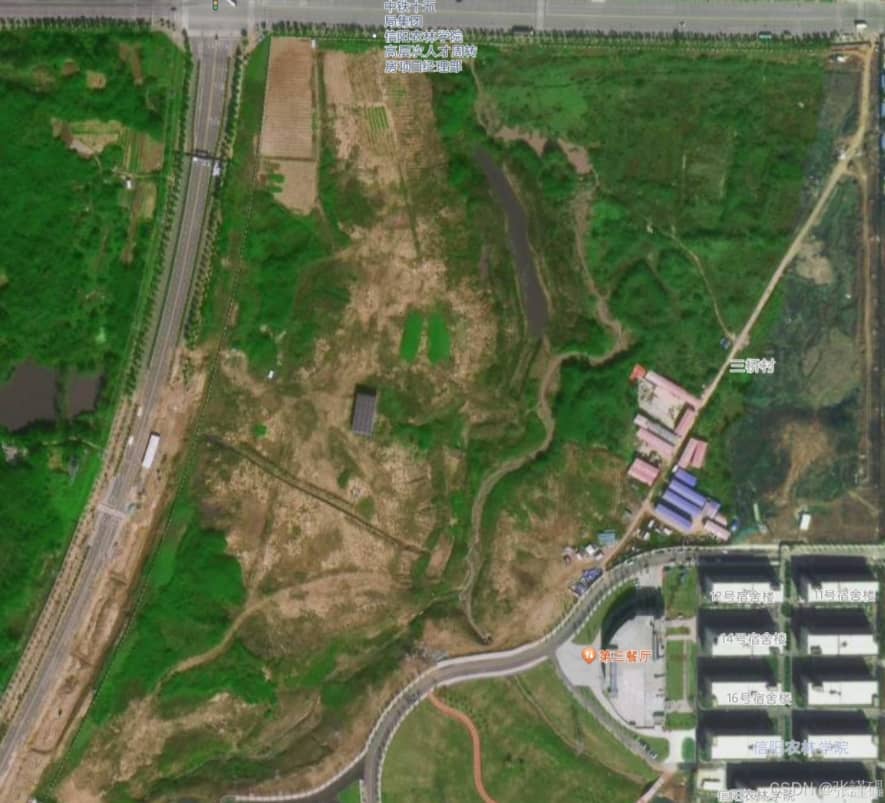
</style>截图效果:
总结
到此这篇关于如何利用vue+高德API搭建前端环境页面的文章就介绍到这了,更多相关vue+高德API搭建前端环境内容请搜索脚本之家以前的文章或继续浏览下面的相关文章希望大家以后多多支持脚本之家!