Vue3实现粒子动态背景的示例详解
作者:会说法语的猪
这篇文章主要为大家详细介绍了如何利用Vue3实现粒子动态背景,文中的示例代码讲解详细,具有一定的学习价值,感兴趣的小伙伴可以跟随小编一起了解一下
npm: https://www.npmjs.com/package/particles.vue3
安装
pnpm add particles.vue3
pnpm add tsparticles-slim
注册
main.js
import { createApp } from 'vue'
import type { App } from 'vue'
import globleApp from './App.vue'
import router from './router'
import Particles from "particles.vue3"

const app: App = createApp(globleApp)

app.use(router)
   .use(Particles)
   .mount('#app')
引入使用
完整代码
<template>
  <div class="wft-particles-container" :style="particlesContainerStyle">
    <vue-particles
      id="wft-tsparticles"
      :particlesInit="particlesInit"
      :options="particlesOpt"
    />
  </div>
</template>
<script setup lang="ts">
import particlesOpt from './config/particles1'
import { loadSlim } from "tsparticles-slim"
import { computed } from 'vue'

const props = withDefaults(defineProps<{
  width?: string | number,
  height?: string | number,
  backgroundColor?: string,
  backgroundImage?: string
}>(), {
  width: '100%',
  height: '100%',
  backgroundColor: '#002a3a',
  backgroundImage: ''
})

const particlesContainerStyle = computed(() => {
  return {
    width: typeof props.width === 'string' ? props.width : props.width + 'px',
    height: typeof props.height === 'string' ? props.height : props.height + 'px',
    backgroundColor: props.backgroundColor,
    backgroundImage: `url(${props.backgroundImage})`
  }
})

const particlesInit = async (engine: any) => {
  await loadSlim(engine);
}
</script>
<style scoped>
.wft-particles-container {
  display: flex;
  justify-content: center;
  align-items: center;
  position: relative;
  background-size: 100% 100%;
  background-repeat: no-repeat;
}

#wft-tsparticles {
  position: absolute;
  left: 0;
  top: 0;
  width: 100%;
  height: 100%;
  z-index: 0;
}
</style>
其中的options配置:
可以在同级新建config文件夹,新建particles1.ts, particles2.ts,里面定义配置项数据并向外导出
①
export default {
  // background: {
  //   color: {
  //     value: '#002a3a'
  //   }
  // },
  fpsLimit: 60,
  interactivity: {
    detectsOn: 'canvas',
    events: {
      onClick: { // 开启鼠标点击的效果
        enable: true,
        mode: 'push'
      },
      onHover: { // 开启鼠标悬浮的效果(线条跟着鼠标移动)
        enable: true,
        mode: 'grab'
      },
      resize: true
    },
    modes: { // 配置动画效果
      bubble: {
        distance: 400,
        duration: 2,
        opacity: 0.8,
        size: 40
      },
      push: {
        quantity: 4
      },
      grab: {
        distance: 200,
        duration: 0.4
      },
      attract: { // 鼠标悬浮时,集中于一点,鼠标移开时释放产生涟漪效果
        distance: 200,
        duration: 0.4,
        factor: 5
      }
    }
  },
  particles: {
    color: {
      value: '#6AECFF' // 粒子点的颜色
    },
    links: {
      color: '#6AECFF', // 线条颜色
      distance: 150,
      enable: true,
      opacity: 0.5, // 不透明度
      width: 2   // 线条宽度
    },
    collisions: {
      enable: true
    },
    move: {
      attract: { enable: false, rotateX: 600, rotateY: 1200 },
      bounce: false,
      direction: 'none',
      enable: true,
      out_mode: 'out',
      random: false,
      speed: 1, // 移动速度
      straight: false
    },
    number: {
      density: {
        enable: true,
        value_area: 800
      },
      value: 80
    },
    opacity: {
      value: 0.5
    },
    shape: {
      type: 'circle'
    },
    size: {
      random: true,
      value: 5
    }
  },
  detectRetina: true
}
②
export default {
  // background: {
  //   color: {
  //     value: '#0d47a1'
  //   }
  // },
  fpsLimit: 120,
  interactivity: {
    events: {
      onClick: {
        enable: true,
        mode: 'push'
      },
      onHover: {
        enable: true,
        mode: 'repulse'
      },
      resize: true
    },
    modes: {
      bubble: {
        distance: 400,
        duration: 2,
        opacity: 0.8,
        size: 40
      },
      push: {
        quantity: 4
      },
      repulse: {
        distance: 200,
        duration: 0.4
      }
    }
  },
  particles: {
    color: {
      value: '#ffffff'
    },
    links: {
      color: '#ffffff',
      distance: 150,
      enable: true,
      opacity: 0.5,
      width: 1
    },
    collisions: {
      enable: true
    },
    move: {
      direction: 'none',
      enable: true,
      outModes: {
        default: 'bounce'
      },
      random: false,
      speed: 6,
      straight: false
    },
    number: {
      density: {
        enable: true,
        area: 800
      },
      value: 80
    },
    opacity: {
      value: 0.5
    },
    shape: {
      type: 'circle'
    },
    size: {
      value: { min: 1, max: 5 },
    }
  },
  detectRetina: true
}
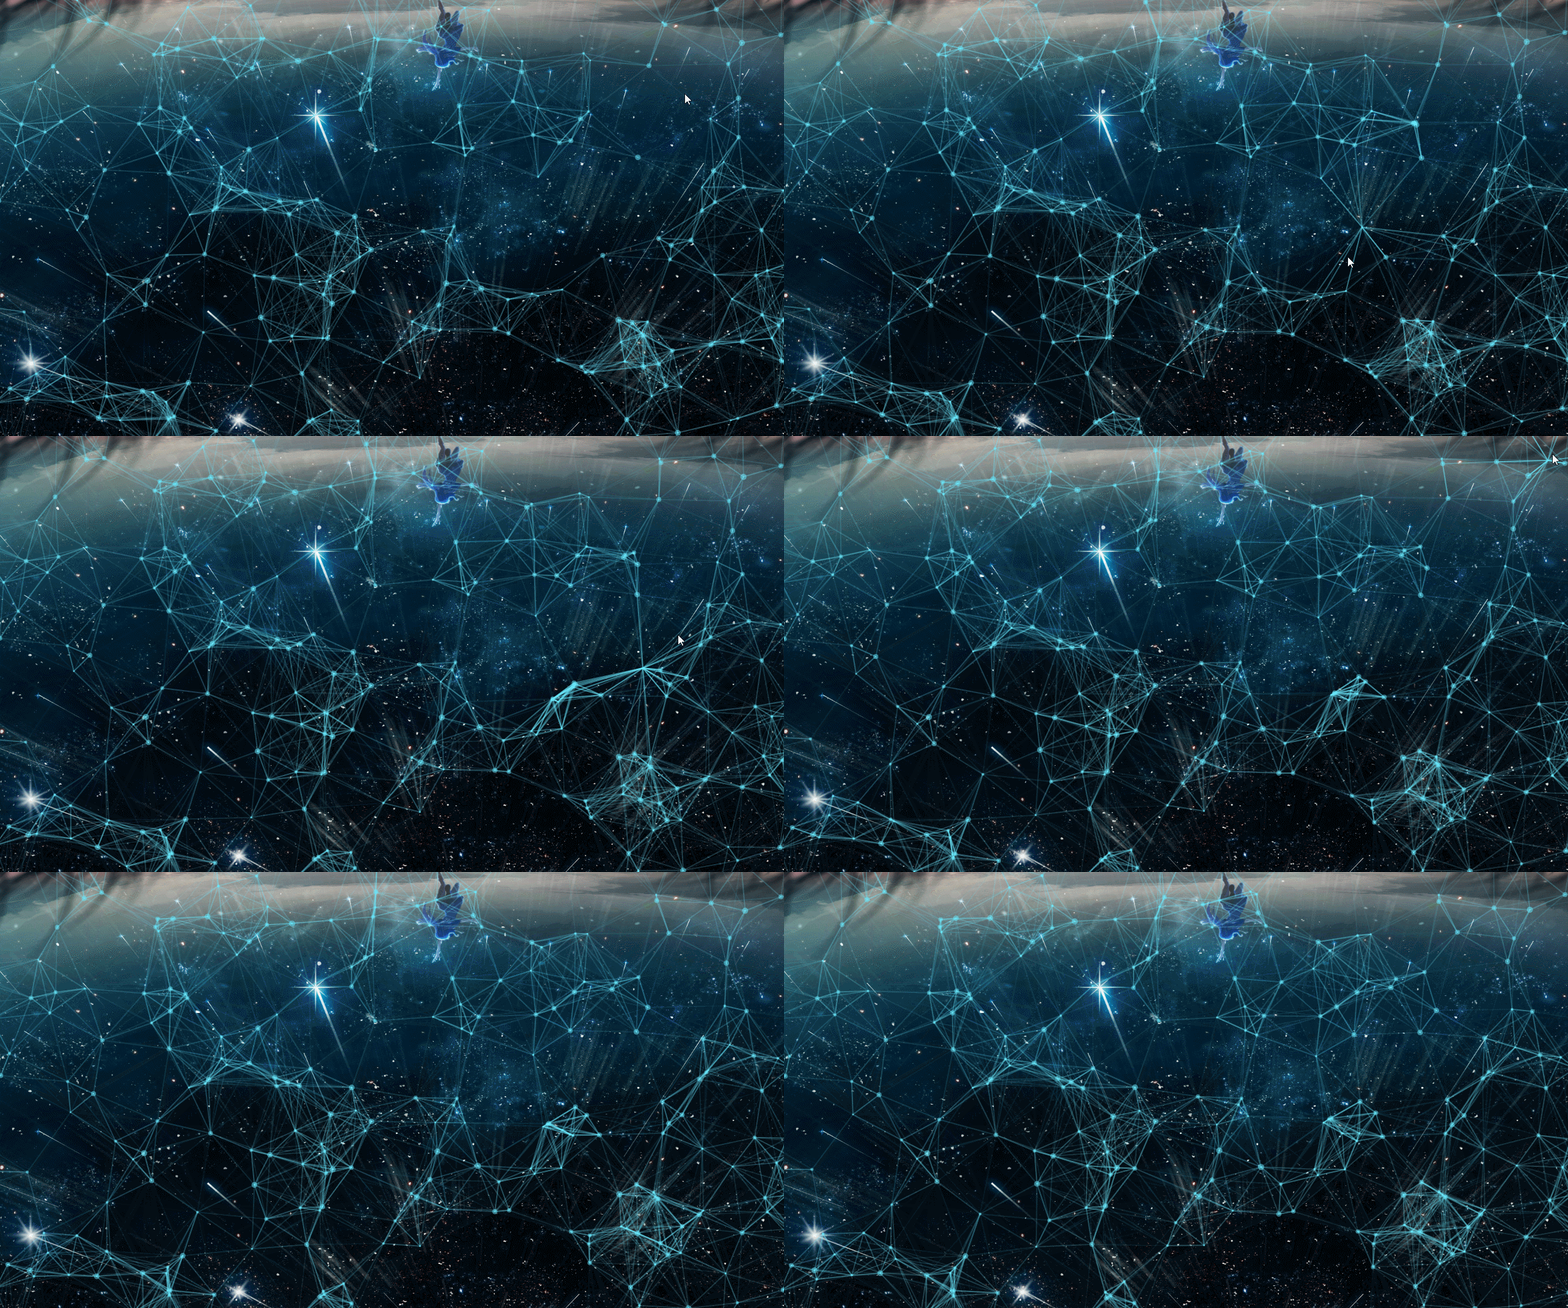
效果

到此这篇关于Vue3实现粒子动态背景的示例详解的文章就介绍到这了,更多相关Vue3粒子动态背景内容请搜索脚本之家以前的文章或继续浏览下面的相关文章希望大家以后多多支持脚本之家!
