
vue实现瀑布流布局的示例代码
作者:szx的开发笔记
这篇文章主要为大家详细介绍了如何利用vue实现简单的瀑布流布局,文中示例代码介绍的非常详细,具有一定的参考价值,感兴趣的小伙伴们可以参考一下
父组件
<template>
  <WaterfallFlow :list="list"/>
</template>
<script setup lang="ts">
import WaterfallFlow from "@/components/WaterfallFlow.vue";
import {reactive} from "vue";
type listType = {
  height:number,
  color:string
}
// 随机生成100个高度和颜色的对象
let list = reactive<listType[]>([
  ...Array.from({length:100},()=>({
    height:Math.floor(Math.random()*250)+50,
    color:`rgb(${Math.floor(Math.random()*255)},${Math.floor(Math.random()*255)},${Math.floor(Math.random()*255)})`
  }))
 ])
</script>
子组件
<template>
<div class="wraps">
<div v-for="item in list" class="item" :style="{
left: item.left + 'px',
top: item.top + 'px',
height: item.height + 'px',
backgroundColor: item.color,
}"></div>
</div>
</template>
<script setup lang="ts">
import {defineProps, onMounted} from "vue"
const props = defineProps<{
list: any[]
}>()
const initLayout = () => {
// 上下左右间隙距离
let margin = 10
// 每个元素的宽度
let elWidth = 120 + margin
// 每行展示的列数
let colNumber = Math.floor(document.querySelector(".app-content").clientWidth / elWidth)
// 存放元素高度的list
let heightList = []
// 遍历所有元素
for (let i = 0; i < props.list.length; i++) {
let el = props.list[i]
// i小于colNumber表示第一行元素
if(i < colNumber){
el.top = 0
el.left = elWidth * i
heightList.push(el.height)
}else{
// 找出最小的高度
let minHeight = Math.min(...heightList)
// 找出最小高度的索引
let minHeightIndex = heightList.indexOf(minHeight)
// 设置元素的位置
el.left = elWidth * minHeightIndex
el.top = minHeight + margin
// 更新高度集合
heightList[minHeightIndex] = minHeight + el.height + margin
}
}
}
// 监听app-content元素的宽度变化
window.onresize = () => {
initLayout()
}
onMounted(() => {
initLayout()
})
</script>
<style scoped lang="scss">
.wraps{
height: 100%;
position: relative;
.item{
position: absolute;
width: 120px;
}
}
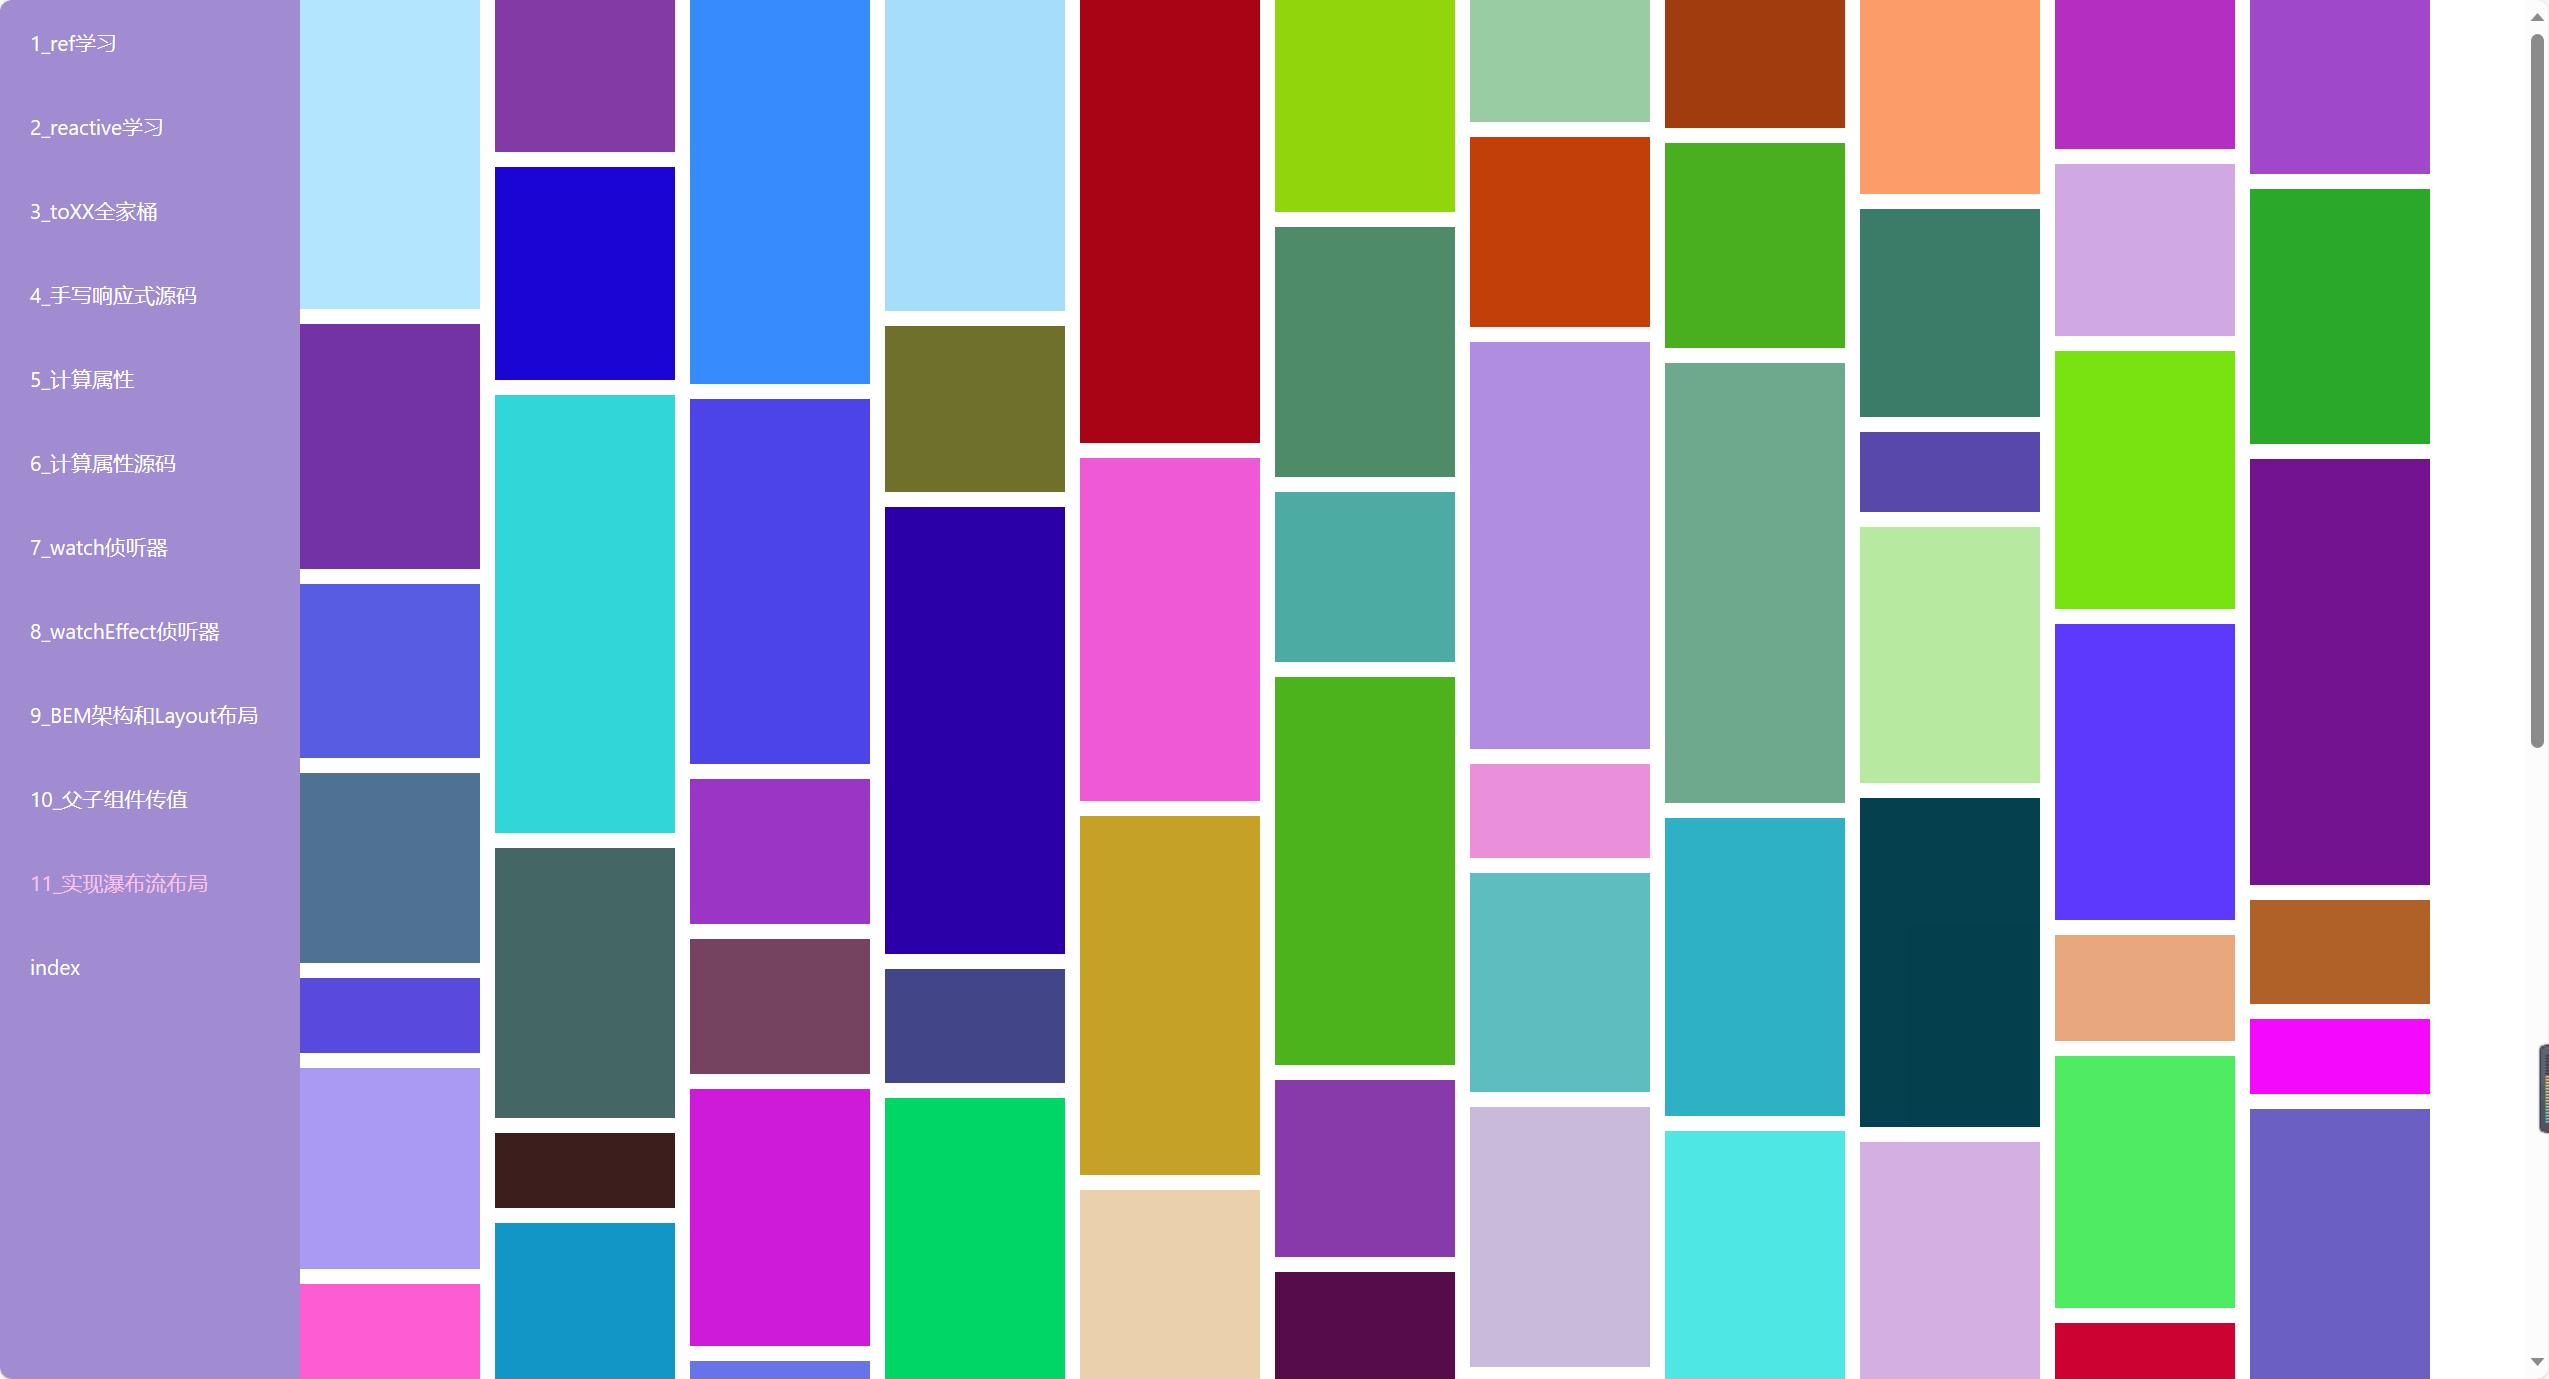
</style>效果展示
到此这篇关于vue实现瀑布流布局的示例代码的文章就介绍到这了,更多相关vue瀑布流布局内容请搜索脚本之家以前的文章或继续浏览下面的相关文章希望大家以后多多支持脚本之家!