jQuery实现的超简单轮播图功能示例【代码解释】
作者:泽泽泽Ya
这篇文章主要介绍了jQuery实现的超简单轮播图功能,结合完整实例形式分析了基于jQuery实现的轮播图相关功能实现、样式设置与注意事项,需要的朋友可以参考下
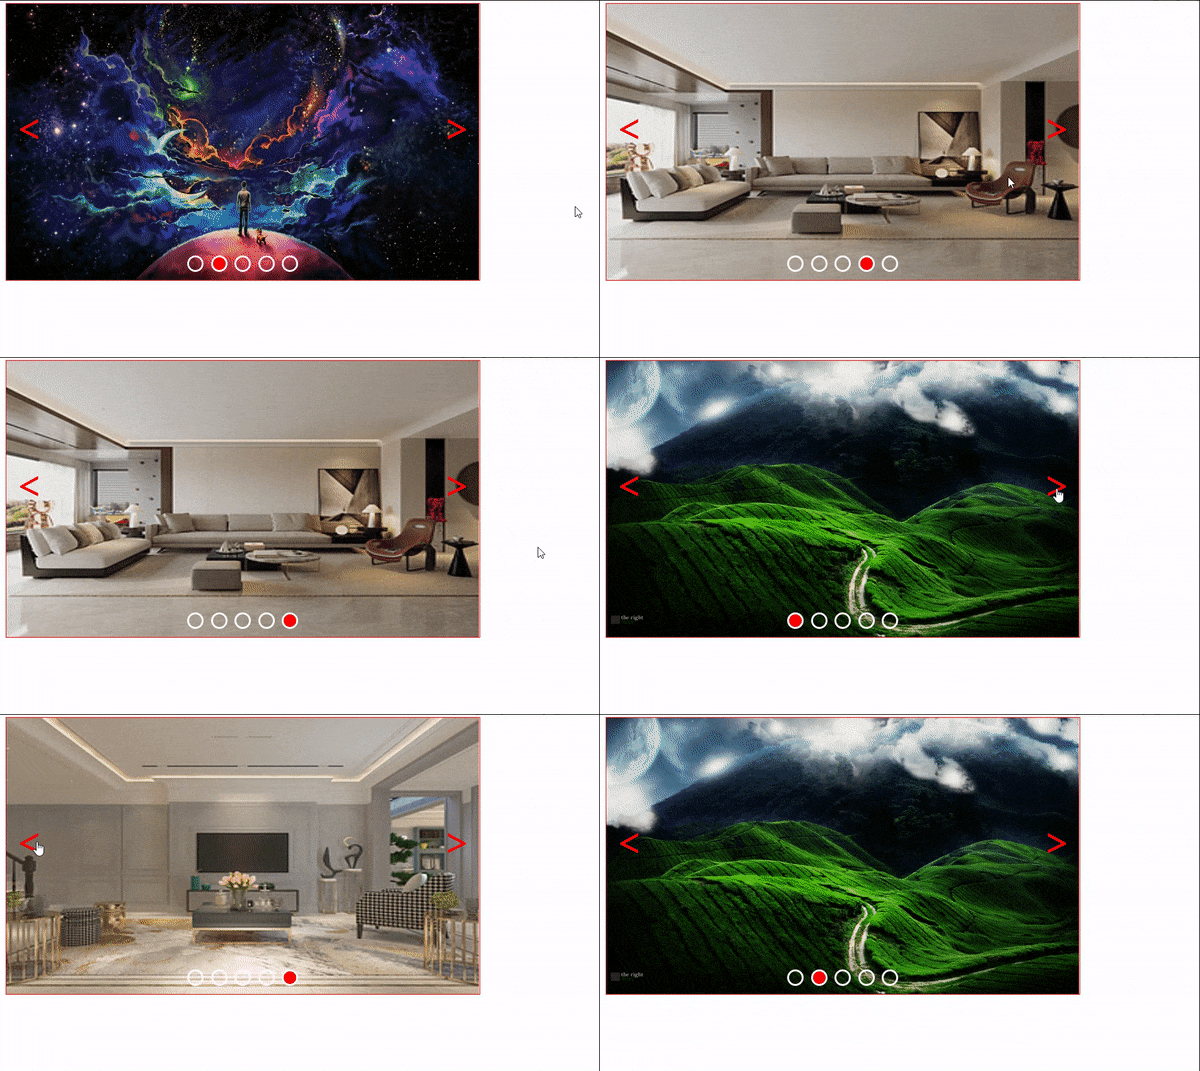
先看效果
鼠标悬浮时停止轮播,离开时自动轮播,点下一张小圆点会随着动

直接上代码
<!DOCTYPE html>
<html>
	<head>
		<meta charset="utf-8">
		<title>jQuery轮播图</title>
		<script src="http://libs.baidu.com/jquery/2.0.3/jquery.min.js"></script>
		<style>
			.wrapper {
				width: 600px;
				height: 350px;
				border: 1px solid red;
				position: relative;
			}
			/* 5张图片叠加到一块 */
			.wrapper img {
				width: 100%;
				height: 100%;
				position: absolute;
				left: 0;
				top: 0;
				display: none;
			}
			.wrapper img:nth-of-type(1) {
				display: block;
			}
			/* 小圆点 */
			.btn {
				width: 150px;
				display: flex;
				justify-content: space-around;
				position: absolute;
				left: 225px;
				bottom: 10px;
				z-index: 100
			}
			.btn span {
				display: block;
				width: 15px;
				height: 15px;
				border: 3px solid white;
				border-radius: 50%;
			}
			/* 左右箭头 */
			.wrapper a {
				text-decoration: none;
				font-size: 50px;
				color: red;
				position: absolute;
				top: 35%;
			}
			.wrapper a:nth-of-type(1) {
				left: 10px;
			}
			.wrapper a:nth-of-type(2) {
				right: 10px;
			}
			.active {
				background-color: red;
			}
		</style>
	</head>
	<body>
		<div>
			<div>
				<img src="./imgs/1.png" alt="">
				<img src="./imgs/2.png" alt="">
				<img src="./imgs/3.png" alt="">
				<img src="./imgs/4.png" alt="">
				<img src="./imgs/5.png" alt="">
			</div>
			<div>
				<span></span>
				<span></span>
				<span></span>
				<span></span>
				<span></span>
			</div>
			<a href="javascript:void(0);" rel="external nofollow"  rel="external nofollow" ><</a>
			<a href="javascript:void(0);" rel="external nofollow"  rel="external nofollow" >">></a>
		</div>
		<script src="js/jquery-3.6.0.js"></script>
		<script>
			var index=0;
			// 点击上一张
			$("a:first").click(function(){
				prev_pic();
			})
			// 点击下一张
			$("a:last").click(function(){
				next_pic();
			})
			// 悬浮停止
			$(".wrapper").mouseover(function(){
				clearInterval(id);
			});
			$(".wrapper").mouseout(function(){
					autoplay();
			})
			// 下一张
			function next_pic(){
				index++;
				if(index>4){
					index=0;
				}
				addStyle();
			}
			// 上一张
			function prev_pic(){
				index--;
				if(index<0){
					index=4;
				}
				addStyle();
			}
			// 控制图片显示隐藏,小圆点背景色
			function addStyle(){
				$("img").eq(index).fadeIn();
				$("img").eq(index).siblings().fadeOut();
				$("span").eq(index).addClass("active");
				$("span").eq(index).siblings().removeClass("active");
			}
			// 自动轮播
			var id;
			autoplay();
			function autoplay(){
				id=setInterval(function(){
					next_pic();
				},1000)
			}
		</script>
	</body>
</html>
这里只要把图片地址更换一下 ,引用jquery文件就可以了
另外,很多UI前端框架也有现成的轮播图效果代码,如:bootstrap、layui、amazeui等等。感兴趣的朋友可以到对应的官网查看示例代码。
