Echarts图表移动端横屏进入退出的实现
作者:水冗水孚
本文主要介绍了Echarts图表移动端横屏进入退出的实现,文中通过示例代码介绍的非常详细,对大家的学习或者工作具有一定的参考学习价值,需要的朋友们下面随着小编来一起学习学习吧
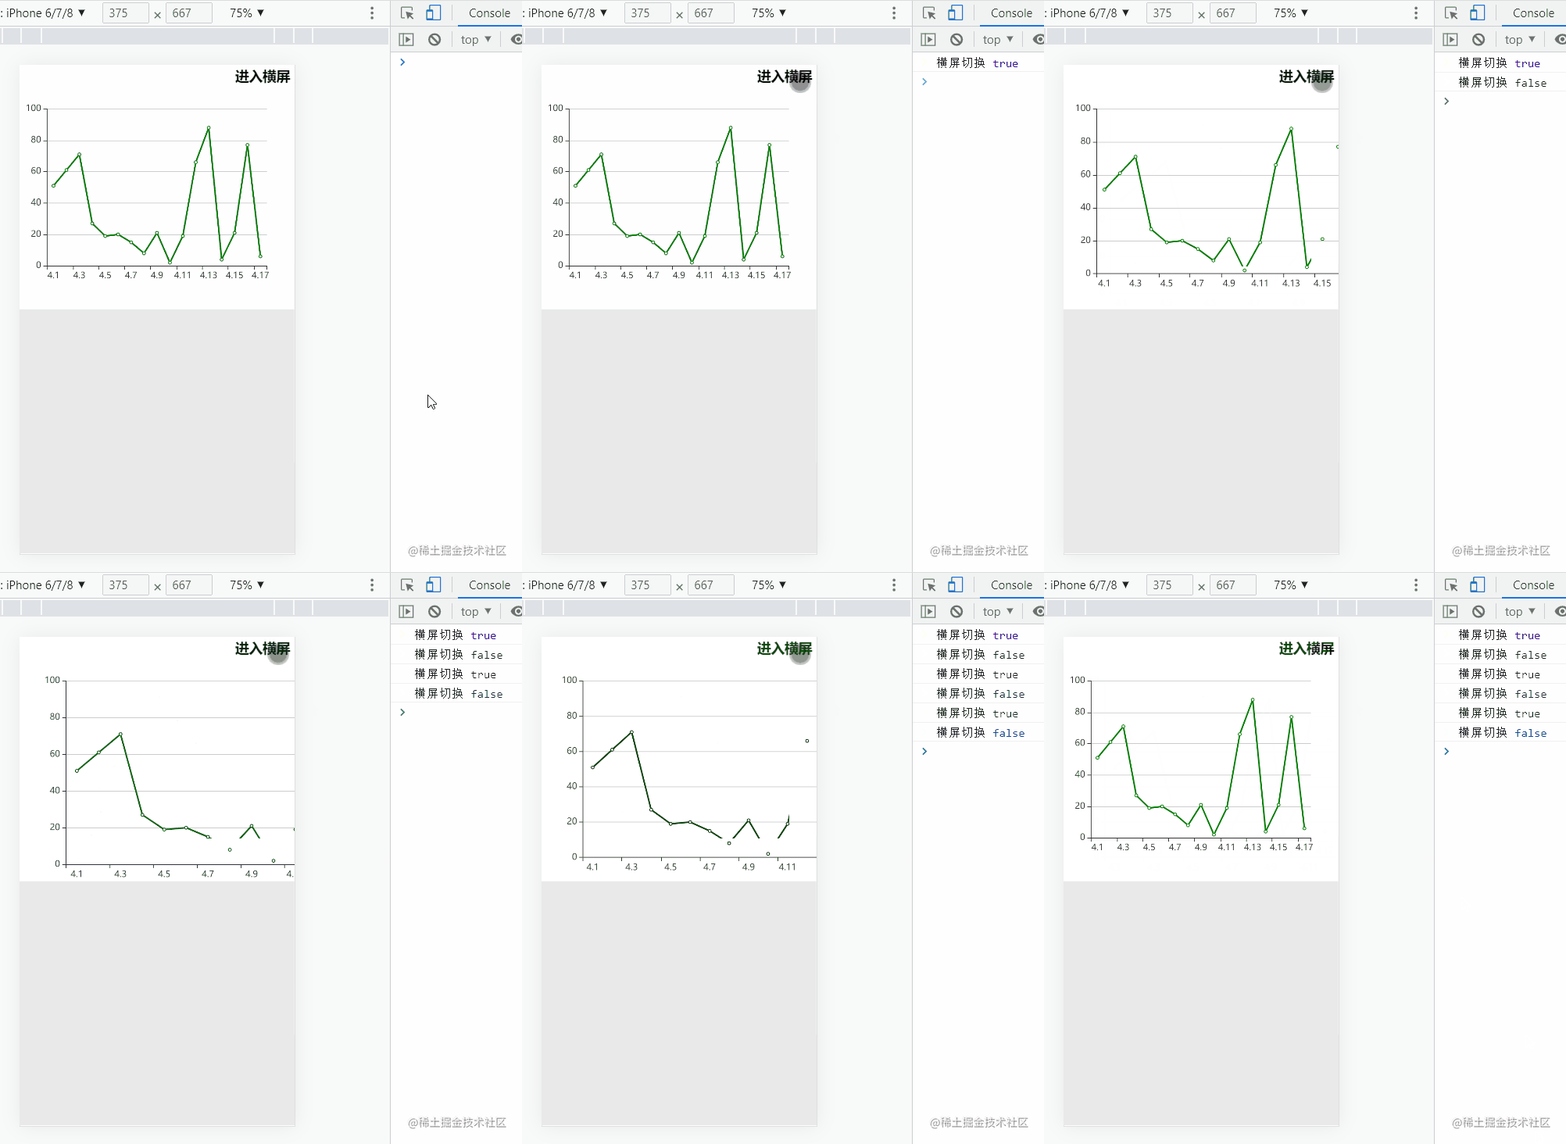
效果图

代码
<template>
  <div class="outWrap">
    <div
      :class="
        isHorizontalScreen ? 'horizontalEchartsFather' : 'verticalEchartsFather'
      "
    >
      <!-- 全屏进入退出按钮 -->
      <h3
        @click="switchFn"
        :class="isHorizontalScreen ? 'horizontalIcon' : 'verticalIcon'"
      >
        {{ isHorizontalScreen ? "退出横屏" : "进入横屏" }}
      </h3>
      <!-- echarts部分 -->
      <div
        id="echartsId"
        :class="isHorizontalScreen ? 'horizontal' : 'vertical'"
      ></div>
    </div>
  </div>
</template>
<script>
import Echarts from "echarts";
export default {
  data() {
    return {
      myChart: null, // echarts的实例
      isFull: false, // 是否全屏
      isHorizontalScreen: false, // 是否是横向屏幕,默认false,默认是竖向屏幕
      option: {
        dataZoom: [
          {
            type: "inside",
          },
        ],
        xAxis: {
          data: [
            "4.1",
            "4.2",
            "4.3",
            "4.4",
            "4.5",
            "4.6",
            "4.7",
            "4.8",
            "4.9",
            "4.10",
            "4.11",
            "4.12",
            "4.13",
            "4.14",
            "4.15",
            "4.16",
            "4.17",
          ],
        },
        yAxis: {},
        series: {
          name: "股价",
          type: "line",
          data: [
            51, 61, 71, 27, 19, 20, 15, 8, 21, 2, 19, 66, 88, 4, 21, 77, 6,
          ],
          itemStyle: {
            normal: {
              color: "green", //改变折线点的颜色
              lineStyle: {
                color: "green", //改变折线颜色
              },
            },
          },
        },
      },
    };
  },
  watch: {
    // 当横屏进入退出要重绘一下echarts
    isHorizontalScreen(newVal) {
      console.log("横屏切换", newVal);
      this.myChart.setOption(this.option, true);
      this.$nextTick(() => {
        this.resize();
      });
    },
  },
  mounted() {
    // 添加自适应监听
    window.addEventListener("resize", this.resize);
    this.echarts();
  },
  methods: {
    // 初始化
    echarts() {
      this.myChart = Echarts.init(document.querySelector("#echartsId"));
      this.myChart.setOption(this.option);
    },
    resize() {
      this.myChart.resize(); // 窗口大小发生变化的时候重置
    },
    // 切换 水平垂直~全屏默认屏
    switchFn() {
      this.isHorizontalScreen = !this.isHorizontalScreen;
      this.isFull = !this.isFull;
    },
  },
  // 移除自适应监听
  beforeDestroy() {
    window.removeEventListener("resize", this.resize);
  },
};
</script>
<style lang="less" scoped>
// 最外层满屏
.outWrap {
  width: 100%;
  height: 100vh;
  background: #e9e9e9;
}
/* 用于给竖向echarts画布定位用 */
.verticalEchartsFather {
  width: 100%;
  height: 50%;
  background-color: #fff;
  position: relative;
}
// 竖向的正常百分比即可
.vertical {
  width: 100%;
  height: 100%;
}
/* 用于给横向echarts画布定位用,横向就旋转90度即可 */
.horizontalEchartsFather {
  transform: rotate(90deg);
  position: relative;
  width: 100%;
}
// 因为横向了,所以颠倒一下
.horizontal {
  width: 100vh;
  height: 100vw;
}
/* 进入横屏和退出横屏两套样式,定位在不同的位置 */
.verticalIcon {
  position: absolute;
  top: 2px;
  right: 6px;
  z-index: 999;
  user-select: none;
}
.horizontalIcon {
  position: absolute;
  top: 2px;
  left: 6px;
  z-index: 999;
  user-select: none;
}
</style>
总结
横屏的时候,即为竖屏旋转90度,加上监听控制,然后改一下样式,最后别忘了重绘一下Echarts
到此这篇关于Echarts图表移动端横屏进入退出的实现的文章就介绍到这了,更多相关Echarts移动端横屏内容请搜索脚本之家以前的文章或继续浏览下面的相关文章希望大家以后多多支持脚本之家!
