
Vue实现录制屏幕并本地保存功能
作者:小皮猪
这篇文章主要介绍了Vue实现录制屏幕功能并本地保存,这里用的是用的是HBuilder X开发,结合示例代码给大家介绍的非常详细,需要的朋友可以参考下
一、Vue
用的也是之前那篇文章里面的文件
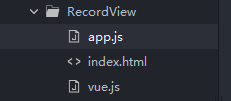
用的是HBuilder X开发,目录如下:
三、实现
1.index.html
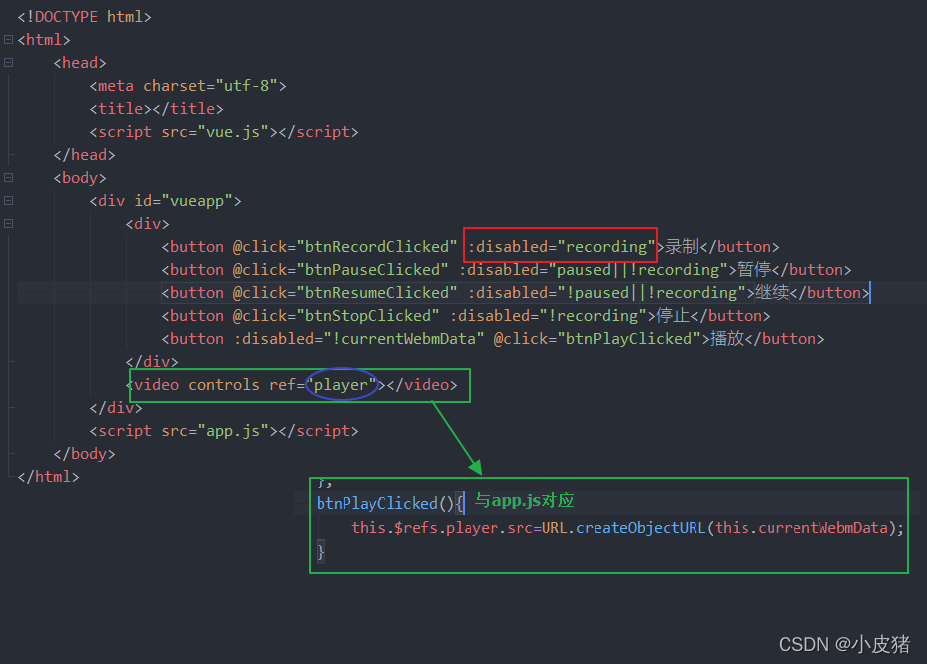
具体代码:
<!DOCTYPE html>
<html>
	<head>
		<meta charset="utf-8">
		<title></title>
		<script src="vue.js"></script>
	</head>
	<body>
		<div id="vueapp">
			<div>
				<button @click="btnRecordClicked" :disabled="recording">录制</button>
				<button @click="btnPauseClicked" :disabled="paused||!recording">暂停</button>
				<button @click="btnResumeClicked" :disabled="!paused||!recording">继续</button>
				<button @click="btnStopClicked" :disabled="!recording">停止</button>
				<button :disabled="!currentWebmData" @click="btnPlayClicked">播放</button>
			</div>
			<video controls ref="player"></video>
		</div>
		<script src="app.js"></script>
	</body>
</html>
2.app.js

具体代码:
new Vue({
el:"#vueapp",
data:{
currentWebmData:0,
recording:false,
paused:false
},
mounted() {
this._initApp();
},
methods:{
async _initApp(){
// this._stream=await navigator.mediaDevices.getUserMedia({audio:true,video:false});
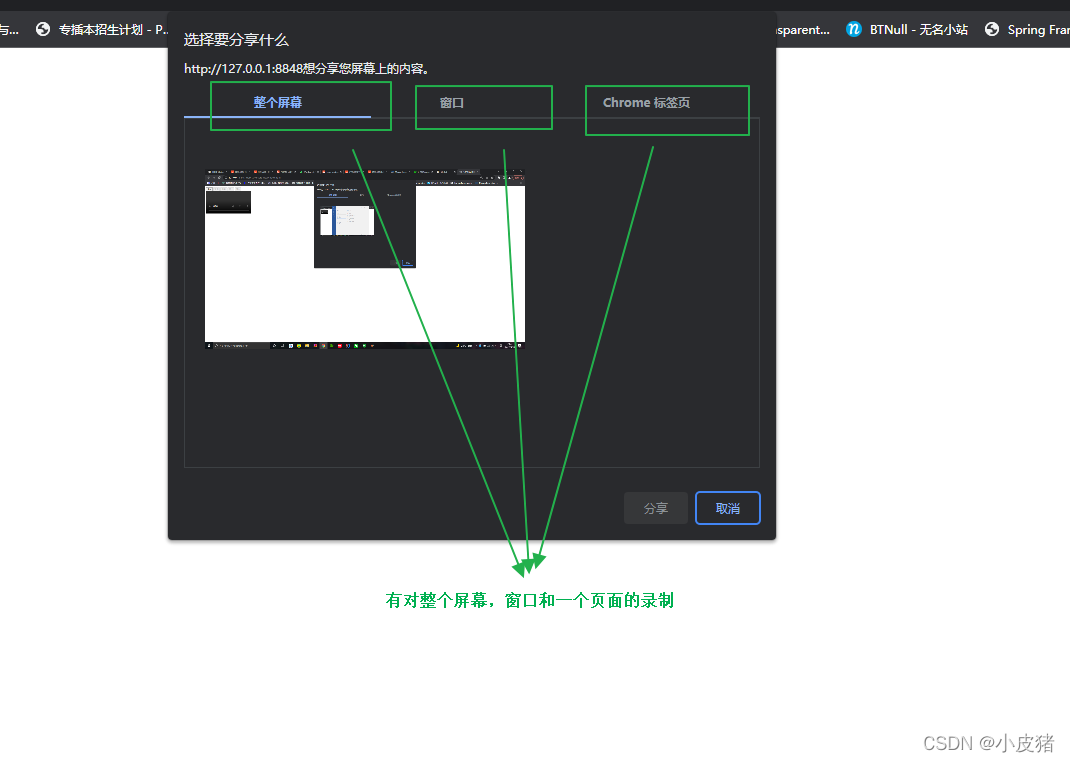
this._stream=await navigator.mediaDevices.getDisplayMedia();
this._recorder=new MediaRecorder(this._stream,{mimeType:"video/webm;codecs=h264"});
this._recorder.ondataavailable=this.recorder_dataAvailableHandler.bind(this);
},
recorder_dataAvailableHandler(e){
console.log(e);
this.currentWebmData=e.data;
},
btnRecordClicked(){
this.recording=true;
this.paused=false;
this._recorder.start();
},
btnPauseClicked(){
this.paused=true;
this._recorder.pause();
},
btnResumeClicked(){
this.paused=false;
this._recorder.resume();
},
btnStopClicked(){
this.recording=false;
this._recorder.stop();
},
btnPlayClicked(){
this.$refs.player.src=URL.createObjectURL(this.currentWebmData);}
}
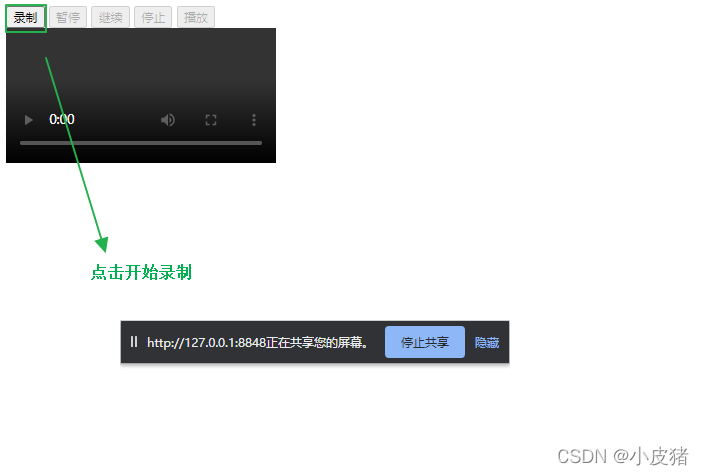
});效果:
到此这篇关于Vue实现录制屏幕功能并本地保存的文章就介绍到这了,更多相关vue录制屏幕保存本地内容请搜索脚本之家以前的文章或继续浏览下面的相关文章希望大家以后多多支持脚本之家!