
SpringBoot中web模版数据渲染展示的案例详解
作者:入门小站
在第一节我们演示通过接口返回数据,数据没有渲染展示在页面上 。在这里我们演示一下从后台返回数据渲 染到前端页面的项目案例.
模板引擎
SpringBoot是通过模版引擎进行页面结果渲染的,官方提供预设配置的模版引擎主要有
- Thymeleaf
- FreeMarker
- Velocity
- Groovy
- Mustache
我们在这里演示使用Thymeleaf和FreeMarker模板引擎。
Thymeleaf
Thymeleaf是适用于 Web 和独立环境的现代服务器端 Java 模板引擎。
Thymeleaf 的主要目标是为你的开发工作流程带来优雅的自然模板——HTML可以在浏览器中正确显示,也可以作为静态原型工作,从而加强开发团队的协作。
凭借 Spring Framework 的模块、与你最喜欢的工具的大量集成以及插入你自己的功能的能力,Thymeleaf 是现代 HTML5 JVM Web 开发的理想选择——尽管它还有更多功能。
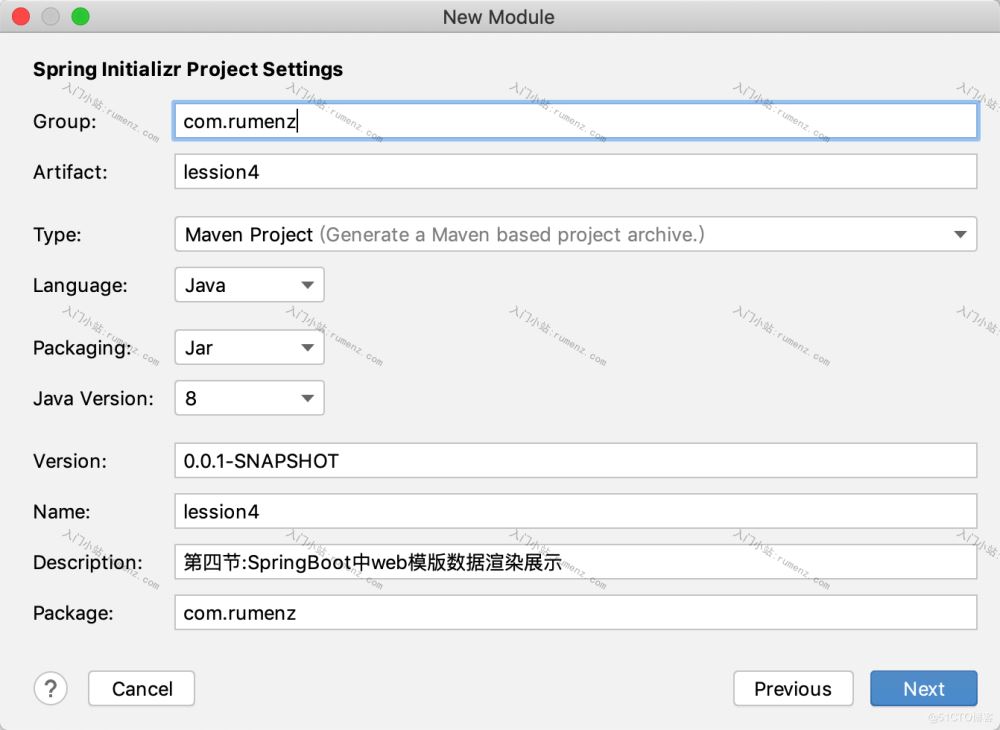
新建一个模块
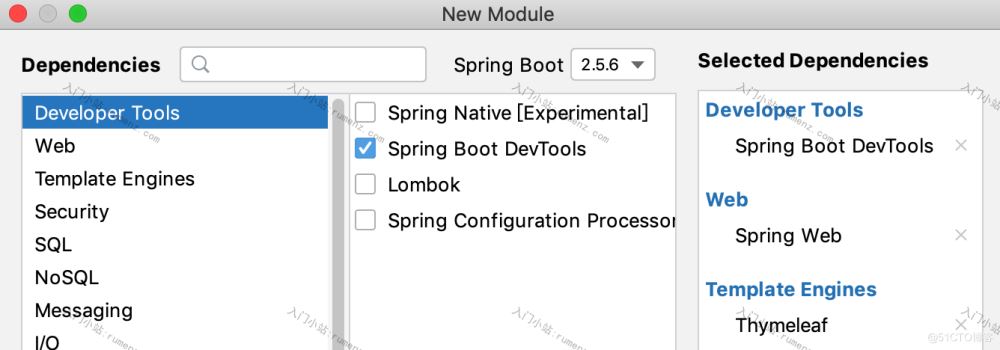
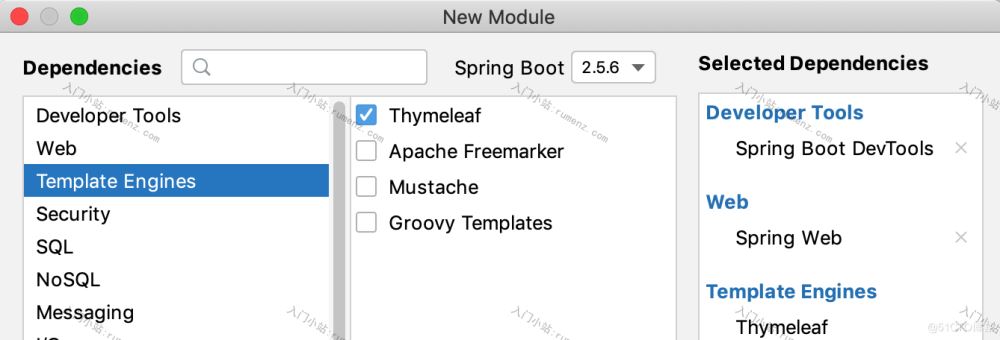
选择我们需要的组建
Developer Tools中的Spring Boot DevToolsWeb中的Spring WebTemplate Engines中的Thymeleaf

也可以直接在pom.xml中引入thymeleaf依赖
<dependency>
    <groupId>org.springframework.boot</groupId>
    <artifactId>spring-boot-starter-thymeleaf</artifactId>
</dependency>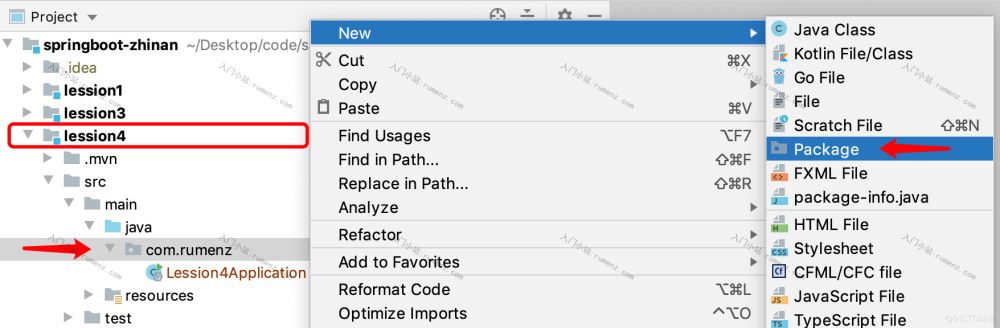
创建模板页面
src/main/resources/templates/index.html
<!DOCTYPE html>
<html lang="en">
<head>
    <meta charset="UTF-8">
    <title>thymeleaf - 入门小站</title>
</head>
<body>

<p th:text="'名字:'+${name}"></p>
<p th:text="'网址:'+${url}"></p>
</body>
</html>创建controller
com.rumenz.lession4.controller.ThymeleafRumenController
package com.rumenz.lession4.controller;

import org.springframework.stereotype.Controller;
import org.springframework.ui.ModelMap;
import org.springframework.web.bind.annotation.RequestMapping;
import org.springframework.web.bind.annotation.RequestMethod;
/**
 * @className: ThymeleafRumenController
 * @description: TODO 类描述
 * @author: 入门小站 rumenz.com
 * @date: 2021/11/1
 **/
@Controller
@RequestMapping("/")
public class ThymeleafRumenController {
    @RequestMapping(value = "/index",method= RequestMethod.GET)
    public String index(ModelMap m){
        //数据也可以从数据库查询出来返回
        m.addAttribute("name", "入门小站");
        m.addAttribute("url", "https://rumenz.com");
        //返回是一个页码:src/main/resources/templates/thymeleaf.html
        return "thymeleaf";
    }
}
启动项目
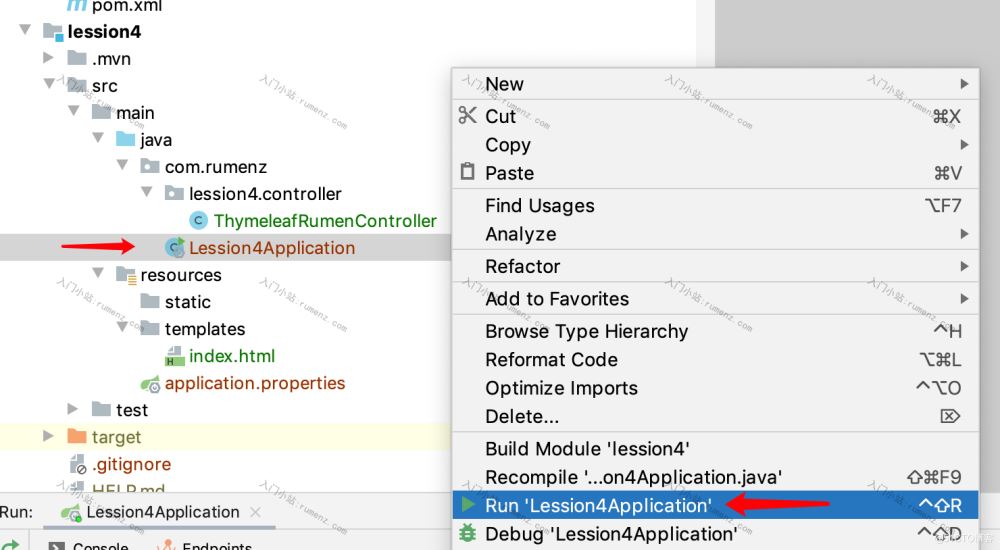
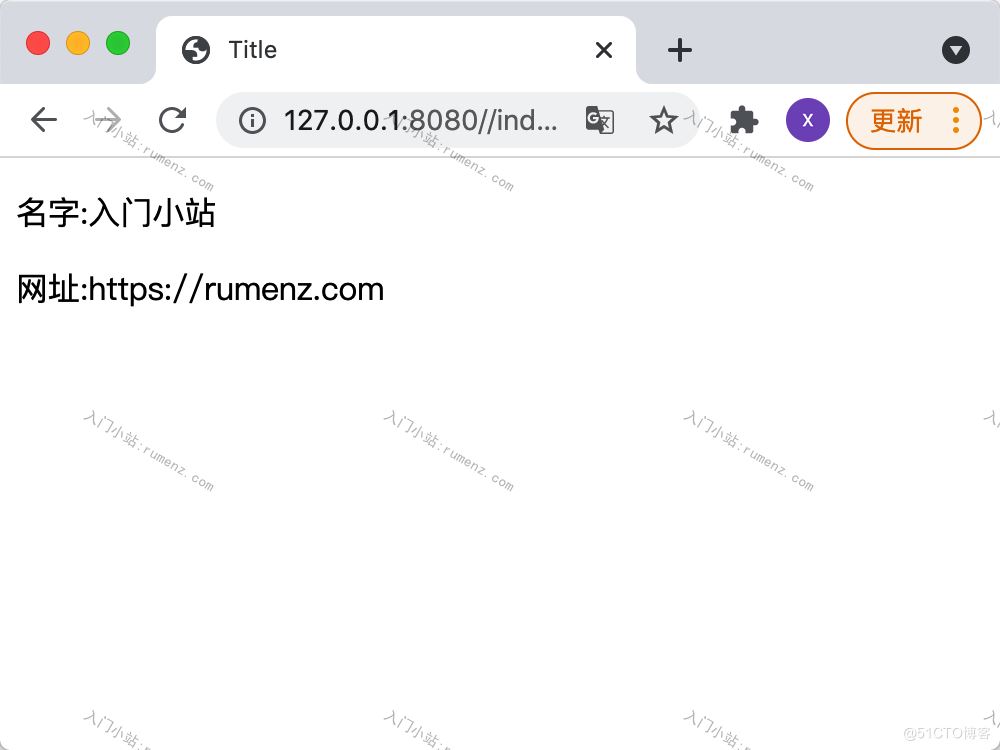
浏览器验证
浏览器访问http://127.0.0.1:8080/index
FreeMarker
FreeMarker是一款模板引擎,即一种基于模板和要改变的数据,并用来生成输出文本(HTML网页,电子邮件,配置文件,源代码等)的通用工具。
引入依赖
<dependency>
    <groupId>org.springframework.boot</groupId>
    <artifactId>spring-boot-starter-freemarker</artifactId>
</dependency>
创建模板
src/main/resources/templates/freemarker.html
<!DOCTYPE html>
<html lang="en">
<head>
    <meta charset="UTF-8">
    <title>freemarker - 入门小站</title>
</head>
<body>
FreeMarker案例
<p>名字:${name}</p>
<p>网址:${url}</p>
</body>
</html>
配置文件
src/main/resources/application.properties,指定模板文件的后缀。
spring.freemarker.suffix=.html
编写controller
com.rumenz.lession4.controller.FreeMarkerRumenController
package com.rumenz.lession4.controller;

import org.springframework.stereotype.Controller;
import org.springframework.ui.ModelMap;
import org.springframework.web.bind.annotation.RequestMapping;
/**
 * @className: FreeMarkerRumenController
 * @description: TODO 类描述
 * @author: 入门小站 rumenz.com
 * @date: 2021/11/1
 **/
@Controller
@RequestMapping("/")
public class FreeMarkerRumenController {
    @RequestMapping("/index2")
    public String index2(ModelMap m){
        //数据也可以从数据库查询出来返回
        m.addAttribute("name", "入门小站");
        m.addAttribute("url", "https://rumenz.com");
        //返回是一个页码:src/main/resources/templates/freemarker.html
        return "freemarker";
    }
}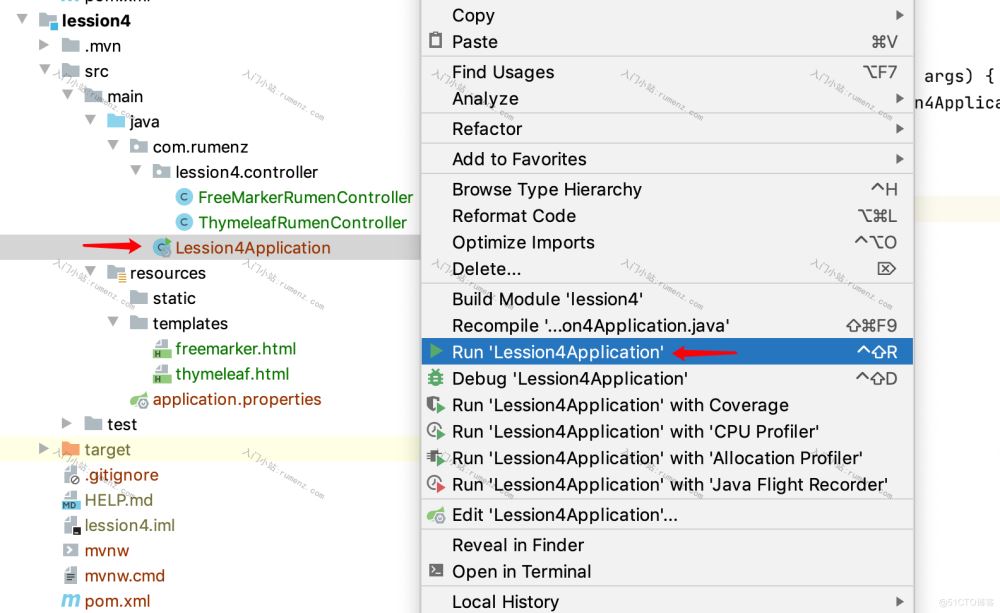
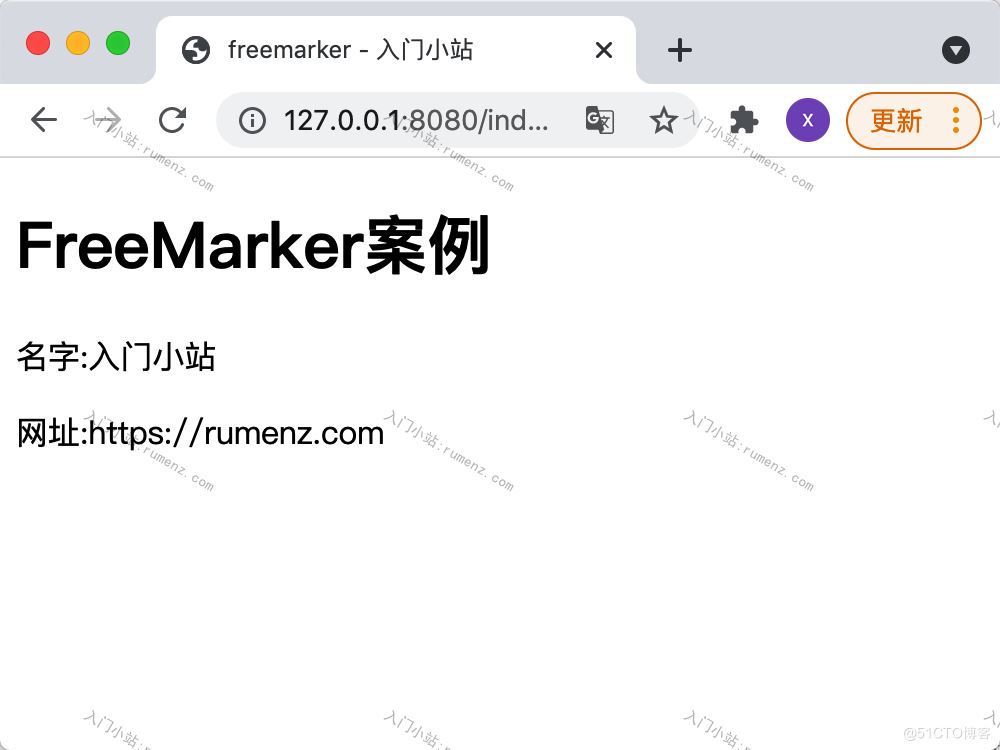
浏览器验证
浏览器访问http://127.0.0.1:8080/index2
本小结源码地址:
GitHub:https://github.com/mifunc/springboot/tree/main/lession4
Gitee:https://gitee.com/rumenz/springboot/tree/master/lession4
https://rumenz.com/rumenbiji/springboot-tpl.html
到此这篇关于SpringBoot中web模版数据渲染展示 的文章就介绍到这了,更多相关SpringBoot模版渲染内容请搜索脚本之家以前的文章或继续浏览下面的相关文章希望大家以后多多支持脚本之家!