Vue简易注册页面+发送验证码功能的实现示例
作者:建桥之魂
本文主要介绍了Vue简易注册页面+发送验证码功能的实现示例,文中通过示例代码介绍的非常详细,具有一定的参考价值,感兴趣的小伙伴们可以参考一下
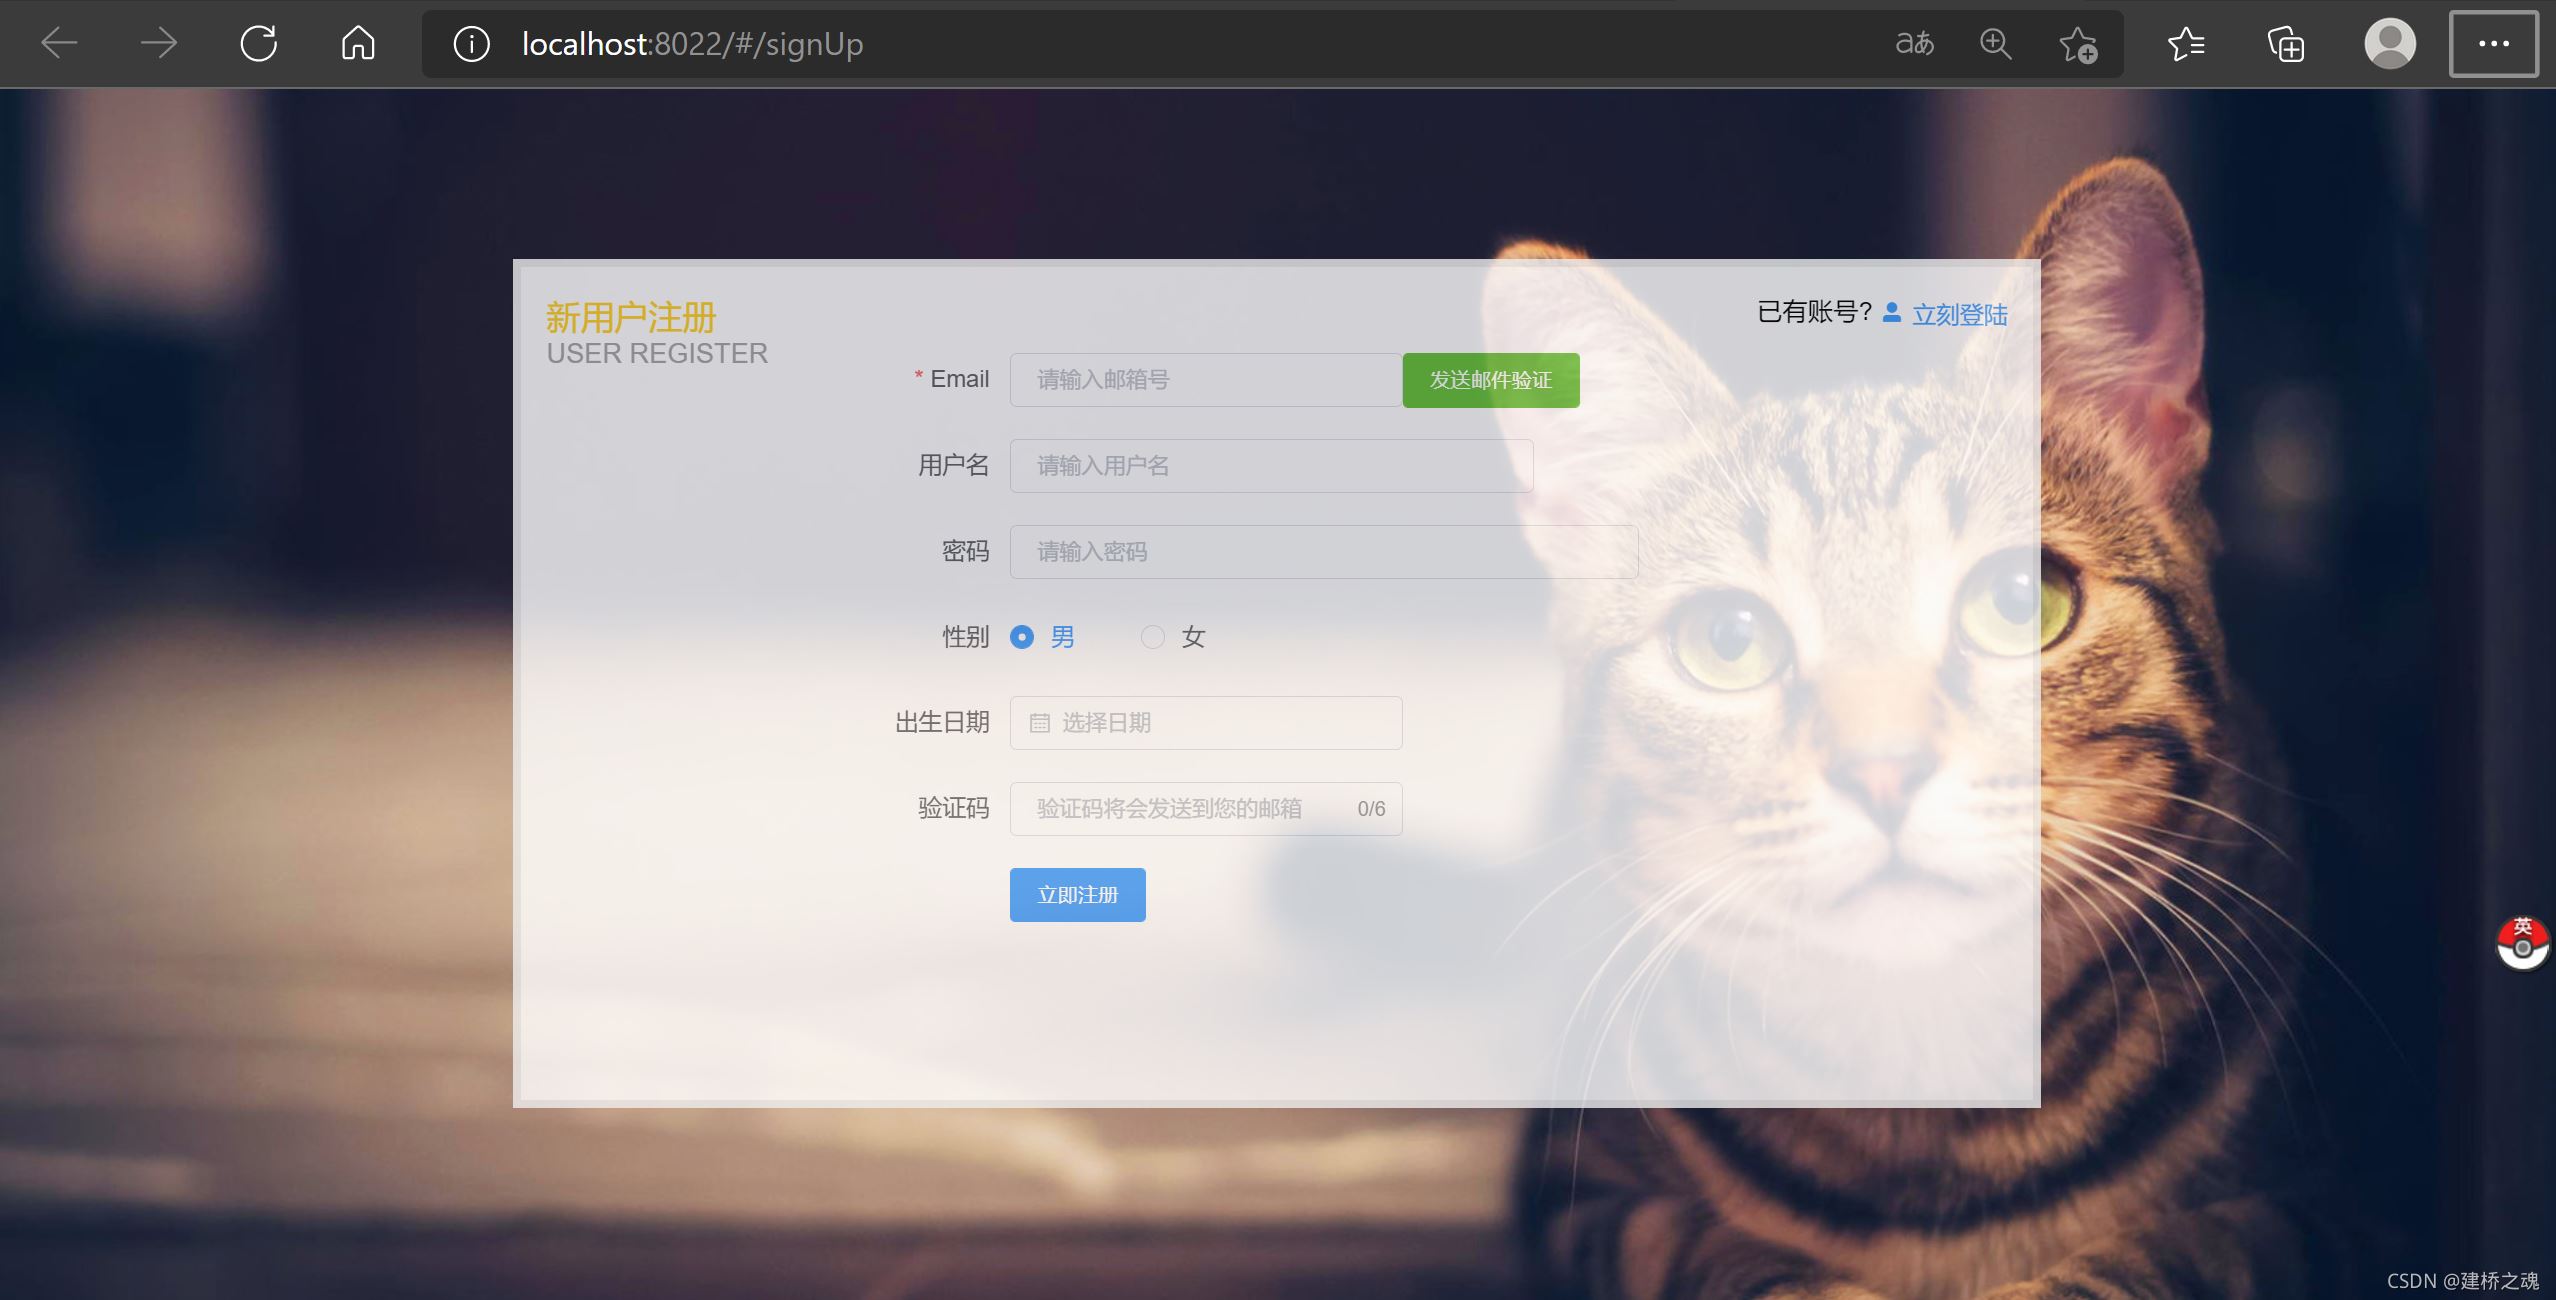
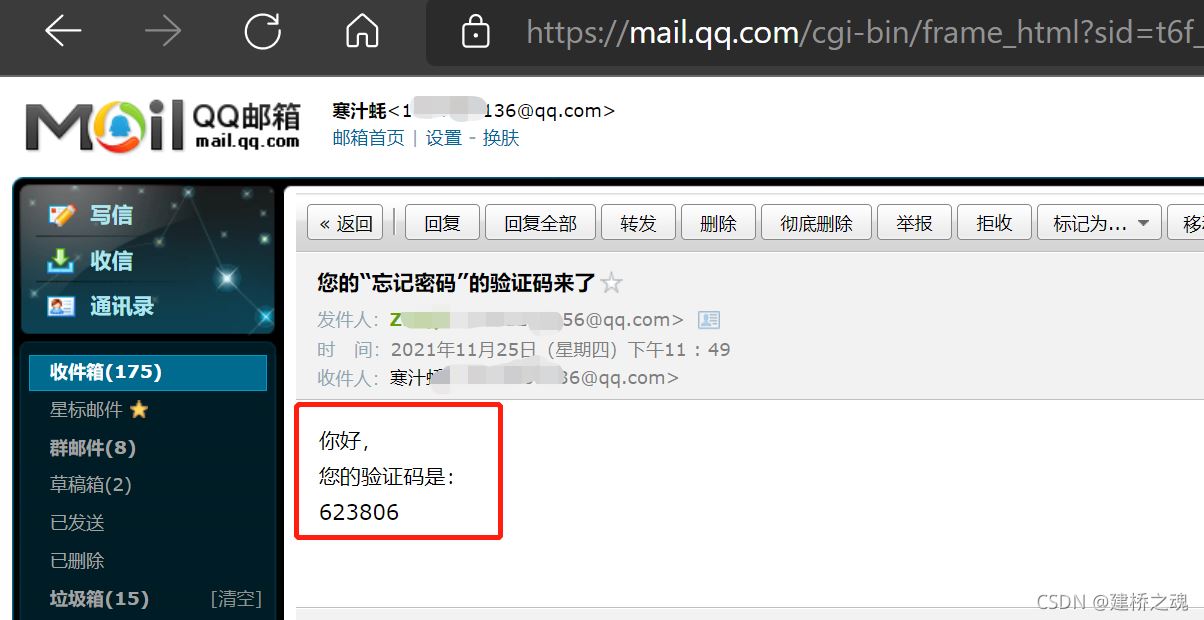
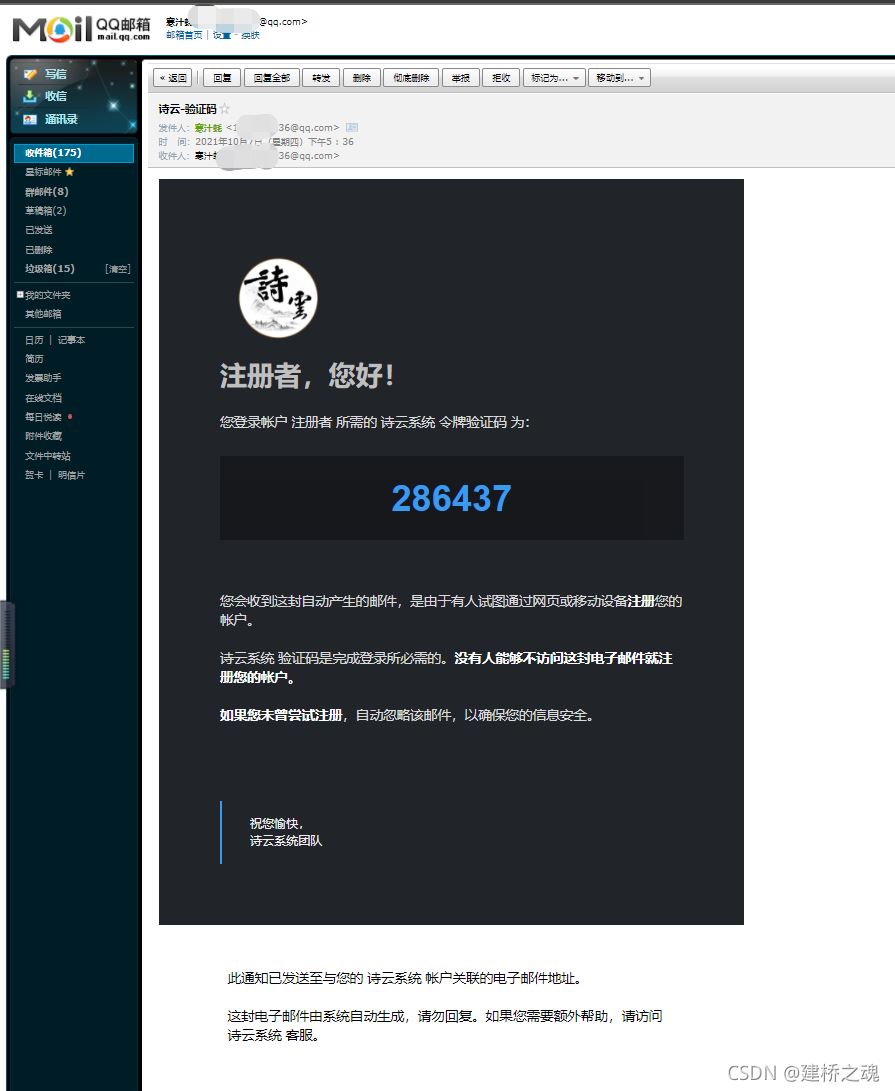
1. 效果展示


2. 增强版验证码及邮件推送管理(见以后的博客)


3. 大致思路
用户角度分析一下注册时候的步骤:
- 填写自己的邮箱号
- 点击“发送验证码”按钮
- 邮箱中收到验证码
- 填写其余注册信息并填写验证码
- 注册成功!
系统设计者角度分析一下步骤:
- 系统随机生成六位数
- 根据用户提供的邮箱号将验证码发送到其邮箱
- 根据用户提供的信息,进行验证码的校验
- 如果校验成功,将数据进行录入,回显用户注册成功!
4. 前期准备
qq邮箱中开启POP3/SMTP服务
这里可以参考
5. 前端代码
<template>
  <div class="rg_layout">
    <div class="rg_left">
      <p>新用户注册</p>
      <p>USER REGISTER</p>
    </div>
    <div class="rg_center">
      <div class="rg_form">
        <div style="margin: 50px 0;"></div>
        <el-form ref="form" :model="form" :rules="rules" label-width="80px">
          <el-form-item label="Email" prop="Email">
            <el-col :span="15">
              <el-input placeholder="请输入邮箱号" v-model="form.Email"></el-input>
            </el-col>
            <el-col :span="9">
              <el-button type="success" plain @click="sendEmail">发送邮件验证</el-button>
            </el-col>
          </el-form-item>
          <el-form-item label="用户名">
            <el-col :span="20">
              <el-input placeholder="请输入用户名" v-model="form.username"></el-input>
            </el-col>
          </el-form-item>
          <el-form-item label="密码">
            <el-input placeholder="请输入密码" v-model="form.password"></el-input>
          </el-form-item>
          <el-form-item label="性别">
            <el-col :span="5">
              <el-radio v-model="form.radio" label="1">男</el-radio>
            </el-col>
            <el-col :span="3">
              <el-radio v-model="form.radio" label="2">女</el-radio>
            </el-col>
          </el-form-item>
          <el-form-item label="出生日期">
            <el-col :span="15">
              <el-date-picker type="date" placeholder="选择日期" v-model="form.date" style="width: 100%;"></el-date-picker>
            </el-col>
          </el-form-item>
          <el-form-item label="验证码">
            <el-col :span="15">
              <el-input
                  type="text"
                  placeholder="验证码将会发送到您的邮箱"
                  v-model="form.text"
                  oninput="value=value.replace(/\D/g,'')"
                  maxlength="6"
                  show-word-limit
              >
              </el-input>
            </el-col>
          </el-form-item>
          <el-form-item>
            <el-col :span="20">
              <el-button type="primary" @click="onSubmit">立即注册</el-button>
            </el-col>
          </el-form-item>
        </el-form>
      </div>
    </div>
    <div class="rg_right">
      <p>已有账号?
        <el-link icon="el-icon-user-solid" type="primary" @click="login_asd">立刻登陆</el-link>
      </p>
    </div>

  </div>

</template>

<script>
import axios from "axios";
export default {
  mounted() {
    this.$store.state.yesOrNo = false
  },
  name: "signUp",
  data: function () {
    return {
      form: {
        Email: '',
        username: "",
        password: "",
        radio: '1',
        date: '',
        text: ''
      },
      rules: {
        Email: [{required: true, message: '请输入邮箱', trigger: 'blur'}]
      },
      msg: ''
    }
  },
  methods: {
    login_asd(){
      this.$router.replace({path: '/login'});
    },
    open1() {
      this.$message({
        showClose: true,
        message: this.msg,
        type: 'warning'
      });
    },
    open2() {
      this.$message({
        showClose: true,
        message: this.msg,
        type: 'success'
      });
    },
    open3() {
      this.$message({
        showClose: true,
        message: this.msg,
        type: 'error'
      });
    },
    sendEmail() {
      this.$refs.form.validate((valid) => {
        if (valid) {
          let _this = this
          axios.post(this.$store.state.url+':8412/user/sendSignUpCode?email='+_this.form.Email,
              ).catch(function (error) {
                _this.msg = "邮箱格式不正确!"
                _this.open1()
          }).then(function (response) {
            if (response.data.code === 200) {
              _this.msg = response.data.msg
              _this.open2()
            } else {
              _this.msg = response.data.msg
              _this.open3()
            }
          })
        }
      })
    },
    onSubmit(){
      this.$refs.form.validate((valid) => {
        if (valid) {
          let _this = this;
          let tmp;
          if(this.form.radio === "1"){
            tmp = '男'
          }else{
            tmp = '女'
          }
          axios.post(this.$store.state.url+':8412/user/userSignUp?code='+_this.form.text,
              {
                email: this.form.Email,
                username: this.form.username,
                password: this.form.password,
                sex: tmp,
                birthday: this.form.date
              }
          ).catch(function (error) {
            _this.msg = "邮箱格式有问题!"
            _this.open1()
          }).then(function (response) {
            if (response.data.code === 200) {
              _this.msg = response.data.msg
              _this.open2()
              _this.$router.replace({path: '/login'});
            } else {
              _this.msg = response.data.msg
              _this.open3()
            }
          })
        }
      })
    }
  }
}
</script>


<style>
* {
  margin: 0px;
  padding: 0px;
  box-sizing: border-box;
}

body {
  background-image: url(https://img-blog.csdnimg.cn/76110abf7fb84ee28c50bfbfa7fa8e11.jpg);
  background-repeat: no-repeat;
  background-size: 100%;
  background-position: 0px -50px;
}

.rg_layout {
  width: 900px;
  height: 500px;
  border: 5px solid #EEEEEE;
  background-color: white;
  opacity: 0.8;
  /*让div水平居中*/
  margin: auto;
  margin-top: 100px;
}

.rg_left {
  float: left;
  margin: 15px;
  width: 20%;
}

.rg_left > p:first-child {
  color: #FFD026;
  font-size: 20px;
}

.rg_left > p:last-child {
  color: #A6A6A6;
}

.rg_center {
  /*border: 1px solid red;*/
  float: left;
  width: 450px;
  /*margin: 15px;*/
}

.rg_right {
  float: right;
  margin: 15px;
}

.rg_right > p:first-child {
  font-size: 15px;
}

.rg_right p a {
  color: pink;
}

</style>
6. 后端
使用的框架是springboot
① 主要的依赖
        <!-- redis -->
        <dependency>
            <groupId>org.springframework.boot</groupId>
            <artifactId>spring-boot-starter-data-redis</artifactId>
            <version>2.5.2</version>
        </dependency>
        <!-- mail -->
        <dependency>
            <groupId>javax.mail</groupId>
            <artifactId>mail</artifactId>
            <version>1.4.7</version>
        </dependency>
② 正则校验邮箱工具类
package com.example.han.util;

import java.util.regex.Matcher;
import java.util.regex.Pattern;

public class CheckMail {
    public static boolean checkMail(String mail){
        Pattern pattern=Pattern.compile("\\w+([-+.]\\w+)*@\\w+([-.]\\w+)*\\.\\w+([-.]\\w+)*");
        //\w+@(\w+.)+[a-z]{2,3}
        Matcher matcher=pattern.matcher(mail);
        return matcher.matches();
    }
}
③ Redis的set和get工具类
package com.example.han.util;

import org.springframework.beans.factory.annotation.Autowired;
import org.springframework.data.redis.core.StringRedisTemplate;
import org.springframework.stereotype.Component;
import java.util.concurrent.TimeUnit;

@Component
public class RedisUtil {
    @Autowired
    private StringRedisTemplate stringRedisTemplate;

    public void setRedisKey(String key, String value, long num) {
        System.out.println("set redis start!");
        stringRedisTemplate.opsForValue().set(key,value,num,TimeUnit.SECONDS);
        System.out.println(stringRedisTemplate.opsForValue().get(key));
    }

    public String getRedisValue(String key){
        if(!stringRedisTemplate.hasKey(key)){
            return "None";
        }
        return stringRedisTemplate.opsForValue().get(key);
    }

}
④ 核心service层代码
    /**
     * 验证邮箱是否重复
     * @param email 邮箱号
     */
    @Override
    public ResultReturn checkEmailRepeat(String email) throws MyException {
        if (!CheckMail.checkMail(email)) {
            throw new MyException(400, "邮件格式错误");
        }
        if (userRepository.checkEmaillRepeated(email)) {
            return ResultReturnUtil.fail(USER_EMAIL_REPEATED);
        }
        return ResultReturnUtil.success(USER_EMAIL_NOT_REPEATED, email);
    }

    /**
     * 发送注册验证码
     * @param toEamil 收件人邮箱
     * @return
     */
    @Override
    public ResultReturn sendSignUpCode(String toEamil) {
        //asdasd
        SimpleMailMessage simpleMailMessage = new SimpleMailMessage();
        simpleMailMessage.setTo(toEamil);
        simpleMailMessage.setFrom(fromEmail);
        simpleMailMessage.setSubject("您的注册验证码来了");
        Random r = new Random();
        int rate = r.nextInt(899999) + 100000;
        redisUtil.setRedisKey(toEamil + "YanZheng", rate + "", 60 * 5);    //先存入redis,key为发送的邮箱号
        String content =
                "你好,\n" + "\t您的验证码是:\n" + rate;
        simpleMailMessage.setText(content);
        try {
            javaMailSender.send(simpleMailMessage);
        } catch (Exception e) {
            return ResultReturnUtil.fail("发送失败!");
        }
        return ResultReturnUtil.success("发送成功!", toEamil);
    }

    /**
     * 用户注册
     * @param userSignUpVO 注册所需要的用户基本信息
     * @param code  注册发到邮箱的验证码
     */
    @Override
    public ResultReturn UserSignUp(UserSignUpVO userSignUpVO, int code) throws MyException {
        if (!CheckMail.checkMail(userSignUpVO.getEmail())) {    //这种是邮箱格式错误的时候
            throw new MyException(400, "邮件格式错误");
        }
        if (userRepository.checkEmaillRepeated(userSignUpVO.getEmail())) {  //邮箱重复注册的时候
            return ResultReturnUtil.fail(USER_EMAIL_REPEATED);
        }
        String redisCode = redisUtil.getRedisValue(userSignUpVO.getEmail() + "YanZheng");   //将code与redis的进行比对
        if (!redisCode.equals("" + code)) {
            return ResultReturnUtil.fail(WRONG_VERIFICATION_CODE);
        }
        UserDO user = new UserDO();
        user.setEmail(userSignUpVO.getEmail());
        user.setUsername(userSignUpVO.getUsername());
        user.setPassword(userSignUpVO.getPassword());
        user.setSex(userSignUpVO.getSex());
        user.setBirthday(userSignUpVO.getBirthday());
        if (userRepository.insertUser(user)) {
            return ResultReturnUtil.success(USER_SIGNUP_SUCCESS, user.getEmail());
        }
        return ResultReturnUtil.fail(USER_SIGNUP_FAILED);
    }
到此这篇关于Vue简易注册页面+发送验证码功能的实现示例的文章就介绍到这了,更多相关Vue 注册页面发送验证码内容请搜索脚本之家以前的文章或继续浏览下面的相关文章希望大家以后多多支持脚本之家!
