Vue3 table表格组件的使用
作者:久曲键
这篇文章主要介绍了Vue3 table表格组件的使用,文章围绕table表格组件是如何使用的相关资料展开详细内容,需要的朋友可以参考一下
一、Ant Design Vue
在大量数据需要展示时,我们一般都会以报表的形式展现,按照直觉习惯,肯定使用table表格来展示行列数据。
因此,我们要使用Ant Design Vue组件库中的table组件,来进行数据的绑定。
1、官网地址
官网地址:https://2x.antdv.com/components/table-cn#API
2、怎么使用
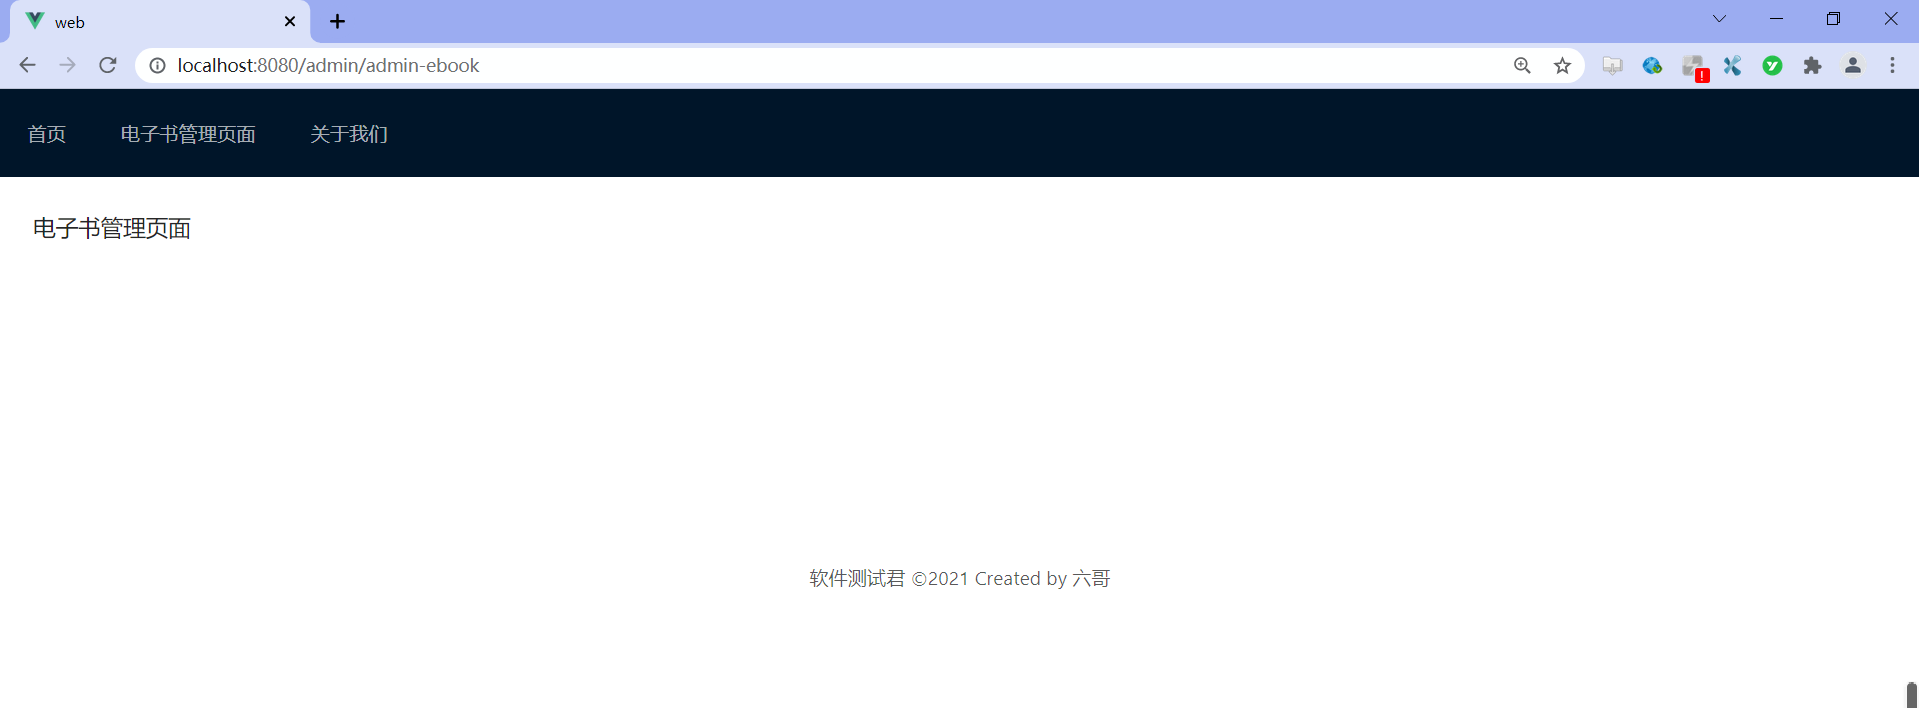
我们先对电子书管理页面改造,将布局进行调整,
示例代码如下:
<template>
  <a-layout class="layout">
    <a-layout-content
        :style="{ background: '#fff', padding: '24px', minHeight: '280px' }">
      <div class="about">
        <h1>电子书管理页面</h1>
      </div>
    </a-layout-content>
  </a-layout>


</template>
效果如下:

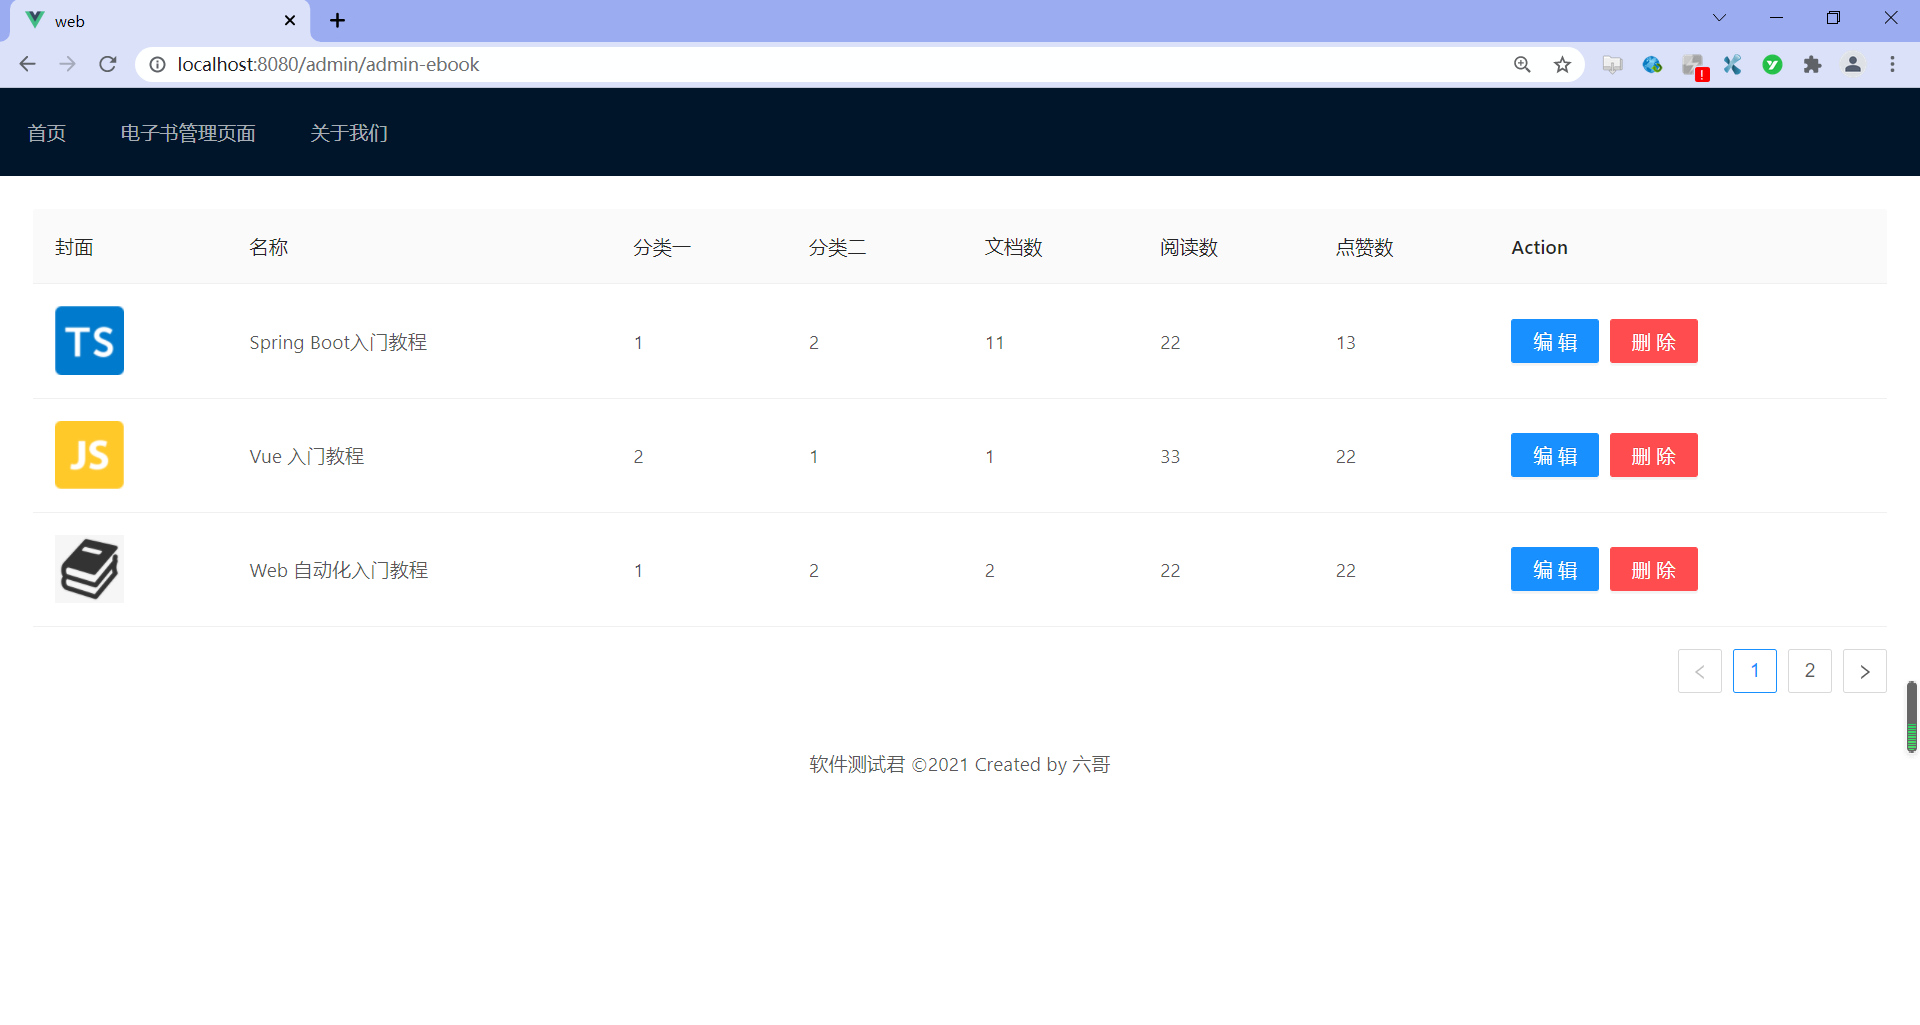
3、将电子书表格进行展示
要做的事:
- 表格渲染
slots: 自定义渲染title: 表头渲染customRender: 值渲染
示例代码如下:
<template>
  <a-layout class="layout">
    <a-layout-content
        :style="{ background: '#fff', padding: '24px', minHeight: '280px' }">
      <a-table :columns="columns"
               :data-source="ebooks1"
               :pagination="pagination"
               :loading="loading"
      >
        <template #cover="{ text: cover }">
          <img v-if="cover" :src="cover" alt="avatar"/>
        </template>
        <template #name="{ text: name  }">
          <a>{{ text }}</a>
        </template>
        <template #customTitle>

      <span>
        <smile-outlined/>
        Name
      </span>
          </template>
          <template #action="{ record }">
      <span>
        <a-space size="small">
            <a-button type="primary" @click="edit(record)">
              编辑
            </a-button>
             <a-button type="danger">
                删除
              </a-button>
          </a-space>
      </span>
          </template>
      </a-table>
    </a-layout-content>
  </a-layout>

</template>
<script lang="ts">
import {SmileOutlined, DownOutlined} from '@ant-design/icons-vue';
import {defineComponent, onMounted, reactive, ref, toRef} from 'vue';
import axios from 'axios';

export default defineComponent({
  name: 'AdminEbook',
  setup() {
    const pagination = {
      onChange: (page: number) => {
        console.log(page);
      },
      pageSize: 3,
    };

    const loading = ref(false);
    const columns = [
      {
        title: '封面',
        dataIndex: 'cover',
        slots: {customRender: 'cover'}
      },
      {
        title: '名称',
        dataIndex: 'name'
      },
      {
        title: '分类一',
        dataIndex: 'category1Id',
        key: 'category1Id',
      },
      {
        title: '分类二',
        dataIndex: 'category2Id',
        key: 'category2Id',
      },
      {
        title: '文档数',
        dataIndex: 'docCount'
      },
      {
        title: '阅读数',
        dataIndex: 'viewCount'
      },
      {
        title: '点赞数',
        dataIndex: 'voteCount'
      },
      {
        title: 'Action',
        key: 'action',
        slots: {customRender: 'action'}
      }
    ];
    //使用ref进行数据绑定
    const ebooks = ref();
    // 使用reactive进行数据绑定
    const ebooks1 = reactive({books: []})
    onMounted(() => {
      axios.get("/ebook/list?name=").then(response => {
        const data = response.data;
        ebooks.value = data.content;
        ebooks1.books = data.content;
      })
    })
    return {
      pagination,
      loading,
      columns,
      ebooks1: ebooks,
      ebooks2: toRef(ebooks1, "books")
    }
  },
  components: {
    SmileOutlined,
    DownOutlined,
  },
});
</script>
<style scoped>
img {
  width: 50px;
  height: 50px;
}
</style>
实际效果:

二、总结
对于table组件的使用不是很熟的话,需要不断去尝试,简单说,就是对象属性的映射。
总体感觉下来,还是进行数据绑定后,在进行页面展示,如不是很清晰,请参考这篇《Vue3 列表界面数据展示详情》文章。
到此这篇关于Vue3 table表格组件的使用的文章就介绍到这了,更多相关Vue3 table表格组件内容请搜索脚本之家以前的文章或继续浏览下面的相关文章希望大家以后多多支持脚本之家!
