react实现无限循环滚动信息
作者:孤风随雨
这篇文章主要为大家详细介绍了react实现无限循环滚动信息,文中示例代码介绍的非常详细,具有一定的参考价值,感兴趣的小伙伴们可以参考一下
本文实例为大家分享了react实现无限循环滚动信息的具体代码,供大家参考,具体内容如下
需求
后端传递过来的数据滚动显示,鼠标移入后停止滚动,鼠标移出后继续滚动,参考公司门户的公告信息栏

实现思路
思路一
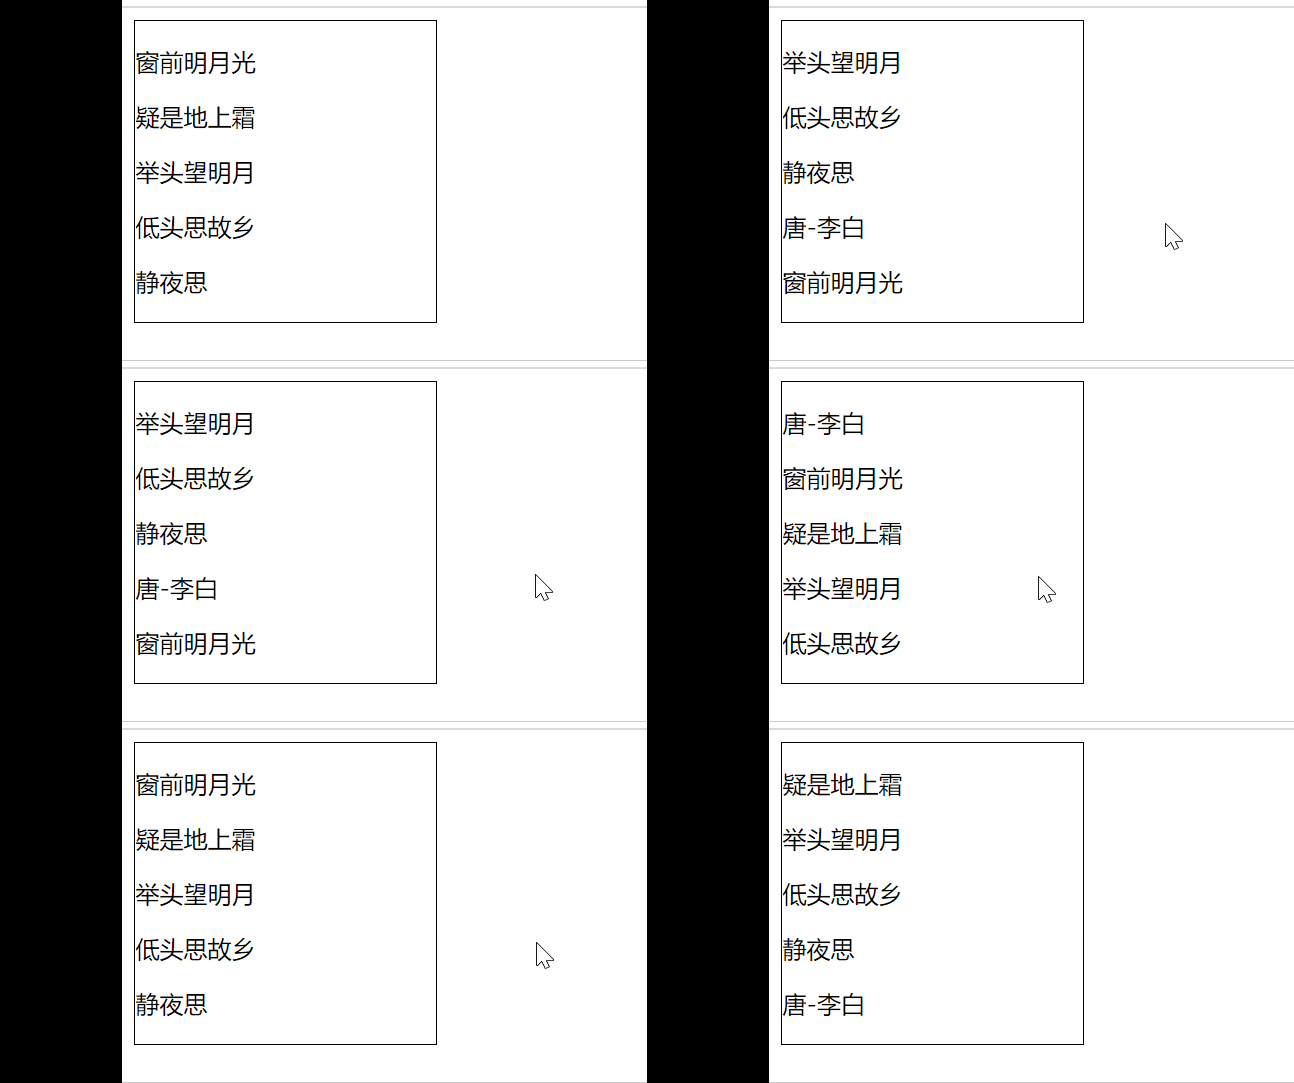
在componentDidMount中定义一个定时器,每过1000ms触发一次事件,将数组中第一条数据push到数组中,再删除掉第一条数据,最后给div添加onMouEnter和onMouseLeave事件,让鼠标移入时清除定时器,鼠标移出时重新开启定时器。
代码:
class Roll extends React.Component{

  state = {
    list: [
      { title: '静夜思' },
      { title: '唐-李白' },
      { title: '窗前明月光' },
      { title: '疑是地上霜' },
      { title: '举头望明月' },
      { title: '低头思故乡' },
    ]
  }

  componentWillMount = () => {
    this.begin()
  }

  roll = () => {
    let arr = this.state.list;
    arr.push(this.state.list[0])
    arr.splice(0,1)
    this.setState({
      list: arr,
    })
    console.log(this.state.list);
  }

  begin = () => {
    this.timer = setInterval(() => {
      this.roll()
    }, 1000);
  }

  stop = () => {
    clearInterval(this.timer)
  }

  render () {
    return (
      <div onMouseEnter={this.stop} onMouseLeave={this.begin} className='box'>
        {this.state.list.map(item => {
          return (
            <p>
              {item.title}
            </p>
          )
        })}
      </div>
    )
  }
}
效果图:

可以看到实现出来的效果并不好,没有往上偏移的效果,所以有了思路二。
思路二
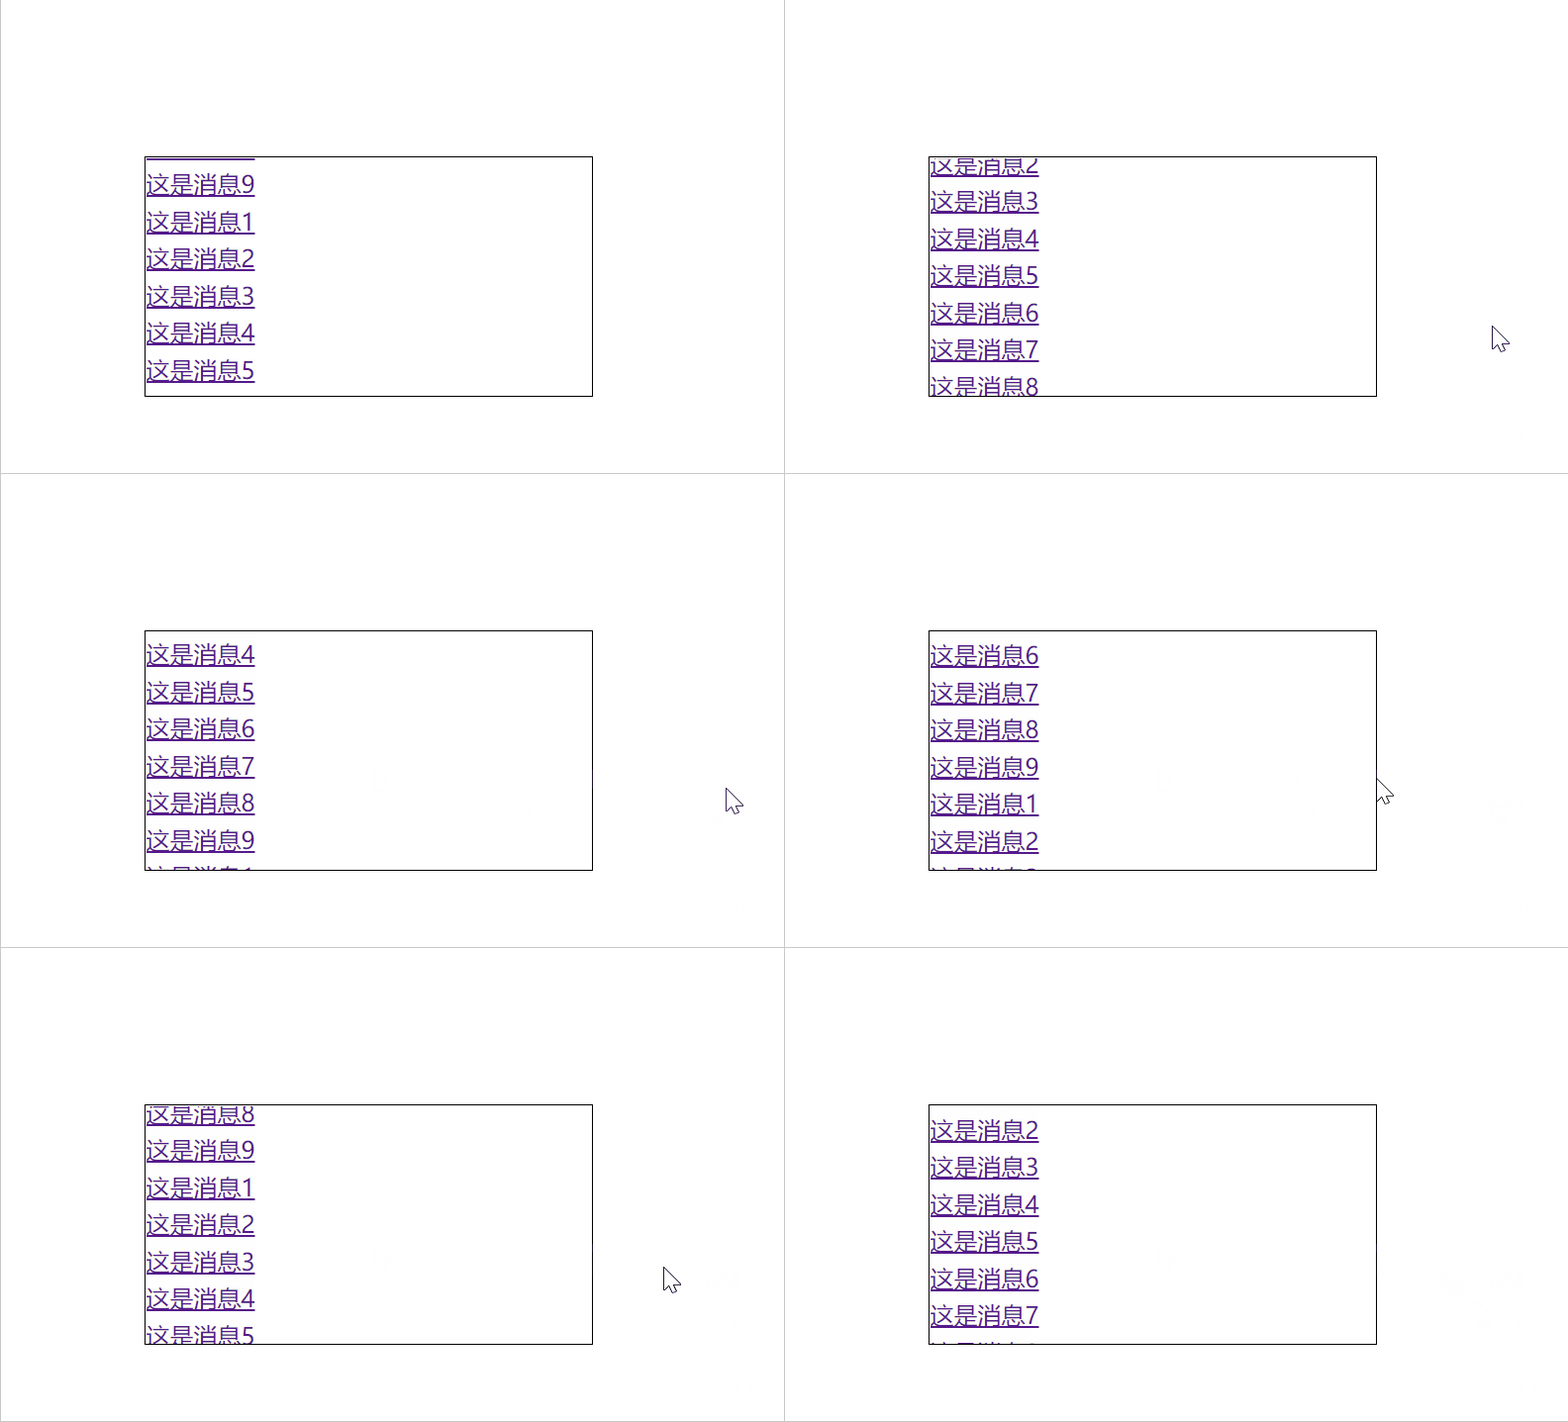
在思路一的基础上进行修改,在componentDidMount中定义定时器,每次向上偏移几个px,当偏移到一定距离后,将数组中第一条数据push到数组中,再删除掉第一条数据,最后给div添加onMouEnter和onMouseLeave事件。
js文件
class Roll extends React.Component{

  state = {
    list: [
      { title: '这是消息1' },
      { title: '这是消息2' },
      { title: '这是消息3' },
      { title: '这是消息4' },
      { title: '这是消息5' },
      { title: '这是消息6' },
      { title: '这是消息7' },
      { title: '这是消息8' },
      { title: '这是消息9' },
    ],
    count: 0,
  }

  // 页面挂载时开启定时器
  componentDidMount = () => {
    this.begin()
  }

  // 定时器
  begin = () => {
    this.timer = setInterval(() => {
      this.Roll()
    }, 10);
  }

  // 关闭定时器
  stop = () => {
    clearInterval(this.timer)
  }

  // 每次向上偏移0.5px,使用state储存偏移的次数
  Roll = () => {
    this.setState({
      count: this.state.count+1
    })
    this.refs.roll.style.top = -0.5*this.state.count+'px';
    // 当偏移量达到40px时,将数组中第一个数据剪切到数组的最后,再减去一行高度对应的偏移次数
    if(-0.5*this.state.count <= -40){
      let arr = this.state.list;
      arr.push(this.state.list[0])
      arr.splice(0,1);
      this.setState({
        list: arr,
        count: this.state.count - 50,
      })
      this.refs.roll.style.top = (this.state.count*(-0.5)) + 'px'
    }

  }

  render(){
    return (
      <div className="box" onMouseEnter={this.stop} onMouseLeave={this.begin}>
        <div className="content" ref='roll'>
          {this.state.list.map((item)=>{
            return (
              <p className='row'>
                <a href="#" rel="external nofollow" >
                  {item.title}
                </a>
              </p>
            )
          })}
        </div>
      </div>
    )
  }
}
css文件
.box{
  width: 300px;
  height: 160px;
  border: 1px solid black;
  margin: 200px 300px;
  position: relative;
  overflow: hidden;
}

.content{
  position: absolute;
  top: 0px;
}

.row{
  height: 20px;
  margin: 5px auto;
}
效果图:

获取节点
1.document获取节点
之前是真的没想到react里也能使用document获取元素节点,和js里一样的用法
2.refs获取
通过this.refs.xxx获取
componentDidMount = () => {
        console.log(this.refs.test);
    }

    render () {
        return (
            <div ref='test'>
                123
            </div>
        )
    }
3.findDOMNode获取
通过ReactDom.findDOMNode(this)来获取
this为当前组件的实例
componentDidMount = () => {
    console.log(ReactDom.findDOMNode(this));
  }

  render () {
    return (
      <div className='test'>
        123
      </div>
    )
  }
以上就是本文的全部内容,希望对大家的学习有所帮助,也希望大家多多支持脚本之家。
