Python图像特效之模糊玻璃效果
作者:Matrix_11
这篇文章主要为大家详细介绍了Python图像特效之模糊玻璃效果,文中示例代码介绍的非常详细,具有一定的参考价值,感兴趣的小伙伴们可以参考一下
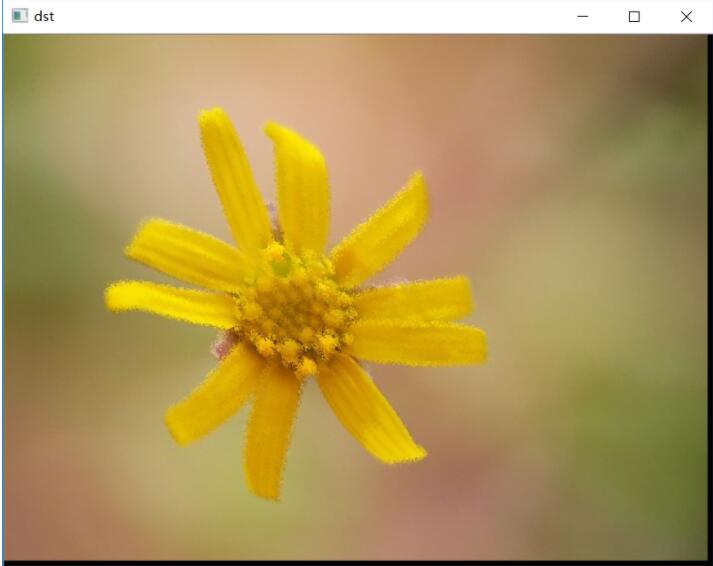
今天介绍一种基于高斯滤波和邻域随机采样,生成一种毛玻璃的图像特效,简单来说,就是先对图像做高斯滤波模糊,然后对模糊后的图像,通过对邻域的随机采样来赋予当前的像素点,这样,生成的图像有有一定的随机扰动和模糊,看起来就像隔着一层毛玻璃在观察图像一样。
# -*- coding: utf-8 -*-
"""
Created on Sun Aug 20 11:03:53 2017

@author: shiyi
"""

import matplotlib.pyplot as plt
from skimage.filters import gaussian
from scipy.misc import imsave, imread
import random

file_name='D:/Visual Effects/PS Algorithm/4.jpg';
img=imread(file_name)

g_img = gaussian(img, sigma=2, multichannel=True)

img_out = g_img.copy()

rows, cols, dpt = img.shape

p_size = 3

for i in range(p_size, rows-p_size, 1):
    for j in range(p_size, cols-p_size, 1):
        k1= random.random() - 0.5
        k2= random.random() - 0.5
        m=int (k1*(p_size*2-1))
        n=int (k2*(p_size*2-1))
        h=(i+m) % rows
        w=(j+n) % cols
        img_out[i, j, :] = g_img[h, w, :]

imsave('out.jpg', img_out)

plt.figure
plt.imshow(img_out)
plt.show()
效果图:

效果图:

小编再为大家分享一段之前收藏的实例,感谢原作者的分享。
#coding:utf-8
'''
毛玻璃效果
'''

import cv2
import numpy as np

src = cv2.imread('datas/images/f1.jpg')
dst = np.zeros_like(src)

rows,cols,_ = src.shape
offsets = 5
random_num = 0

for y in range(rows - offsets):
    for x in range(cols - offsets):
        random_num = np.random.randint(0,offsets)
        dst[y,x] = src[y + random_num,x + random_num]

cv2.imshow('src',src)
cv2.imshow('dst',dst)

cv2.waitKey()
cv2.destroyAllWindows()

以上就是本文的全部内容,希望对大家的学习有所帮助,也希望大家多多支持脚本之家。
