
node.js+postman实现模拟HTTP服务器与客户端交互
作者:啊a阿花
当应用程序(客户端)需要某一个资源时,可以向一台服务器通过http请求获取到这个资源。提供资源的服务器就是web服务器(本文用node.js创建),用postman模拟客户端向服务器发送请求。

一、node搭建HTTP服务器
node中使用 http 模块来创建 HTTP 服务器, 每当接收到新的请求时,request 事件会被调用,并提供两个对象:一个请求req(http.IncomingMessage 对象)和一个响应res(http.ServerResponse 对象)。
request 提供了请求的详细信息。 通过它可以访问请求头和请求的数据。(客户端–>服务器)
response 用于构造要返回给客户端的数据(服务器–>客户端)。下面是一个简单的HTTP web服务器示例。
下面就是一个简单的HTTP服务器的例子
//导入http模块
const http = require('http')

// 创建http服务器
const server = http.createServer((req, res) => {
		//设置 statusCode 属性为 200,以表明响应成功
				res.statusCode = 200
  		// res本质上继承了stream.Writable的类
        // 向客户端发送完响应头和正文后告诉服务器本次消息传输结束
        res.end("hollow server")
        // 相当于res.writer("hollow server")+res.end()
    })
    // 监听服务器,当服务器就绪时,listen 回调函数会被调用
    //控制台打印启动成功
server.listen('8089', 'localhost', () => {
    console.log("启动成功")
})
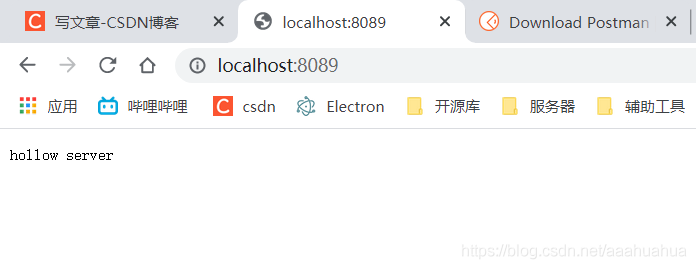
这时候你的本地服务器就搭建完毕了,可以去浏览器打开localhost:8089查看
二、HTTP服务器处理get请求
Postman 是一种常用的接口测试工具,可以发送几乎所有类型的HTTP请求。Postman适用于不同的操作系统,Postman Mac、Windows X32、Windows X64、Linux系统,还支持postman 浏览器扩展程序、postman chrome应用程序等。
下载也十分简单,可以点击这里直接去官网下载👉👉👉 Download Postman
1、postman发送get请求
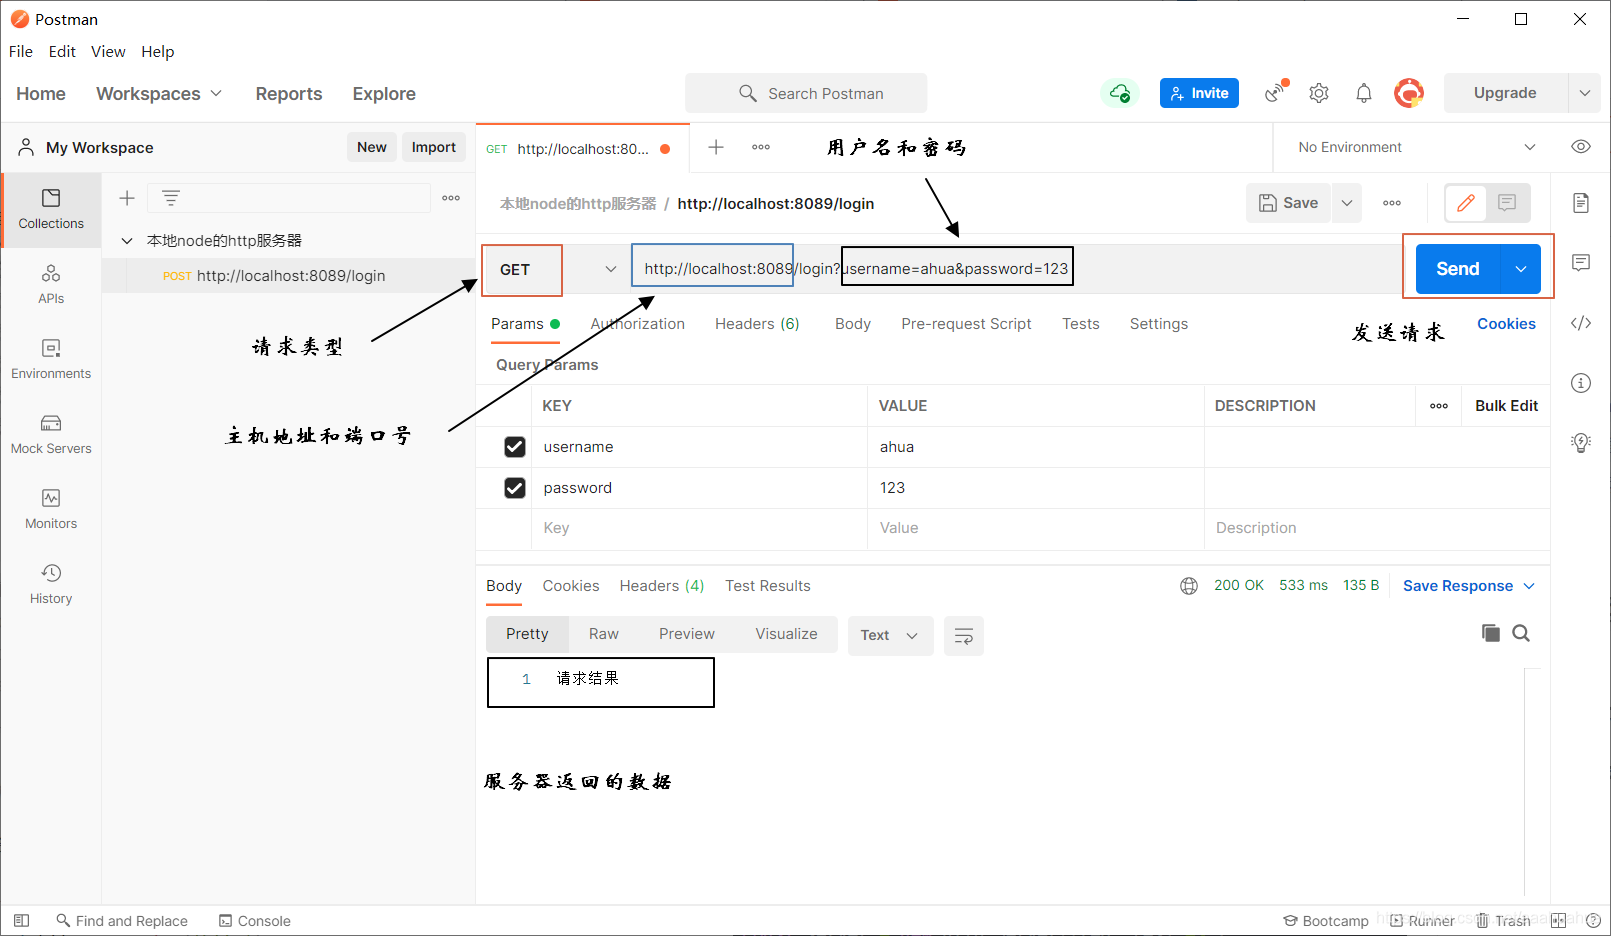
在postman中新建一个request请求,在Enter request url 中填写上面我们用node.js创建的HTTP服务器的主机地址以及用户名和密码http://localhost:8089/login?username=ahua&password=123,请求类型选择GET,点击send,postman就会向服务器发送一个get请求
2、服务器解析
服务器这边接收到客户端(postman)的get请求,对发送过来的数据进行处理
const http = require('http')
    // 处理url的模块
const url = require('url')
    // 处理query的模块
const qs = require('querystring')
const server = new http.Server((req, res) => {
    // request对象中封装了客户端给我们服务器传递过来的所有信息
    // 对url进行解析
    const { pathname, query } = url.parse(req.url)
    if (pathname === '/login') {
        //console.log(query)
            // qs的parse方法可以对query进行处理
            // 将字符串类型转换为js对象  username=ahua&password=123  -->  {username: 'ahua',password: 123}
        //console.log(qs.parse(query))
        const { username, password } = qs.parse(query)
        console.log(username, password)
        res.end('请求结果')
    }
    console.log(req.url)
    //打印请求类型
    console.log(req.method)
    //请求头
    console.log(req.headers)
})
server.listen('8089', 'localhost', () => {
    console.log("serve启动成功")
})
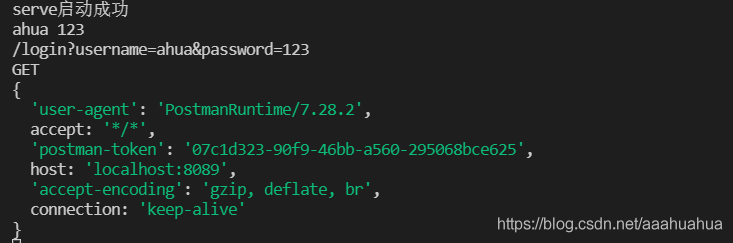
服务器这边的解析结果
三、HTTP服务器处理post请求
1、postman发送post请求
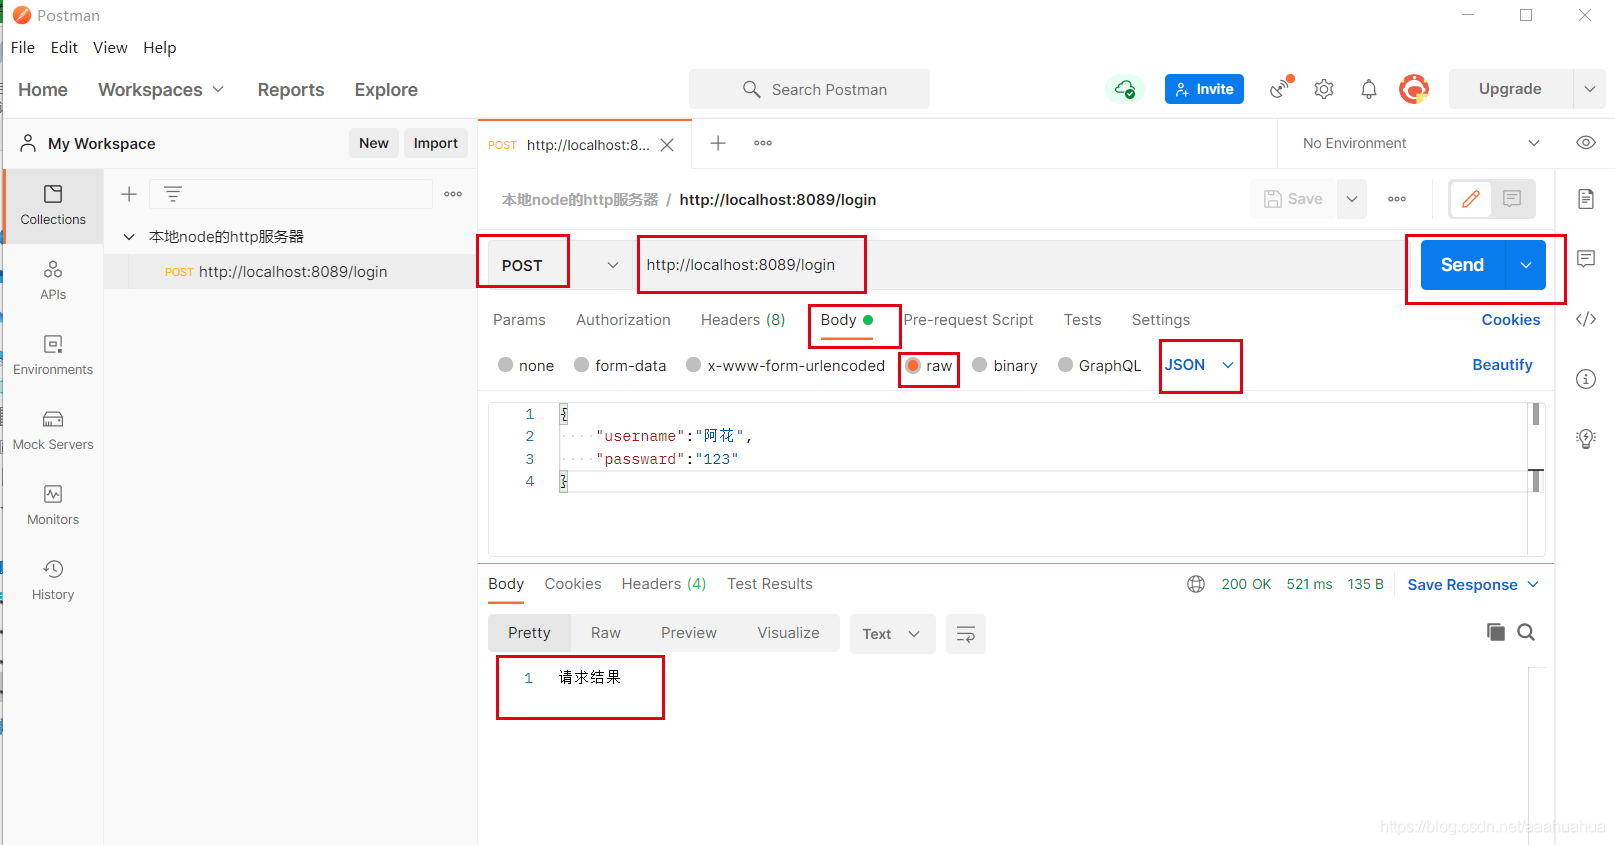
上面get请求中将用户名和密码放在地址栏可能不够安全,处理账号密码想稳妥一点,现在将他们放在body里用json文件传给服务器。
下图所示便是postman将username和password放在json文件中通过bady传递给服务器的操作
2、服务器解析
服务器这边接收到客户端(postman)的post请求,对发送过来的数据进行处理。首先应该判断是否为post请求,然后拿到body中的数据,再对数据进行解析。
const http = require('http')
    // 处理url的模块
const url = require('url')
const server = new http.Server((req, res) => {
    // 获取客户端传过来的url中的pathname
    const { pathname } = url.parse(req.url)
        // 判断是否为login
    if (pathname === '/login') {
        // 判断客户端发送的是否为post请求
        if (req.method === 'POST') {
            // 定义客户端传过来数据的默认编码格式
            req.setEncoding('utf-8')
                // req.setEncoding('binary') binary定义二进制编码
                // 拿到body中的数据
                // body中的数据是通过流来写入的
                // 当监听到data事件,获取到输入流,也就是body中相关的内容,可以返回这个data的结果
            req.on('data', (data) => {
                // JSON.parse()把对象中的字符串转成js对象
                //  {"username":"阿花","passward":"123"}  ---> {username: 'ahua',password: 123}
                const { username, passward } = JSON.parse(data)
                console.log(username, passward)
            })
        }
    }

    res.end('请求结果')

})
server.listen('8089', 'localhost', () => {
    console.log("serve启动成功")
})
服务器打印请求结果

这样就完成了一个简单的服务器交互流程。
到此这篇关于node.js+postman实现模拟HTTP服务器与客户端交互的文章就介绍到这了,更多相关node.js+postman 服务器与客户端交互内容请搜索脚本之家以前的文章或继续浏览下面的相关文章希望大家以后多多支持脚本之家!
您可能感兴趣的文章:
- nodejs处理http请求实例详解之get和post
- Node.js中的HTTP Server对象与GET、POST请求
- nodejs 使用http进行post或get请求的实例(携带cookie)
- nodejs使用http模块发送get与post请求的方法示例
- nodejs实现HTTPS发起POST请求
- 从零开始学习Node.js系列教程一:http get和post用法分析
- 轻松创建nodejs服务器(10):处理POST请求
- nodejs之get/post请求的几种方式小结
- Node.js如何响应Ajax的POST请求并且保存为JSON文件详解
- NodeJS收发GET和POST请求的示例代码
- Node发出HTTP POST请求的方法实例小结