
element-ui点击查看大图的方法示例
作者:向天再借五百根
这篇文章主要介绍了element-ui查看大图的方法示例,文中通过示例代码介绍的非常详细,对大家的学习或者工作具有一定的参考学习价值,需要的朋友们下面随着小编来一起学习学习吧
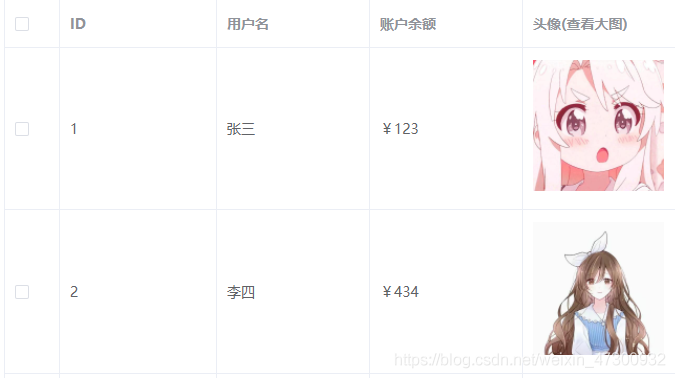
element-ui图片(查看大图),可通过 previewSrcList 开启预览大图的功能。
写在element-ui表格中,使用作用域插槽循环图片
<!-- template插槽 -->
<template slot-scope="scope">

	<div class="demo-image__preview">
	 <el-image
	  style="width: 100%; height: 100%"
	  :src="scope.row.pic"
	  :preview-src-list="srcList"
	  >
	 </el-image>
	</div>

</template>
1.此处的div是展示大图的容器,当点击图象时显示出来。
2.srcList是存放大图路径的数组,在获取数据时,通过forEach将图片路径存放到srcList中
data() {
  return {
   data: [], // 所有数据
   srcList: [], //大图
},
mounted(){
	this.$http.get("/data.json").then((res) => {
	  this.data = res.data;
	  this.data.forEach((item) => {
	    this.srcList.push(item.pic);
	  });
	});
}
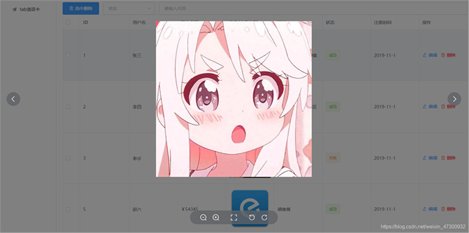
最终效果:
到此这篇关于element-ui查看大图的方法示例的文章就介绍到这了,更多相关element查看大图内容请搜索脚本之家以前的文章或继续浏览下面的相关文章希望大家以后多多支持脚本之家!